
Tags
You can manage tags under the Settings tab. You can add Client-level, Group-level, and Team-level tags. You can add up to eight tags to a conversation and make these tags active and inactive based on need. Once these tags are set up, agents can view and use them to tag conversations.
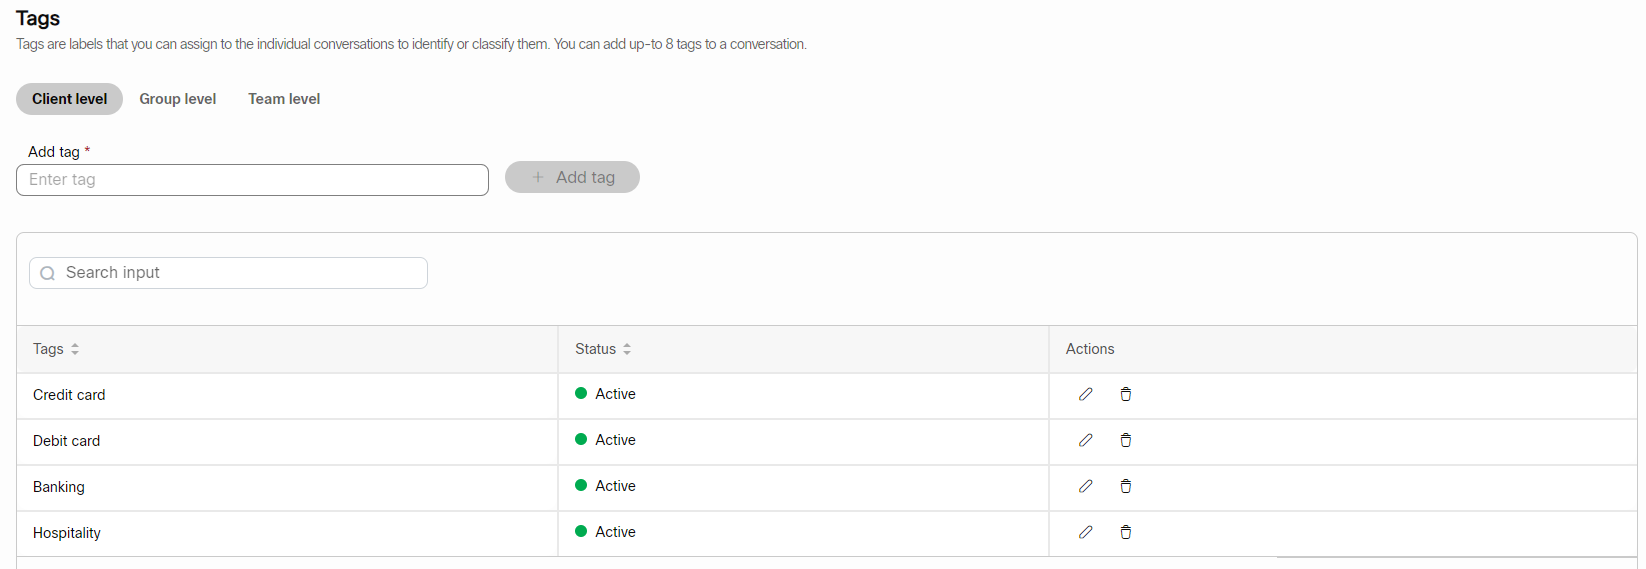
Client level tag
Add a Tag
To add a client-level tag, follow these steps:
- Login to Webex Engage and click the Try new version on the top-right corner of the application.
The Webex Engage React application will launch.
-
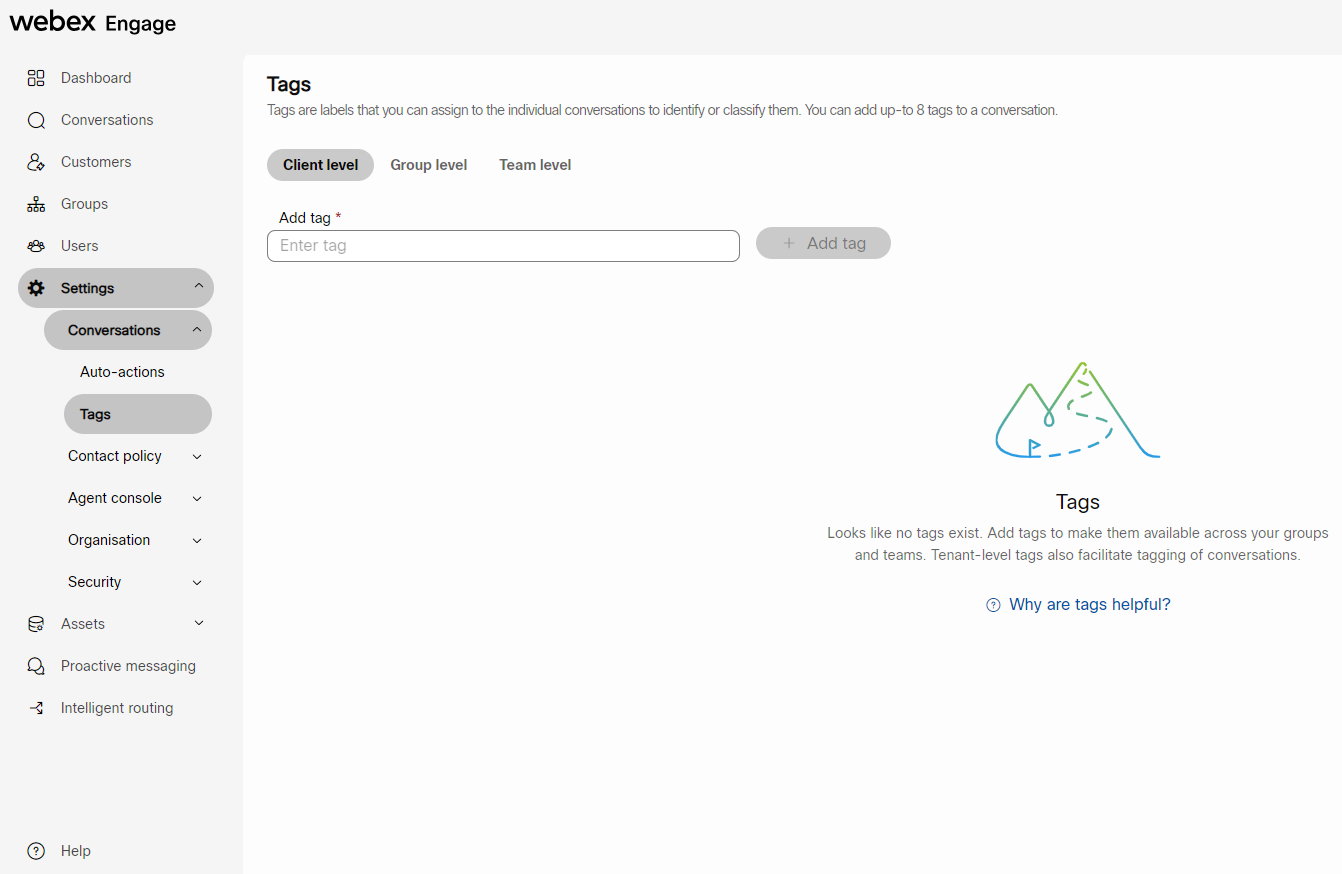
Navigate to Settings > Conversations > Tags.
-
Click the Client Level tab.
-
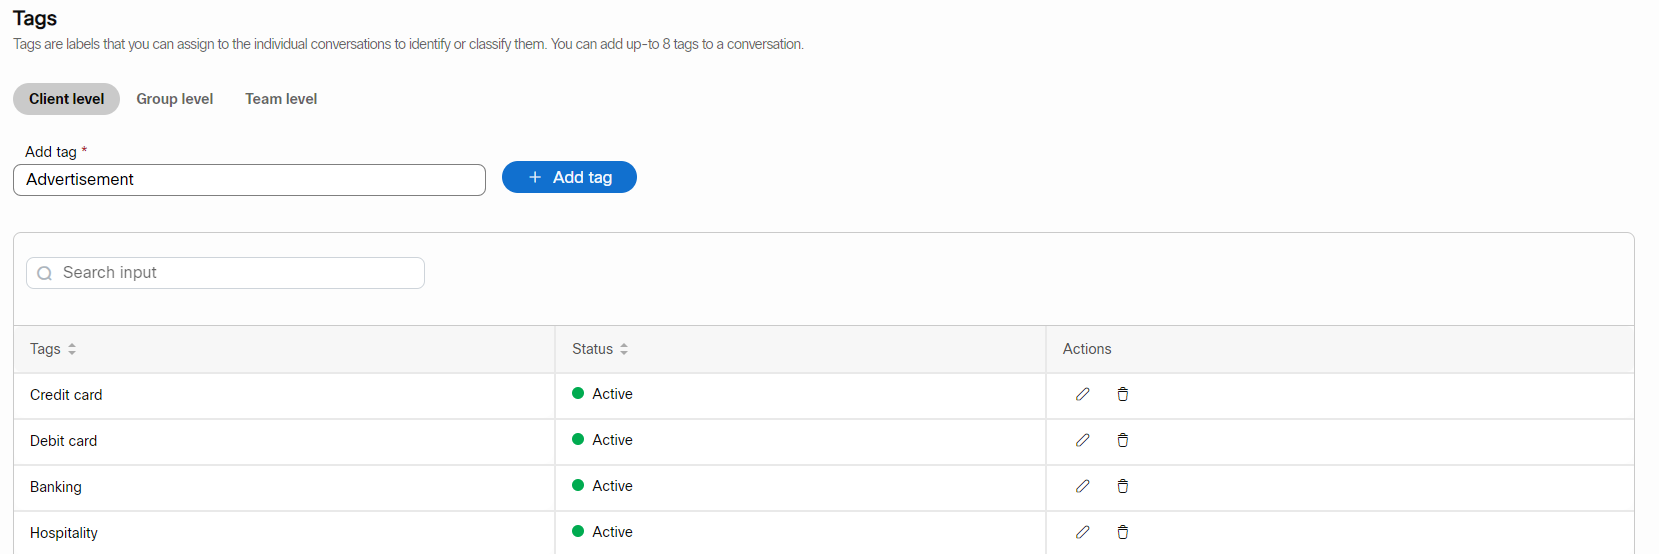
Enter Tag Name in the text field and click Add Tag.
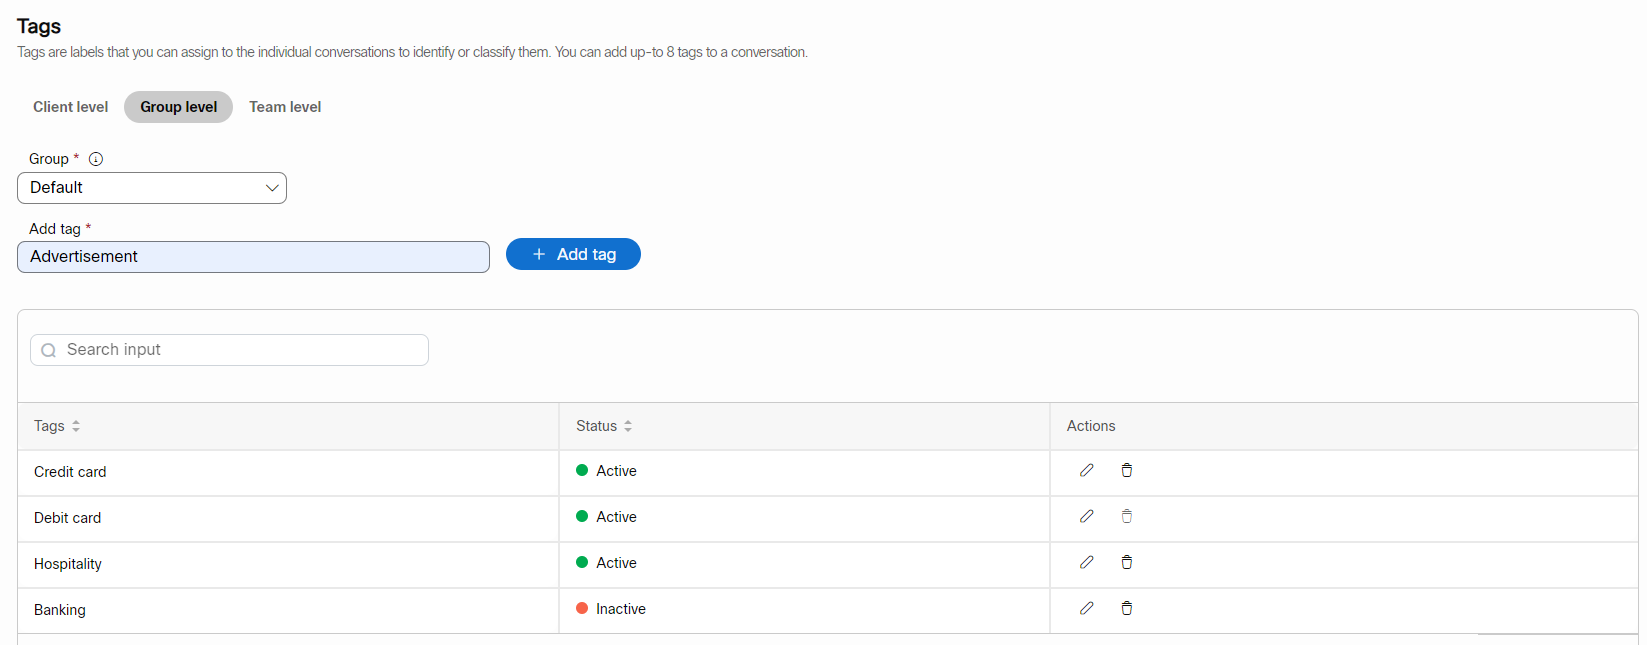
Group level tag
To add a group-level tag, follow these steps:
- Login to Webex Engage and click the Try new version on the top-right corner of the application.
The Webex Engage React application will launch.
-
Navigate to Settings > Conversations > Tags.
-
Click the Group Level tab.
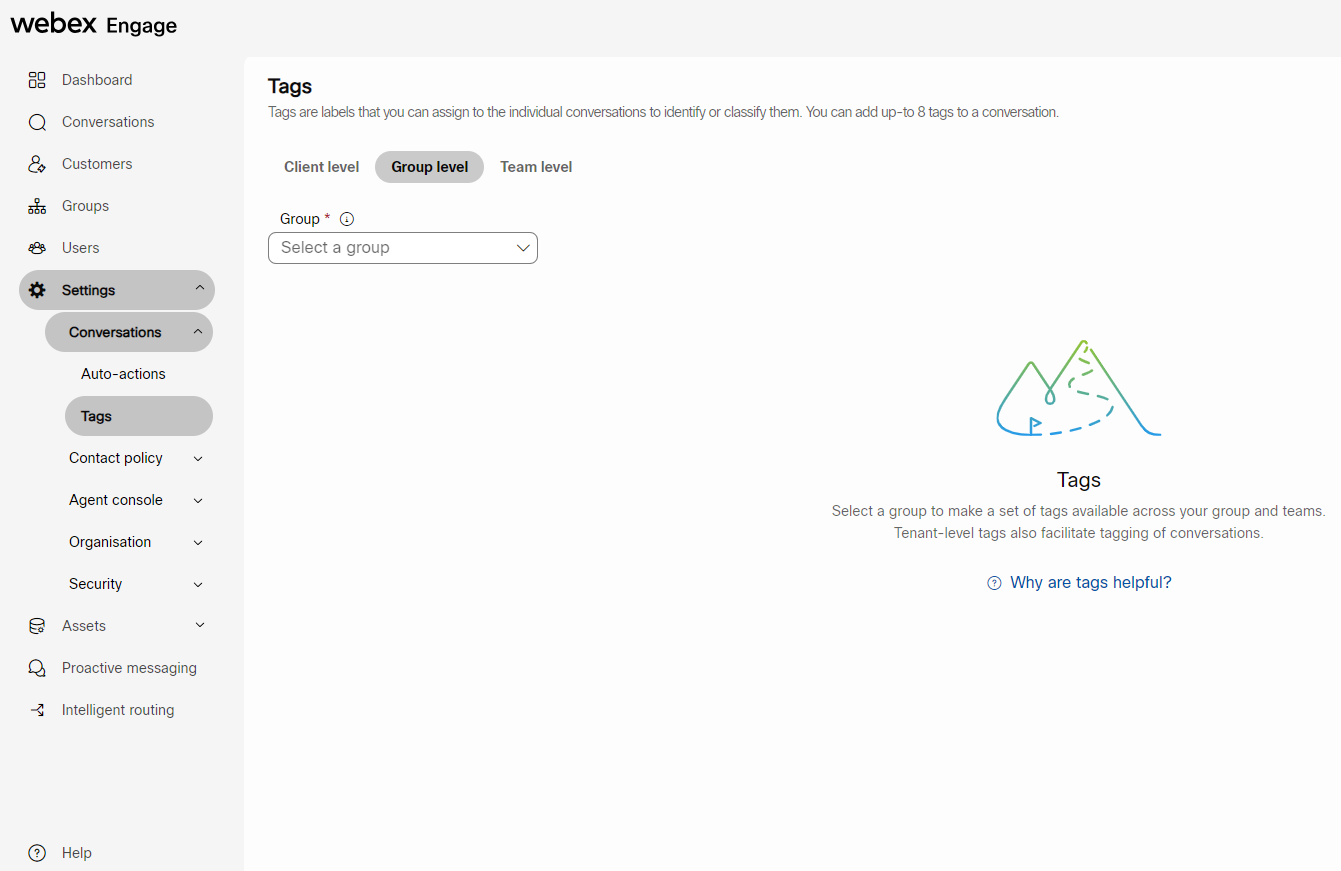
- Select a group from the Group drop-down list.
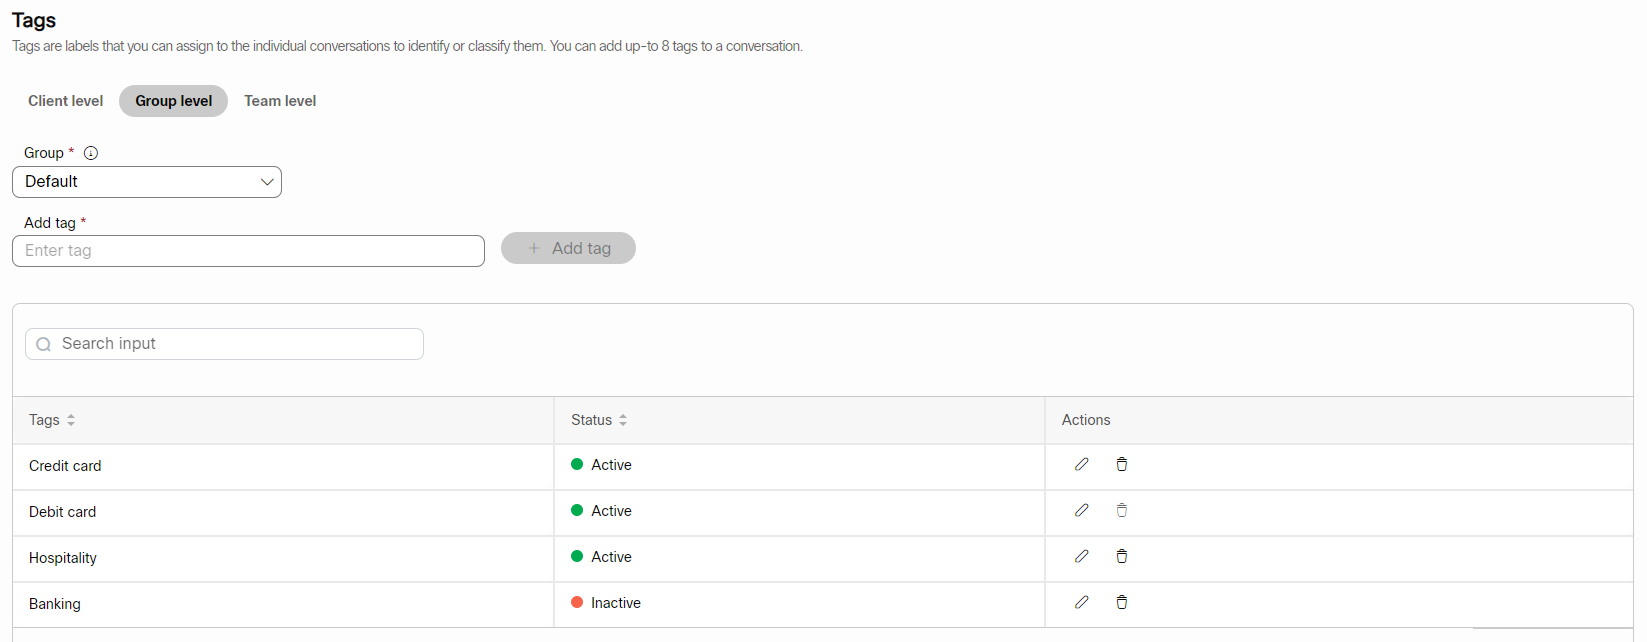
- Enter Tag Name in the text field and click Add Tag.
Team level tag
To add a team-level tag, follow these steps:
- Login to Webex Engage and click the Try new version on the top-right corner of the application.
The Webex Engage React application will launch.
-
Navigate to Settings > Conversations > Tags.
-
Click the Team Level tab.
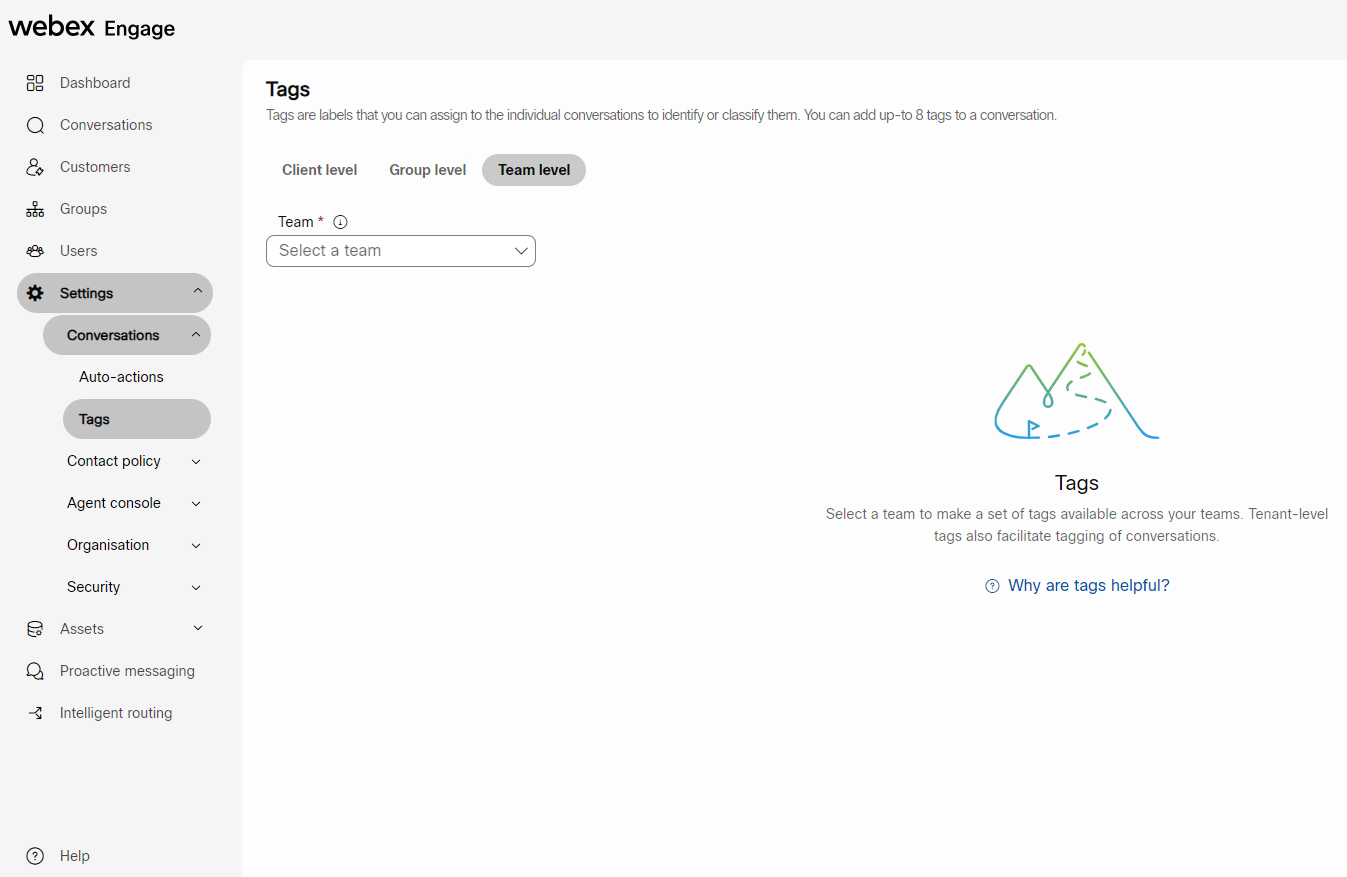
- Select a team from the Team level drop-down list.
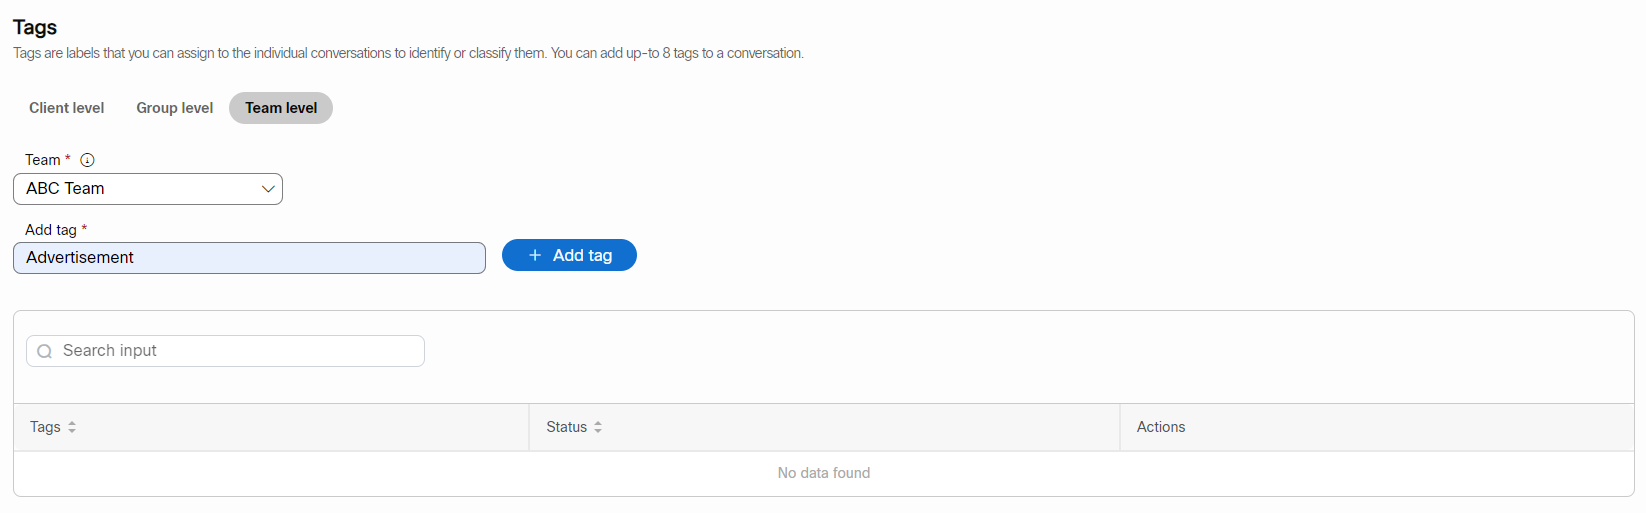
- Enter Tag Name in the text field and click Add Tag.
The tag is listed in the table results.
Edit a Client / Group / Team level Tags
To edit a Client / Group / Team level tag, follow these steps:
- Login to Webex Engage and click the Try new version on the top-right corner of the application.
The Webex Engage React application will launch.
- Navigate to Settings > Conversations > Tags
- Click the Edit icon in the Actions column of a specific Client / Group / Team level tag.
The following screen appears.
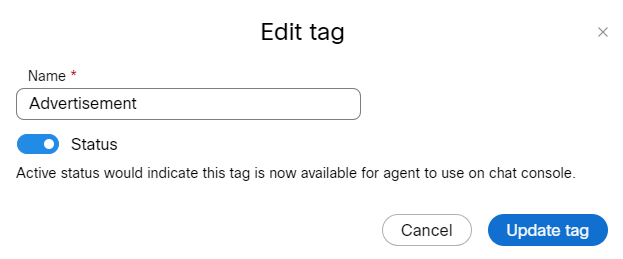
- Edit the Tag Name.
- Turn ON/OFF the Status toggle to show or hide the tag on the chat console.
- Click Update tag.
A success message appears on the screen.
Delete a Client / Group / Team level Tags
To delete a Client / Group / Team level tag, follow these steps:
- Login to Webex Engage and click the Try new version on the top-right corner of the application.
The Webex Engage React application will launch.
- Navigate to Settings > Conversations > Tags
- Click the Delete icon in the Actions column of a specific Client / Group / Team level tag.
The following information pop-up appears on the screen.
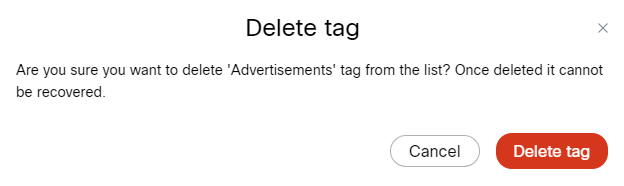
- Click Delete tag.
A success message appears on the screen.
Updated over 2 years ago