Facebook Channel
Webex Engage’s Facebook channel facilitates customers to reach out to agents through the Facebook page and agents to respond to the Facebook messages through Webex Engage Customer Care Console. Client admin can add multiple Facebook assets within a team. Client Admins can even share a single Facebook page across different teams within a tenant. This facilitates handling a single chat across different teams.
How Facebook Channel Works
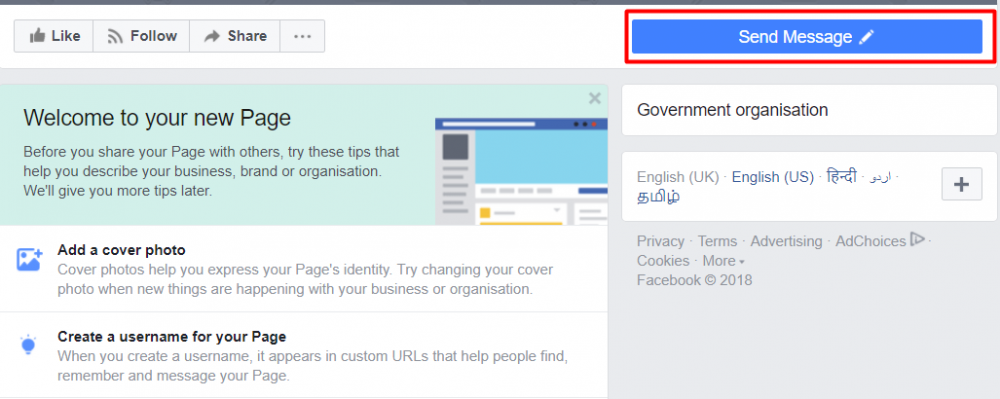
Once a Facebook channel is set up for a team, customers can message the agents by clicking on the ‘Send Message’ button on the Facebook page.
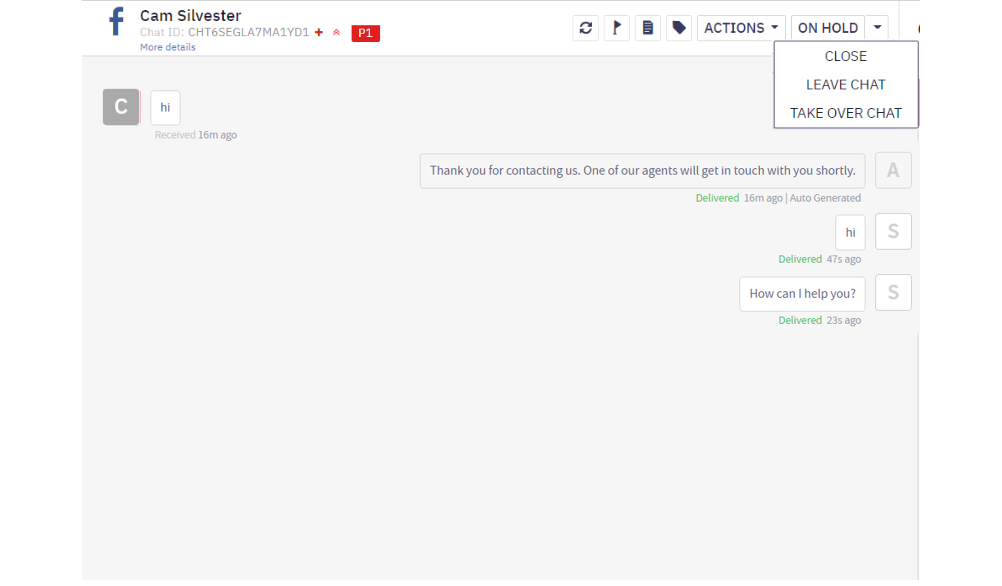
When a customer first sends a message via the Facebook page, a new chat is created on Webex Engage. All subsequent messages sent by the customer or agent appear as conversation history within the chat.
Setting up a Facebook Channel
Webex Engage Facebook channel supports Facebook pages, that the businesses, brands and organizations can use to share their stories and connect with their customers. A business can create and manage a Facebook page from their Facebook account. You can refer to this Facebook article for information about creating and managing a page on Facebook.
Client admins and team managers can add Facebook assets to Webex Engage from Admin Console and Agent Console respectively.
Client Admin - Add Facebook Asset
To add a Facebook asset, a client admin should follow the below steps:
- Click Floating Action Button on the bottom-right-corner of the Admin Console.
- Click Assets icon.
The following screen appears.
- Select Facebook channel and click Add.
- A prompt to login to the Facebook account is displayed.
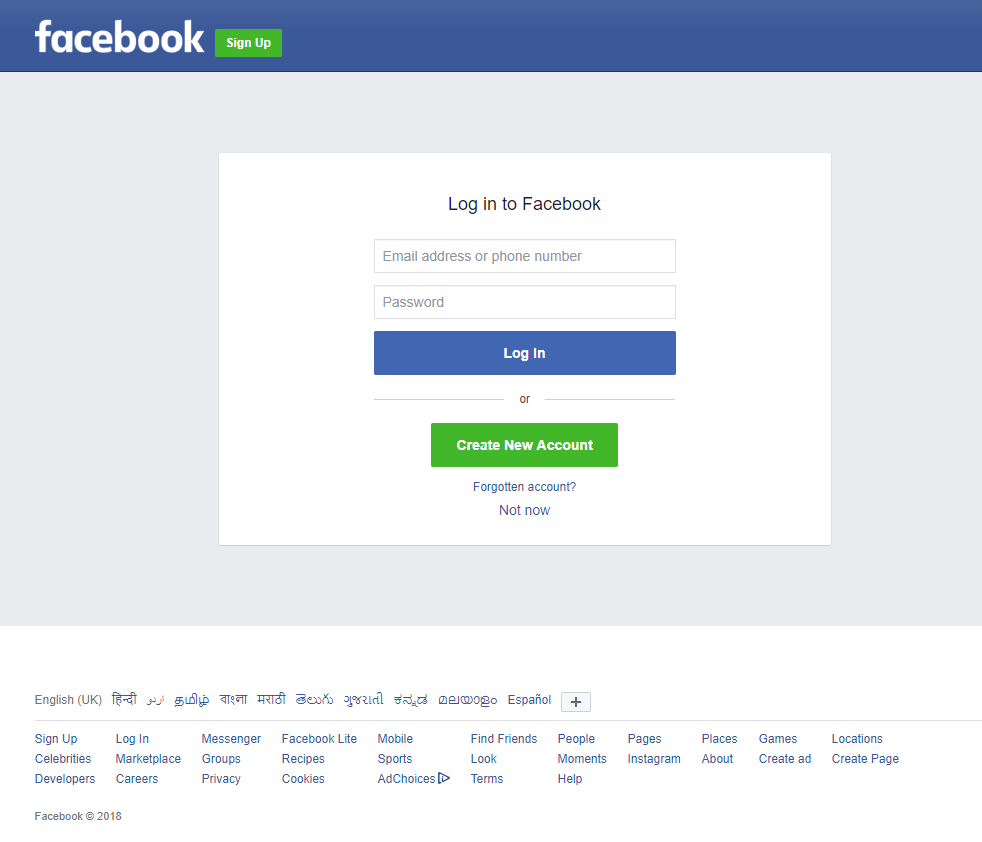
- Upon logging in, the client admin can view a list of Facebook pages to choose from:

- Click Add.
- The page will be added as an asset to the team.
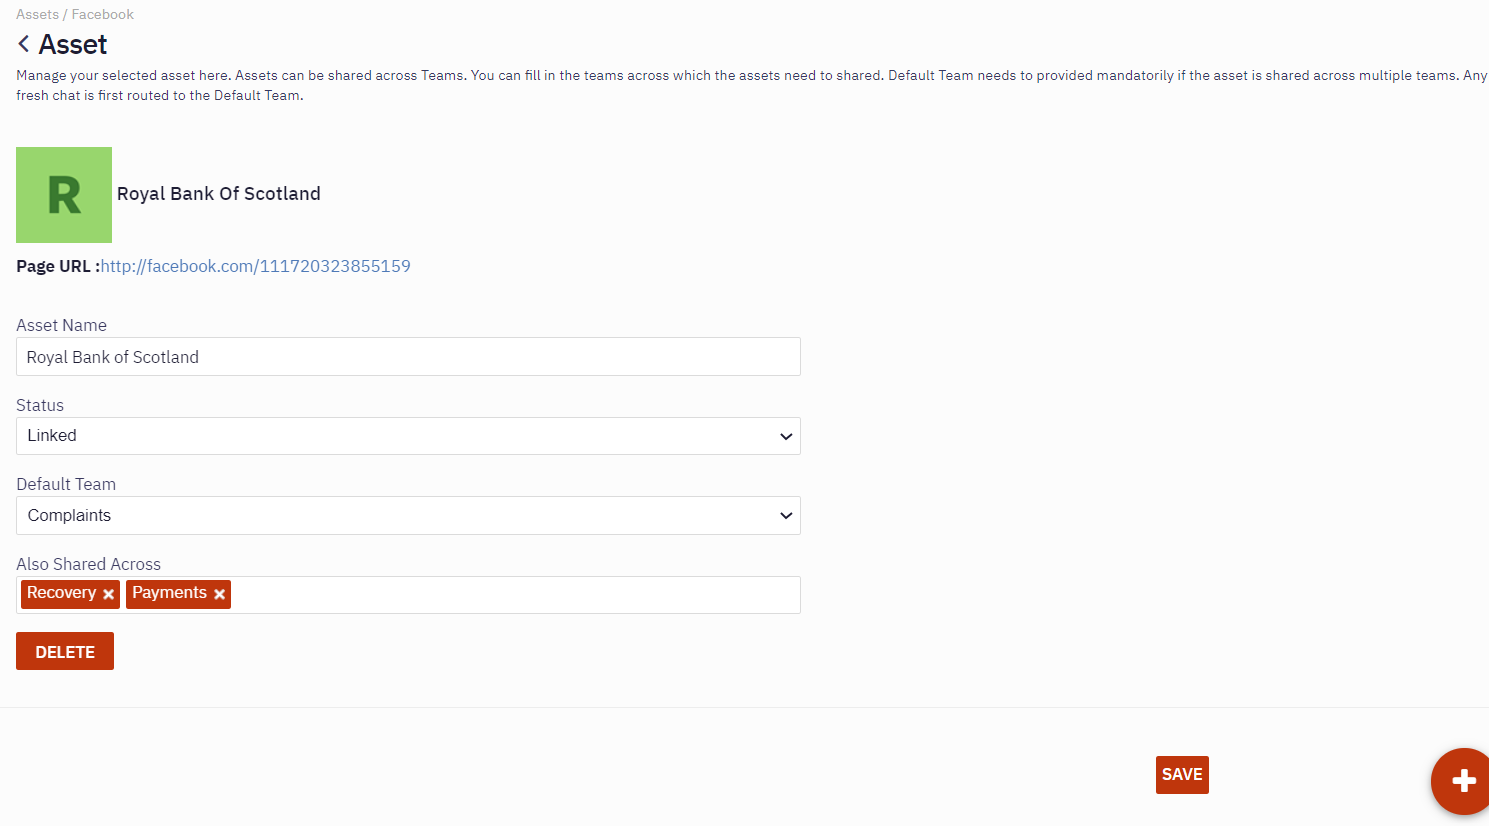
- Select the Status, Linked or Unlinked.
- If you select Linked option, Default Team and Also Shared Across options will appear.
- Select Default Team and Shared Across Teams from respective drop-down lists.
- Click Save.
You will be navigated to the Channel Assets section (Admin Console). The new Facebook page will be added and available as an asset on Channel Assets screen.
Team Manager - Add Facebook Asset
To add a Facebook asset, a team manager should follow the below steps:
- Go to Agent Console > Settings > Channel > Facebook.
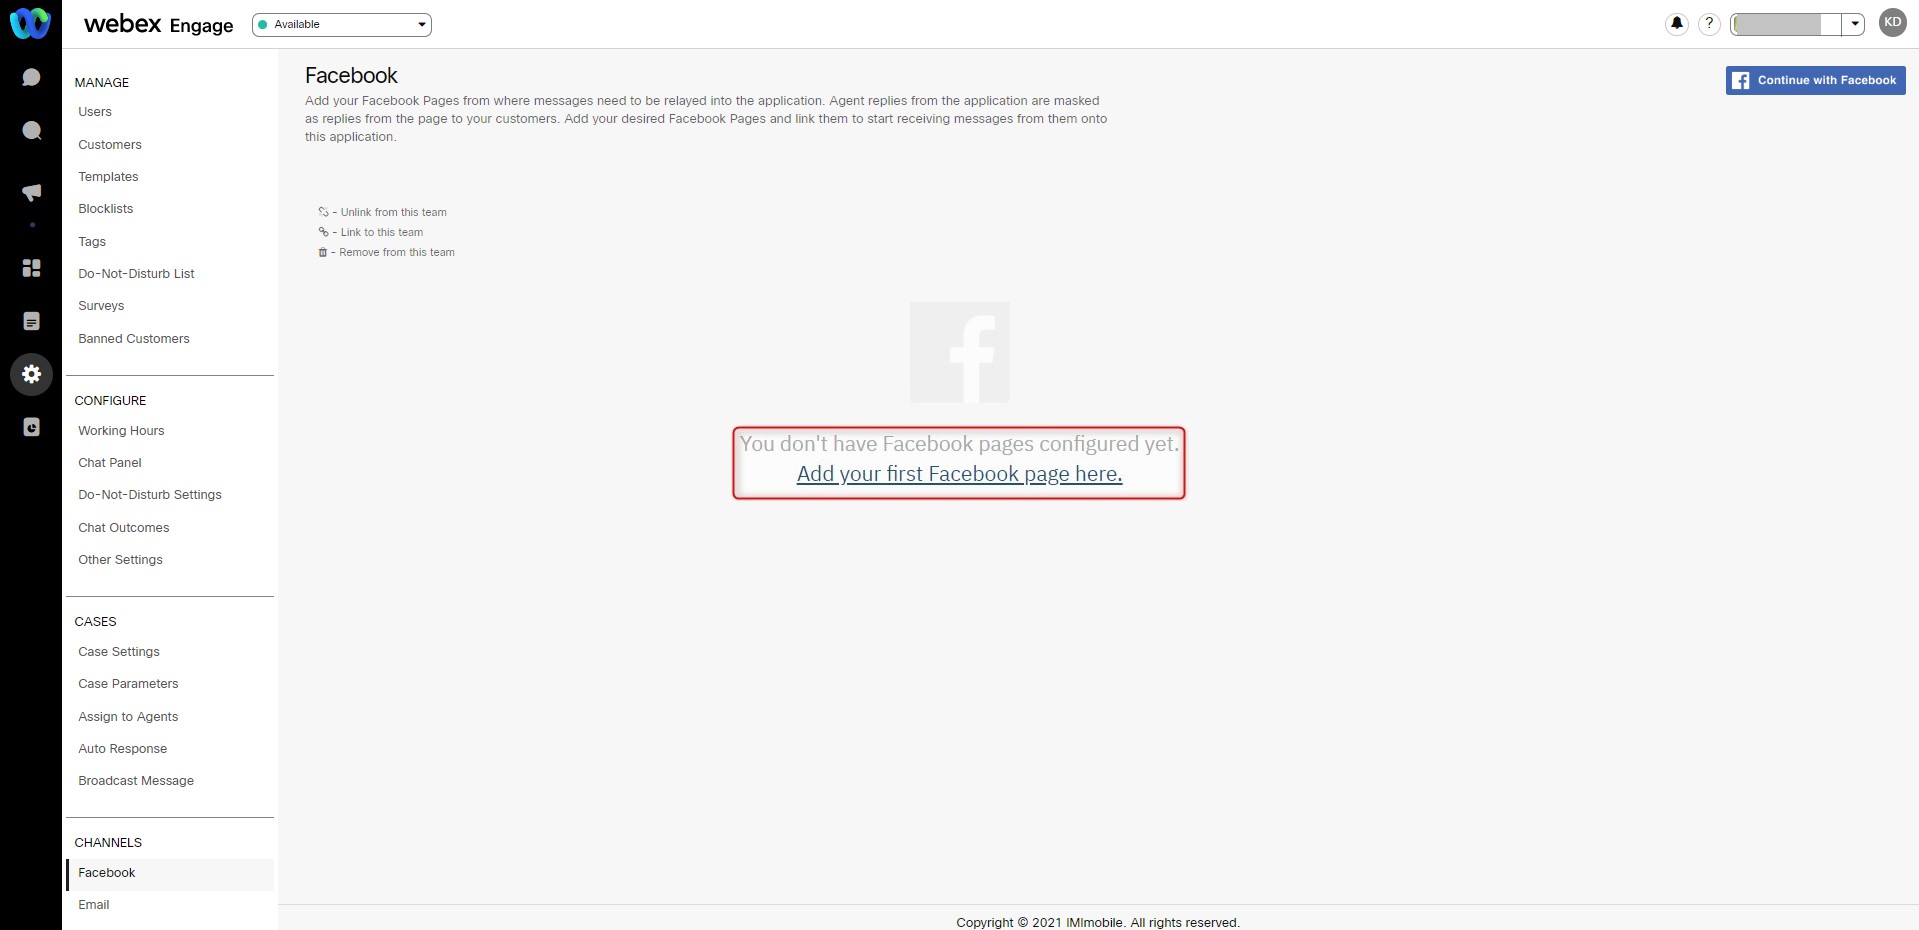
- Click Add your first Facebook page here on the upper-right-corner of the Facebook channel
page.
This will prompt the team manager to log-in into the Facebook account.
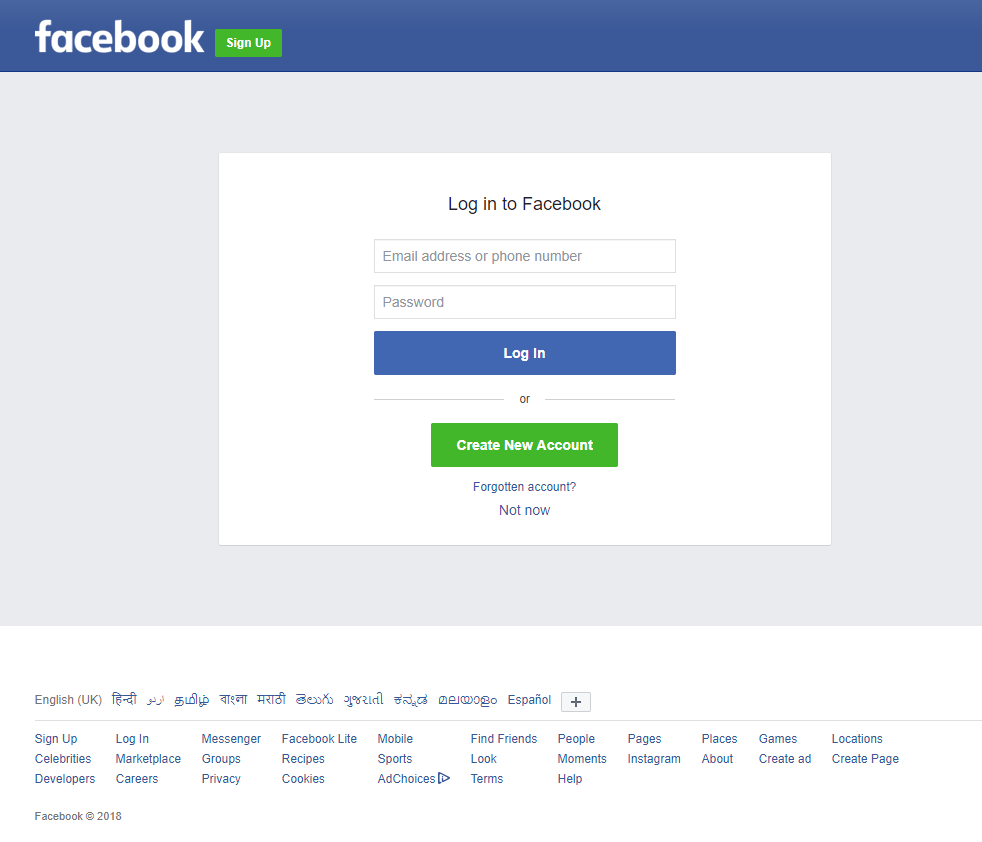
- After entering the Facebook log-in credentials, a list of Facebook pages (added within the account) will be displayed.

- Select one of the pages and click ADD. The page will be added as an asset to the team.
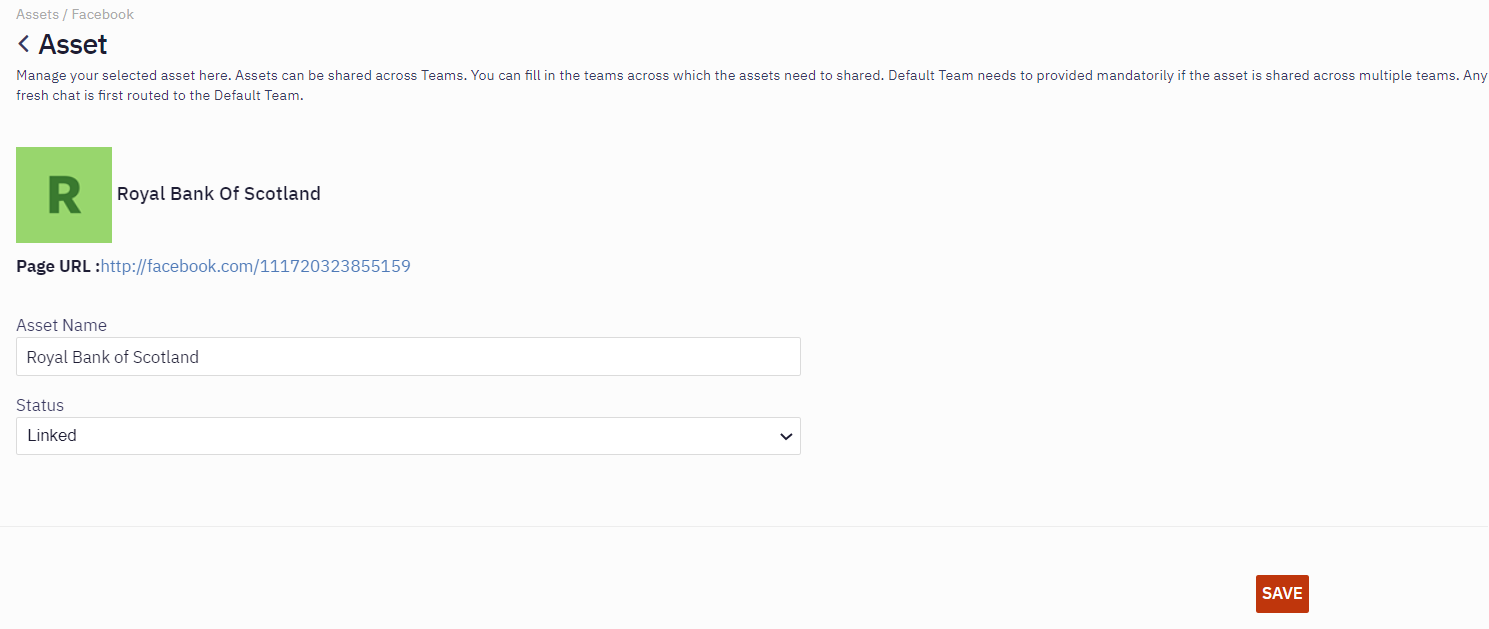
- Select the Status, Linked or Unlinked.
- Click Save.
Share Facebook Asset
The client admins can share a Facebook page across teams. They can choose a default team and a list of teams across which the Facebook page will be shared. Any incoming message on the page will be first routed to the default team. The chats can then be transferred to the teams across which the asset has been shared.
Note:
The client admins should select Linked in the status drop-down list to view Default and Shared Across teams.
Manage Facebook Channel
The client admins and team managers can manage existing Facebook pages.
Client Admin
- Go to assets > channel assets.
- Select Facebook channel.
- Click Edit icon in the actions column of a specific page. The following screen appears.
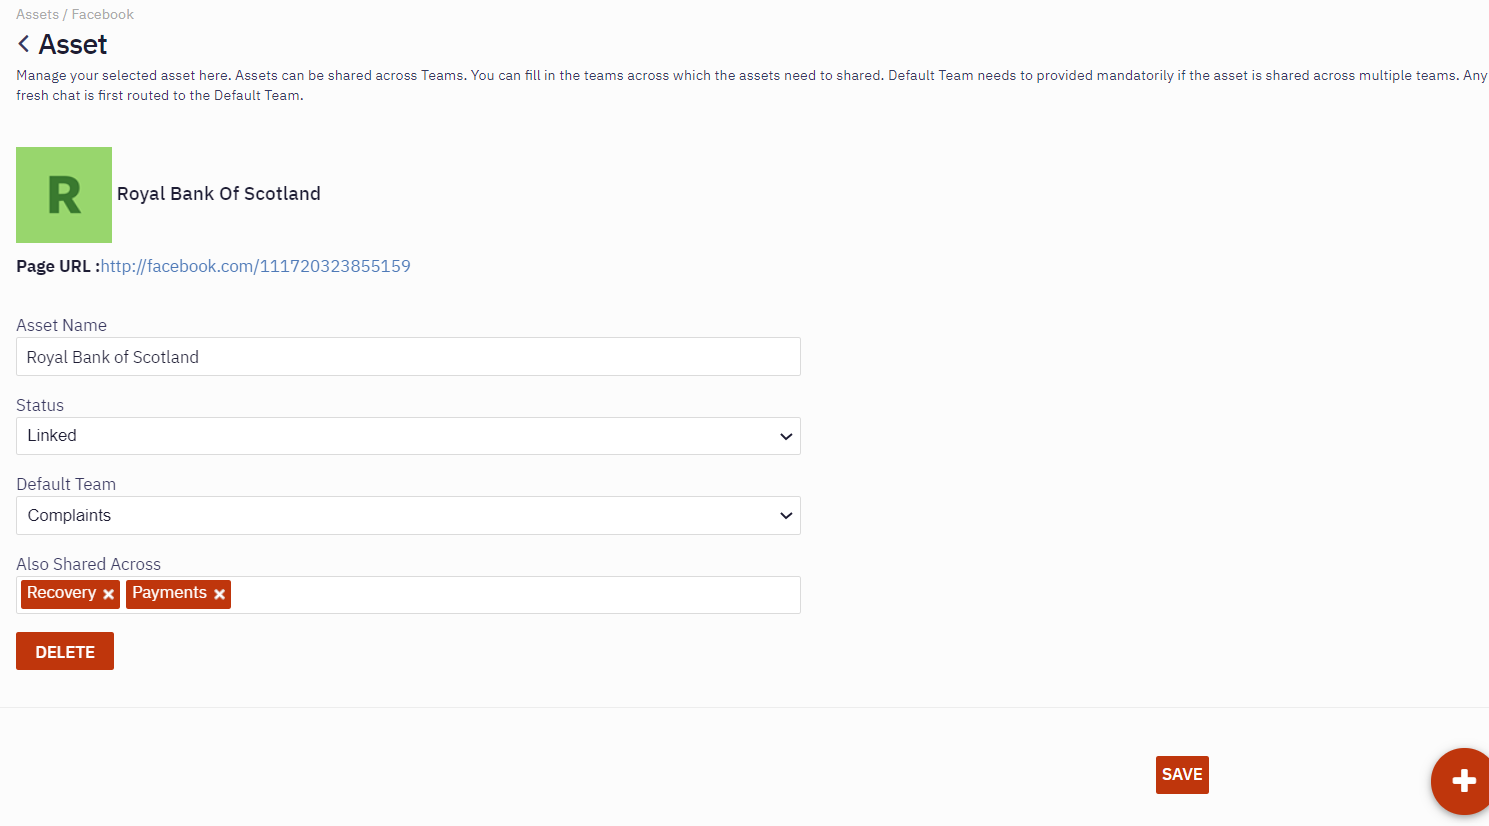
- Select Linked option from the status drop-down list to link a Facebook page and click Save.

- Select Unlinked option from status drop-down list to unlink a page and click Save.
A success message appears on the screen. - Click Delete icon to delete a linked or unlinked page.
A success message appears on the screen.
Team Manager
- Go to settings > channels > Facebook
- Select Facebook channel.
The following screen appears.
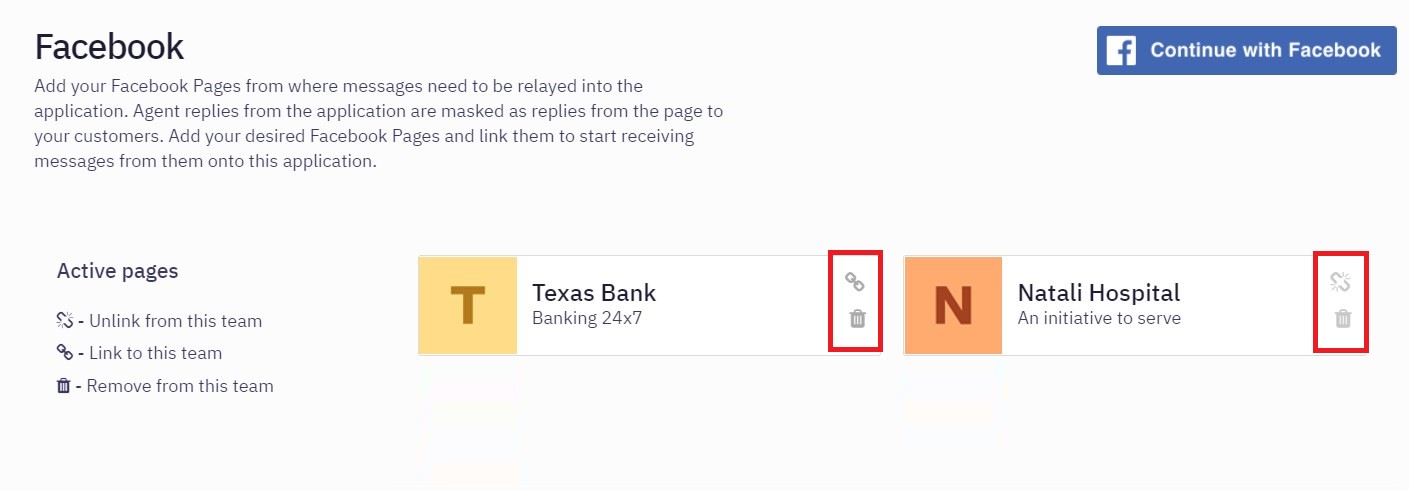
All the pages created for this team will be visible on the screen.
3. Click Link icon beside a specific page name to link a page.
The success message appears on the screen.
4. Select Unlink icon beside a specific page name to unlink a page.
The success message appears on the screen.
5. Select Delete icon beside a specific page name to delete a page.
The success message appears on the screen.
Note
If password of Facebook account through which pages are added/linked got changed then Unlink the page and Link it again by repeating the steps as described in the section above.
Updated almost 3 years ago
