File Destination
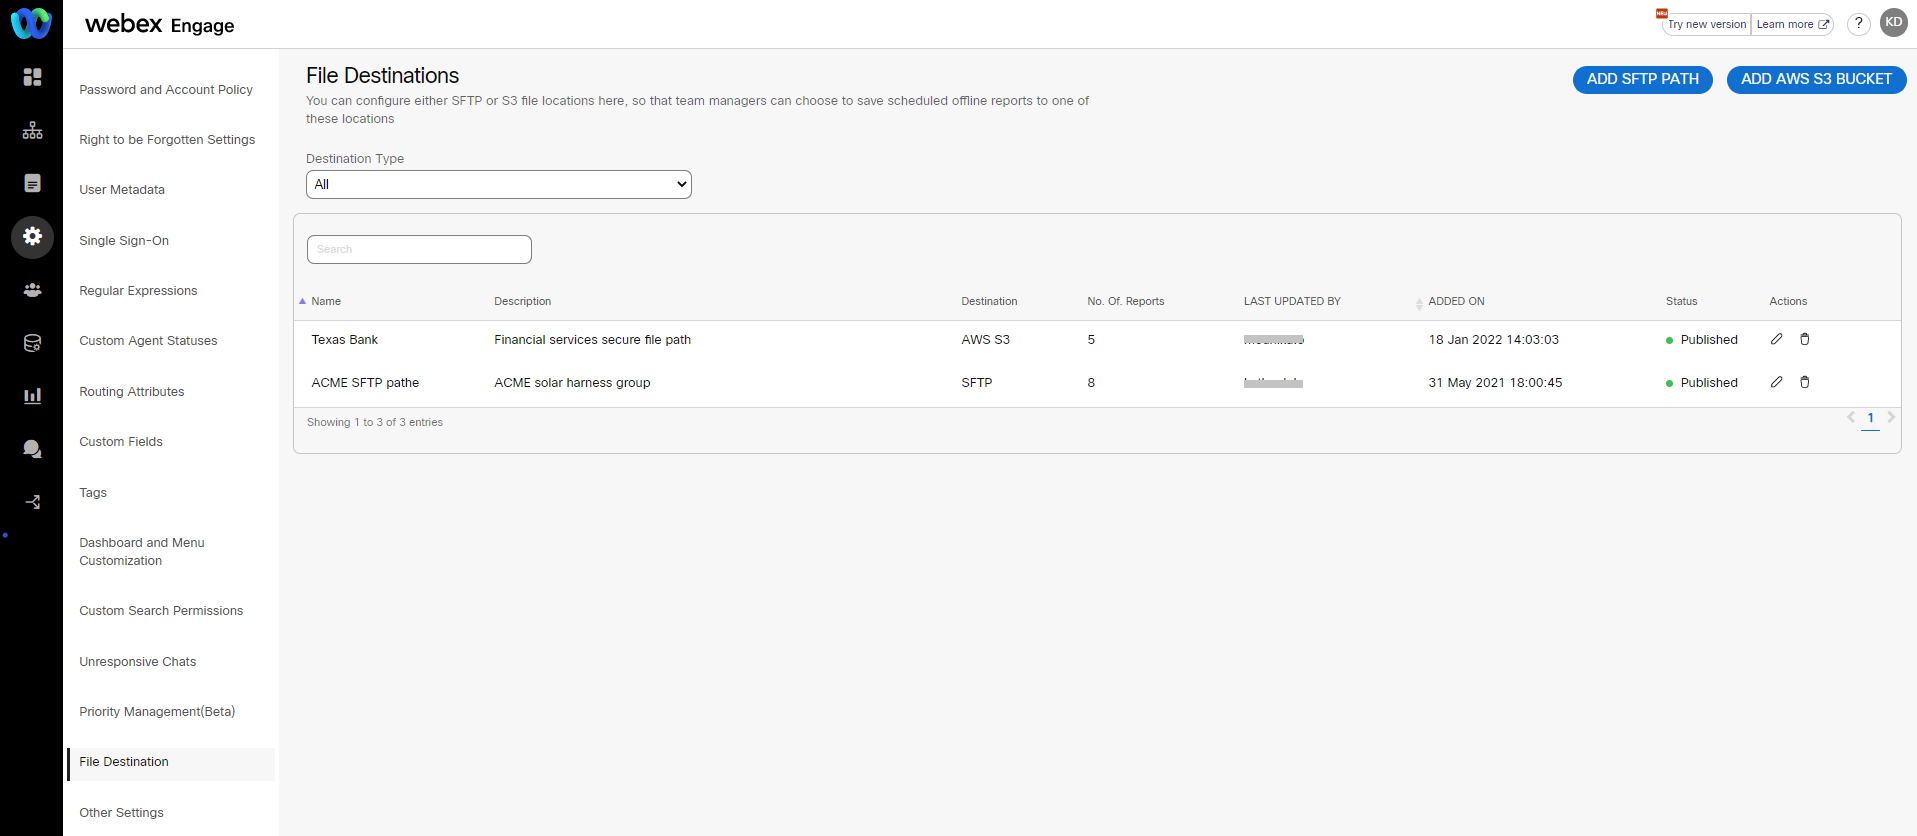
Client admins can configure and manage SFTP and AWS S3 file destinations on the File Destinations screen. While scheduling an offline report, team managers can view a list of destinations configured by the client admin on the Schedule Offline Reports screen.
Add SFTP Path
To add an SFTP path, follow the below steps:
- Navigate to Client Admin Console > Settings > File Destinations.
The following screen appears.
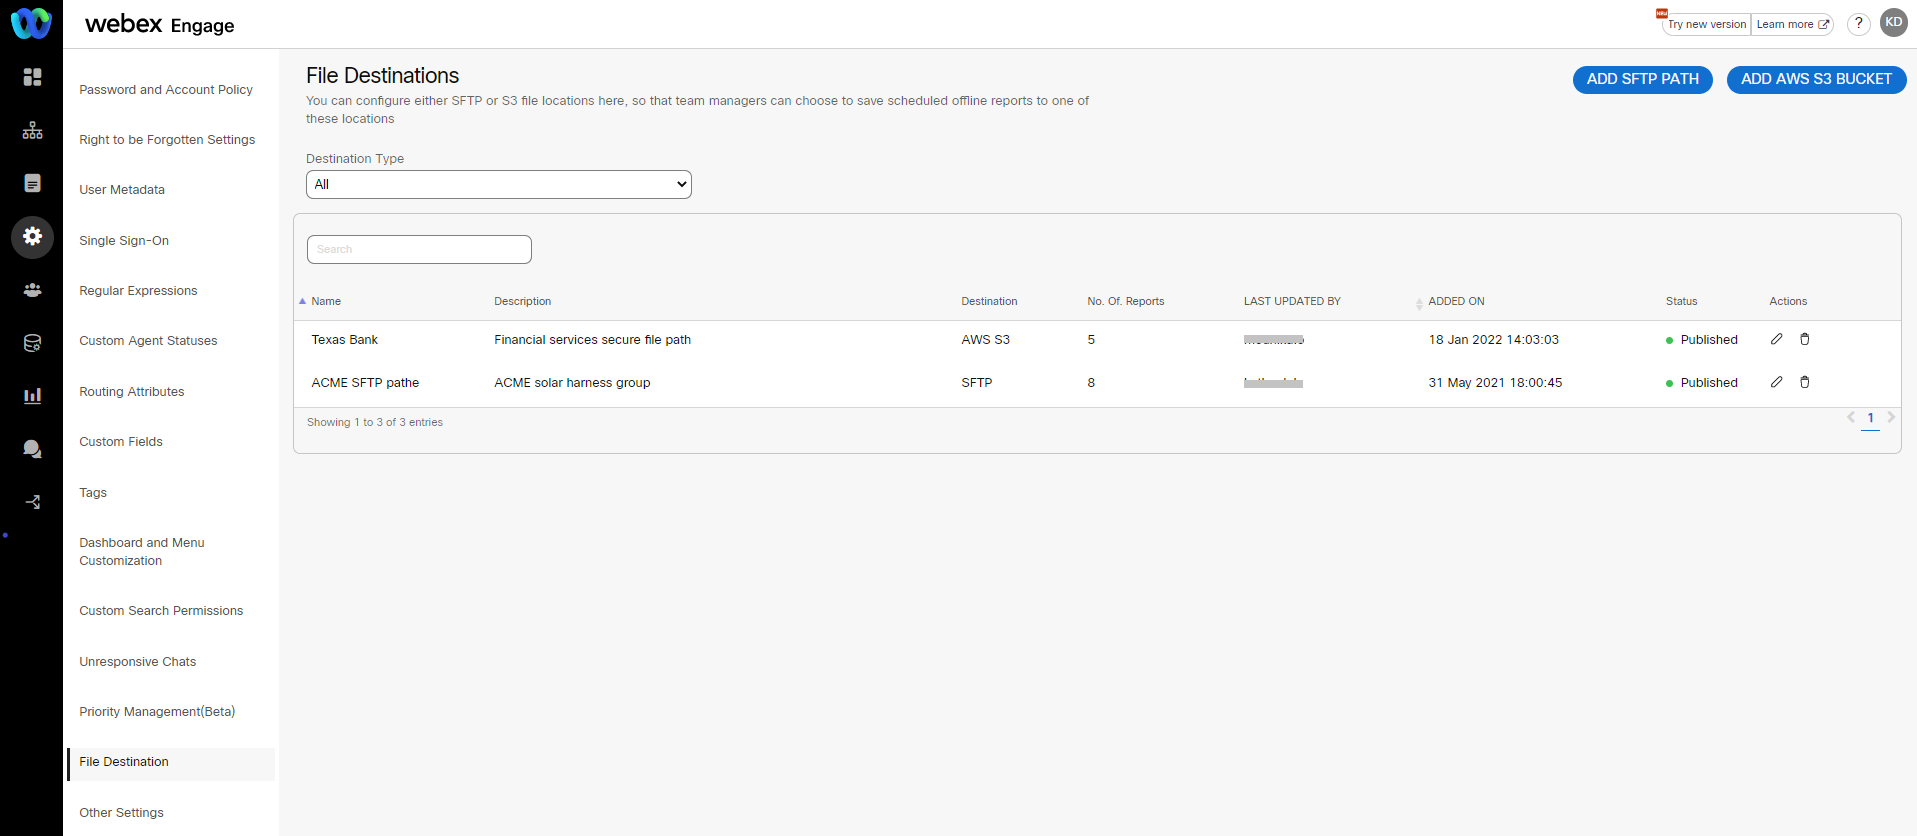
- Click the ADD SFTP PATH button on the top-right corner of the screen.
The following screen appears.
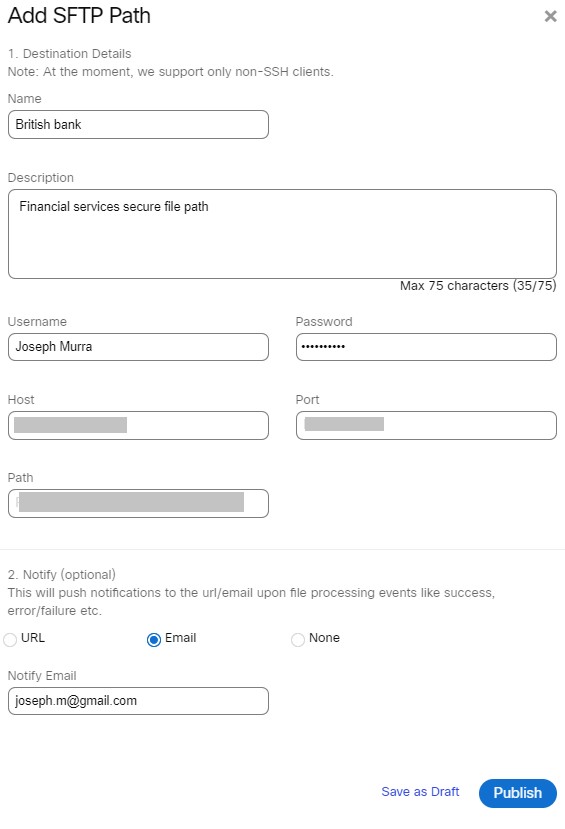
- Enter Name and Description for the SFTP path.
- Enter Username, Password, Host, Port, and Path configuration details.
- Choose a notify radio button, to push a notification to the configured URL/email address.
- If you select URL radio button, a text field appears. Enter the URL in that field.
- If you select Email radio button, a text field appears. Enter the email address in that field.
- Choose none, if you do not wish to notify about the file processing events.
- Click Save as Draft button, to save a draft copy of the file destination.
- Click Publish button, to publish the file destination.
The success message appears on the screen.
Add AWS S3 Bucket
To add an AWS S3 bucket, follow these steps:
- Navigate to Client Admin Console > Settings > File Destinations.
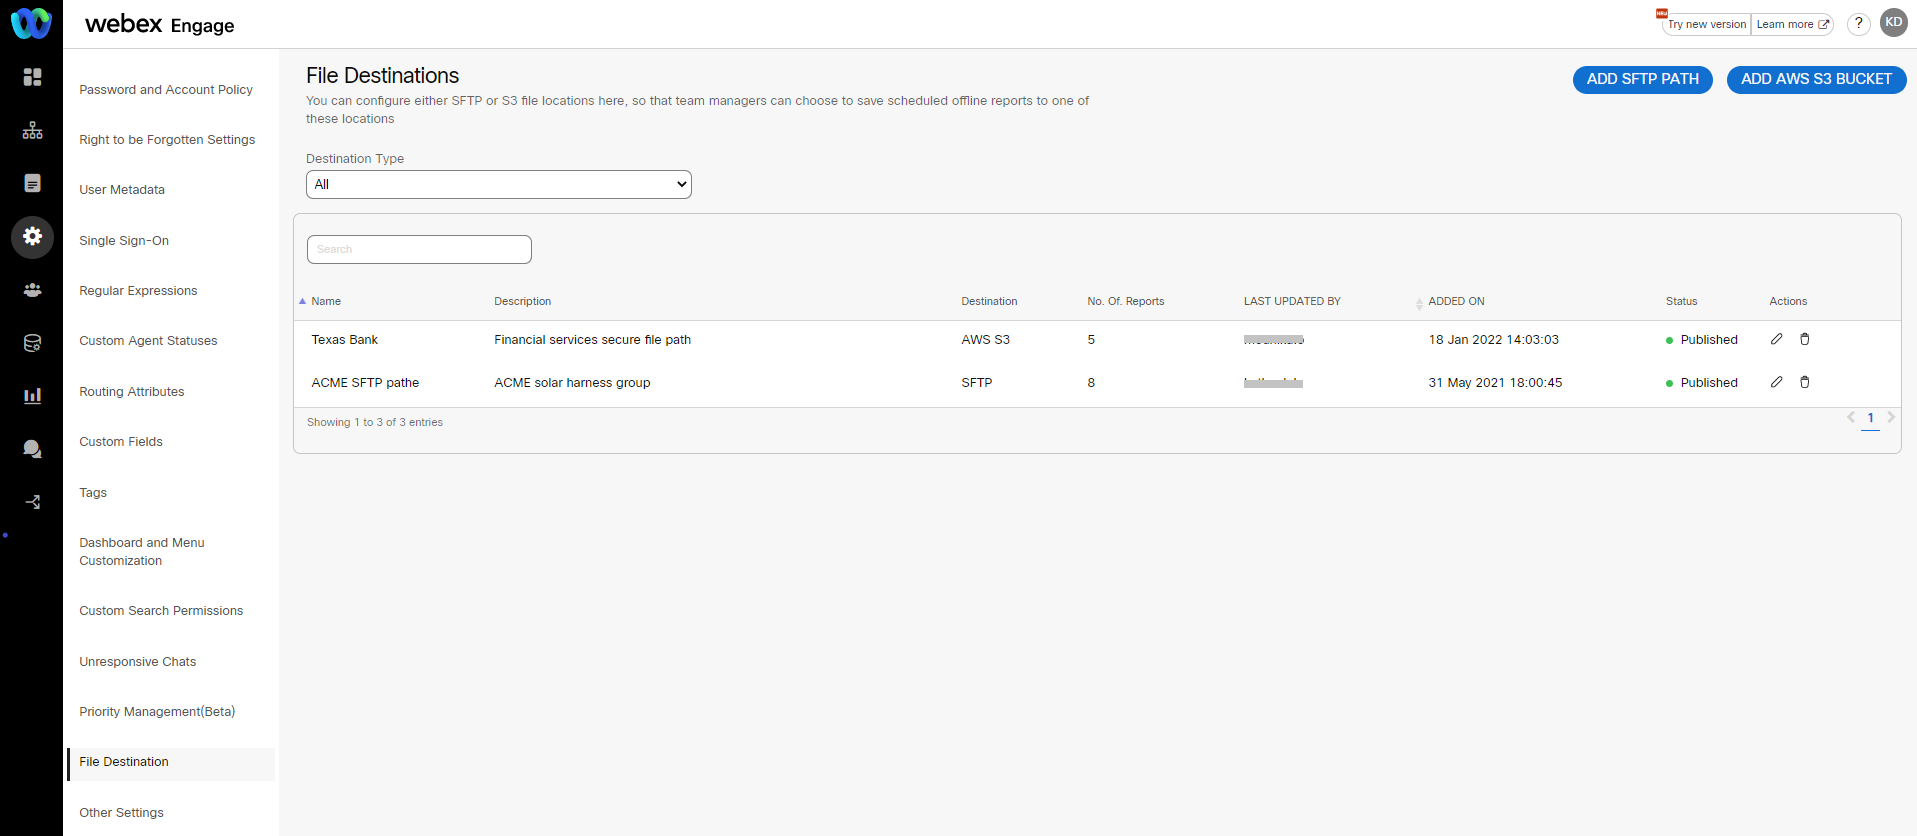
The following screen appears.
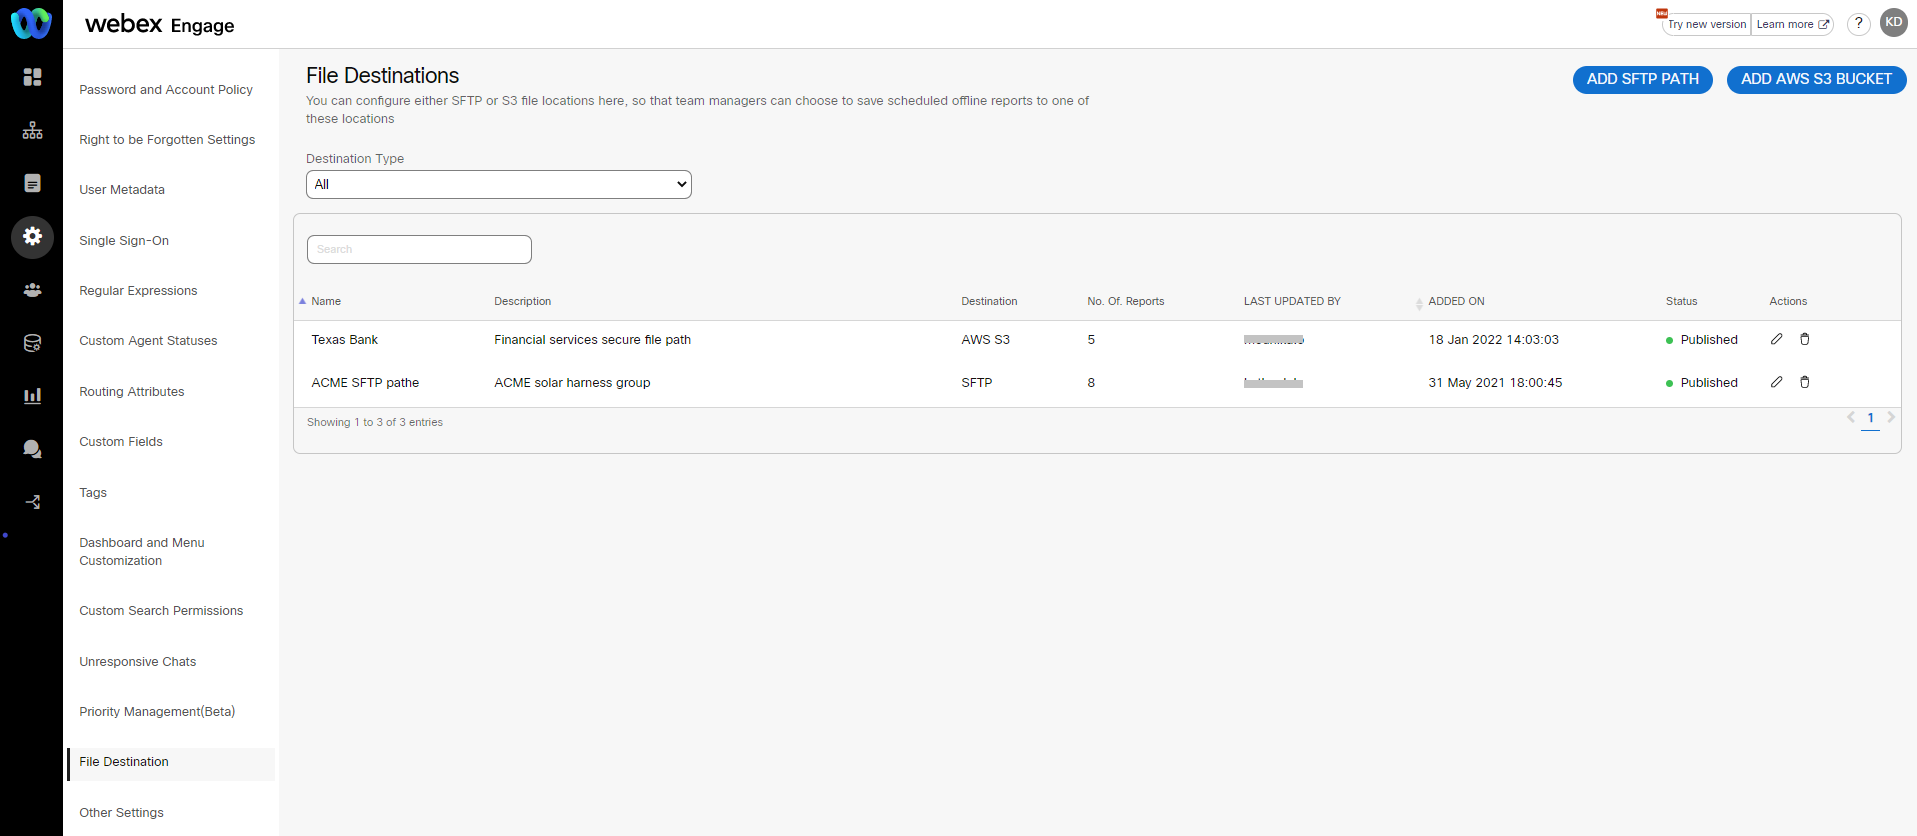
- Click the ADD AWS S3 BUCKET button on the top-right corner of the screen.
The following screen appears.
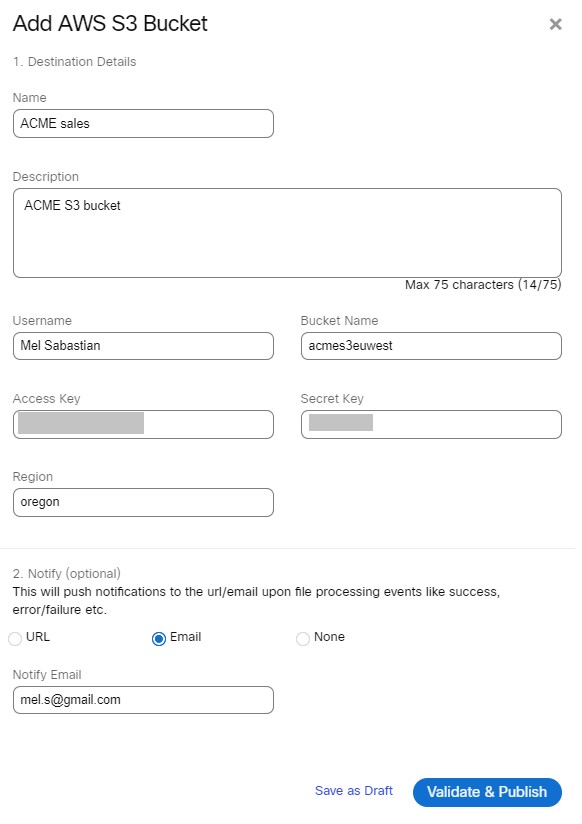
- Enter Name and Description for the AWS S3 bucket.
- Enter Username, Bucket Name, Access Key, Secret Key, and Region configuration details.
- Choose a notify radio button, to push a notification to the configured URL/email address.
- If you select URL radio button, a text field appears. Enter the URL in that field.
- If you select Email radio button, a text field appears. Enter the email address in that field.
- Choose none radio button, if you do not wish to notify about the file processing events.
- Click Save as Draft button, to save a draft copy of the file destination.
- Click Validate and Publish button, to publish the file destination.
The success message appears on the screen.
Note:
Client admin can configure a maximum of 50 file destinations which includes both SFTP path and AWS S3 bucket destinations.
Search SFTP Path/AWS S3 Bucket Destination
To search SFTP path/AWS S3 bucket destination, enter the search criterion in the search field and the relevant results will be displayed on the File Destination screen.

Filter SFTP Path/AWS S3 Bucket File Destinations
Client admin can filter and view the file destinations using the Destination Type filter drop-down available on the File Destinations screen. The admin can filter the destinations using the following filter options:
ALL: Displays all the configured file destinations.
SFTP Path: Displays only SFTP path file destinations.
AWS S3 Bucket: Displays only AWS S3 bucket file destinations.
Edit SFTP Path/AWS S3 Bucket Destination
To edit the SFTP path/AWS S3 bucket destination, click the Edit icon in the actions column of a specific destination. Edit the required fields and click Publish (SFTP Path) or Validate and Publish (AWS S3 Bucket). The success message appears on the screen.
Delete SFTP Path/AWS S3 Bucket Destination
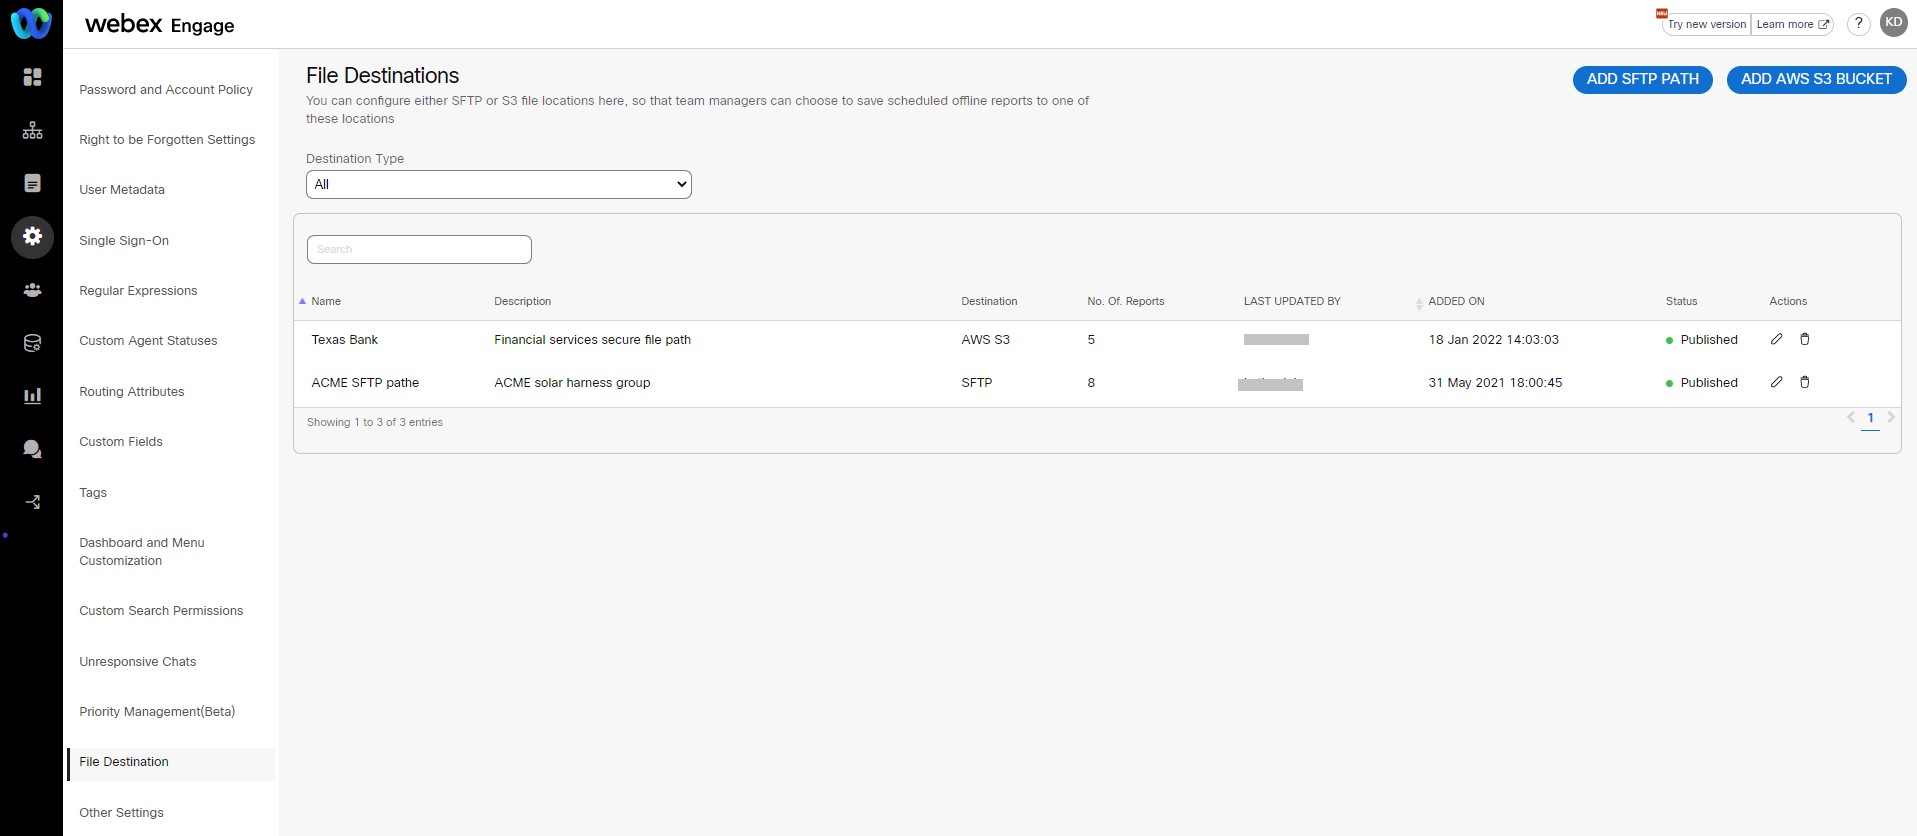
To delete the SFTP path/AWS S3 bucket destination, click the Delete icon in the actions column of a specific destination. The success message appears on the screen.
Note:
The Webex Engage will not allow you to delete a destination if one or more offline reports have this destination configured. The delete option will appear greyed out on the file destination screen, and information will appear when you hover upon the delete icon. You can perform the delete action only when the destination is disabled on the configured offline reports.
Updated almost 3 years ago
