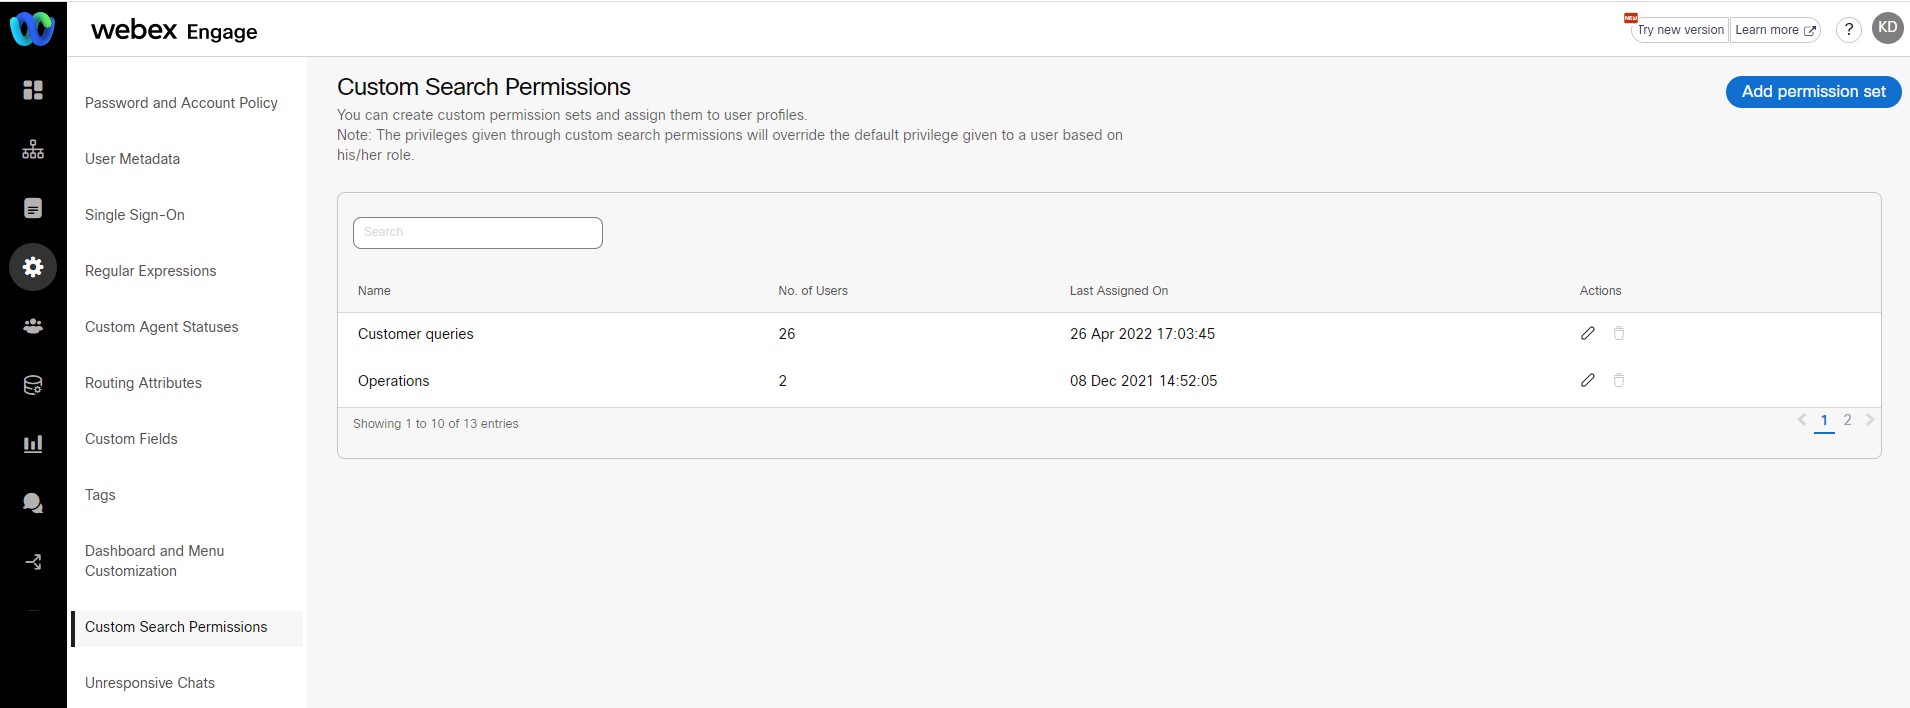
Custom Search Permissions
Webex Engage allows client admins to create custom permission sets and assign these to individual user profiles. Irrespective of the role a user is assigned or teams a user has access to, custom permissions will enable the user to use search functionality as per the custom permission set assigned to them.

Add Permission Set
Follow these steps to add a permission set:
- Navigate to Admin Console > Settings > Custom Search Permissions.
- Click Add Permission Set.
The following screen appears.
- Enter Name.
- Select the checkbox against each team to provide the access permission to them.
- When View Search Results permission is enabled, user can view only the search metadata such as Chat ID, Customer ID, Channel, Agent ID etc. However, this permission does not enable the user to view the chat conversation.
- When View Chat Log permission is enabled, user can view the search metadata along with the chat conversation.
- Click Submit.
A confirmation message appears on the screen.
Note:
To view chat log permission, it is mandatory to provide view search results permission first.
Assign Permission Set to a User
Follow these steps to assign a permission set to a user:
- Navigate Admin Console > Users > Edit Profile.
- Go to Custom Permissions section and select the Permission Set.

- Click OK.
Note:
Once a custom permission set is mapped to a user profile, it will override all the default permissions that the user might have as per his/her role and team.
Updated almost 3 years ago
