
Custom fields
You can configure and manage the profile and conversation fields in the Custom Fields section. Once you configure custom fields, agents can use these custom fields to add additional information to customers' profiles and conversations. After mapping these values, the agent can even use them to search for a conversation.
Profile fields
To configure a profile field, follow these steps:
- Login to Webex Engage and click the Try new version button on the top-right corner of the application.
The Webex Engage React application will launch. - Navigate to Settings > Agent console > Custom fields.
The following screen appears.
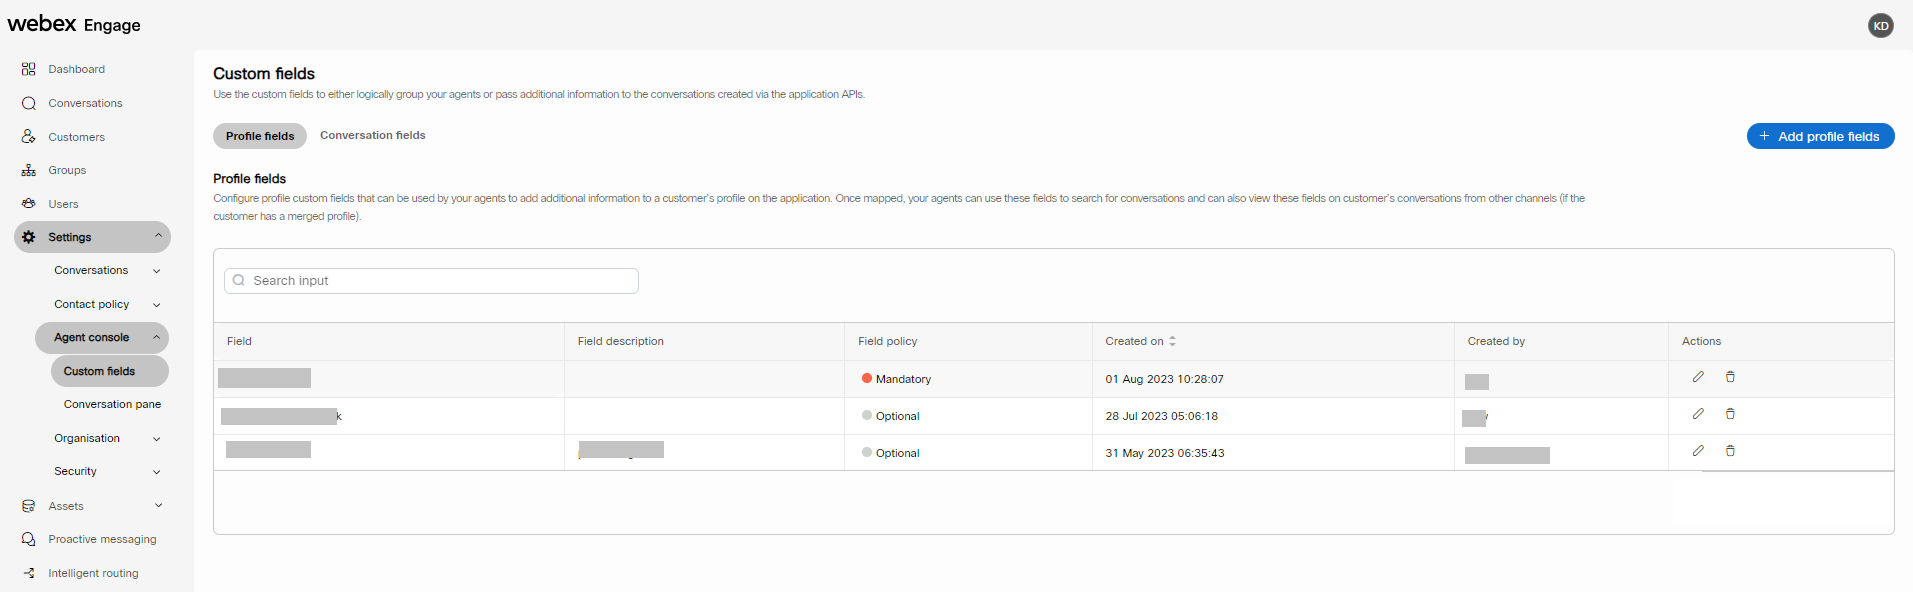
- Click the Profile fields tab.
- Click Add profile fields on the top-right corner of the application.
The following window appears.
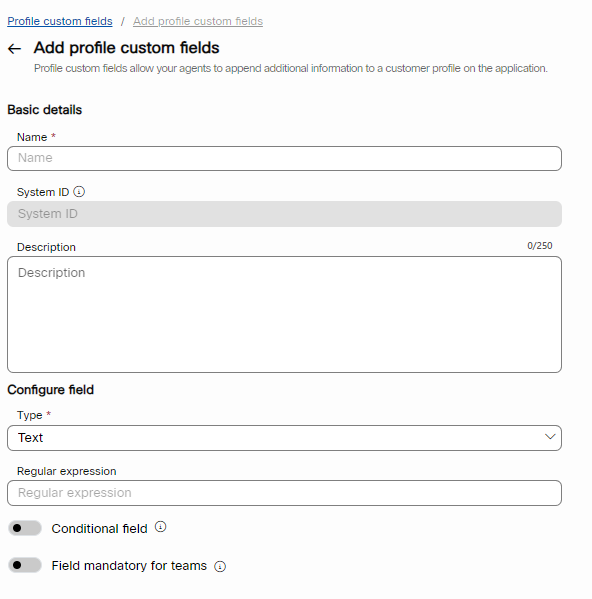
- Enter the name in the Name field and the description in the Description field.
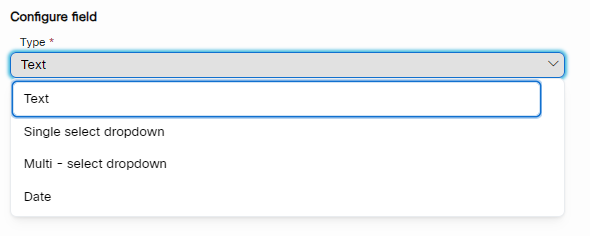
- Select the text type from the Type drop-down list.
- Enter the pattern in the Regular expression field.
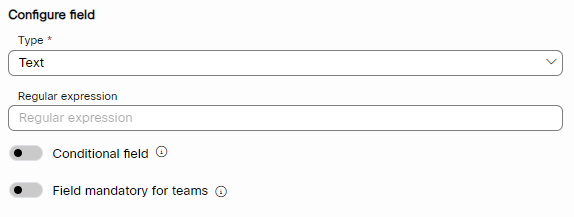
- Turn ON the Conditional field toggle to configure a condition based on the mandatory custom fields and plan when to show them on the agent console.
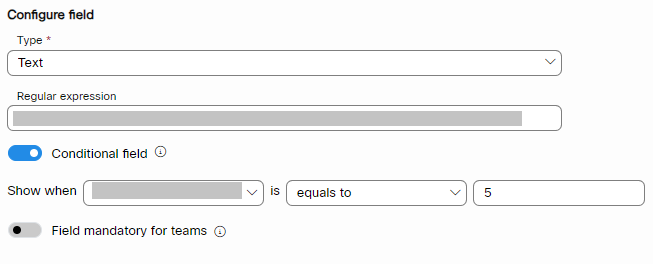
- Select when to display the custom fields by selecting an option from the Shown when drop-down list.
- Select equals to or not equals to condition and enter the value in the respective text field.
- Turn ON the Field mandatory for teams toggle to select the list of teams for which the user must enter the profile custom fields before sending or/and closing a conversation.

- Click Save.
Conversation fields
To configure a profile field, follow these steps:
- Login to Webex Engage and click the Try new version button on the top-right corner of the application.
The Webex Engage React application will launch. - Navigate to Settings > Agent console > Custom fields.
The following screen appears.
- Click the Conversation fields tab.
- Click Add profile fields on the top-right corner of the application.
The following window appears.

- Enter the name in the Name field and the description in the Description field.
- Select the text type from the Type drop-down list.
- Enter the pattern in the Regular expression field.
- Turn ON the Conditional field toggle to configure a condition based on the mandatory custom fields and plan when to show them on the agent console.
- Select when to display the custom fields by selecting an option from the Shown when drop-down list.
- Select equals to or not equals to condition and enter the value in the respective text field.
- Turn ON the Field mandatory for teams toggle to select the list of teams for which the user must enter the profile custom fields before sending or/and closing a conversation.
- Click Save.
Updated over 2 years ago
Did this page help you?