Email Channel
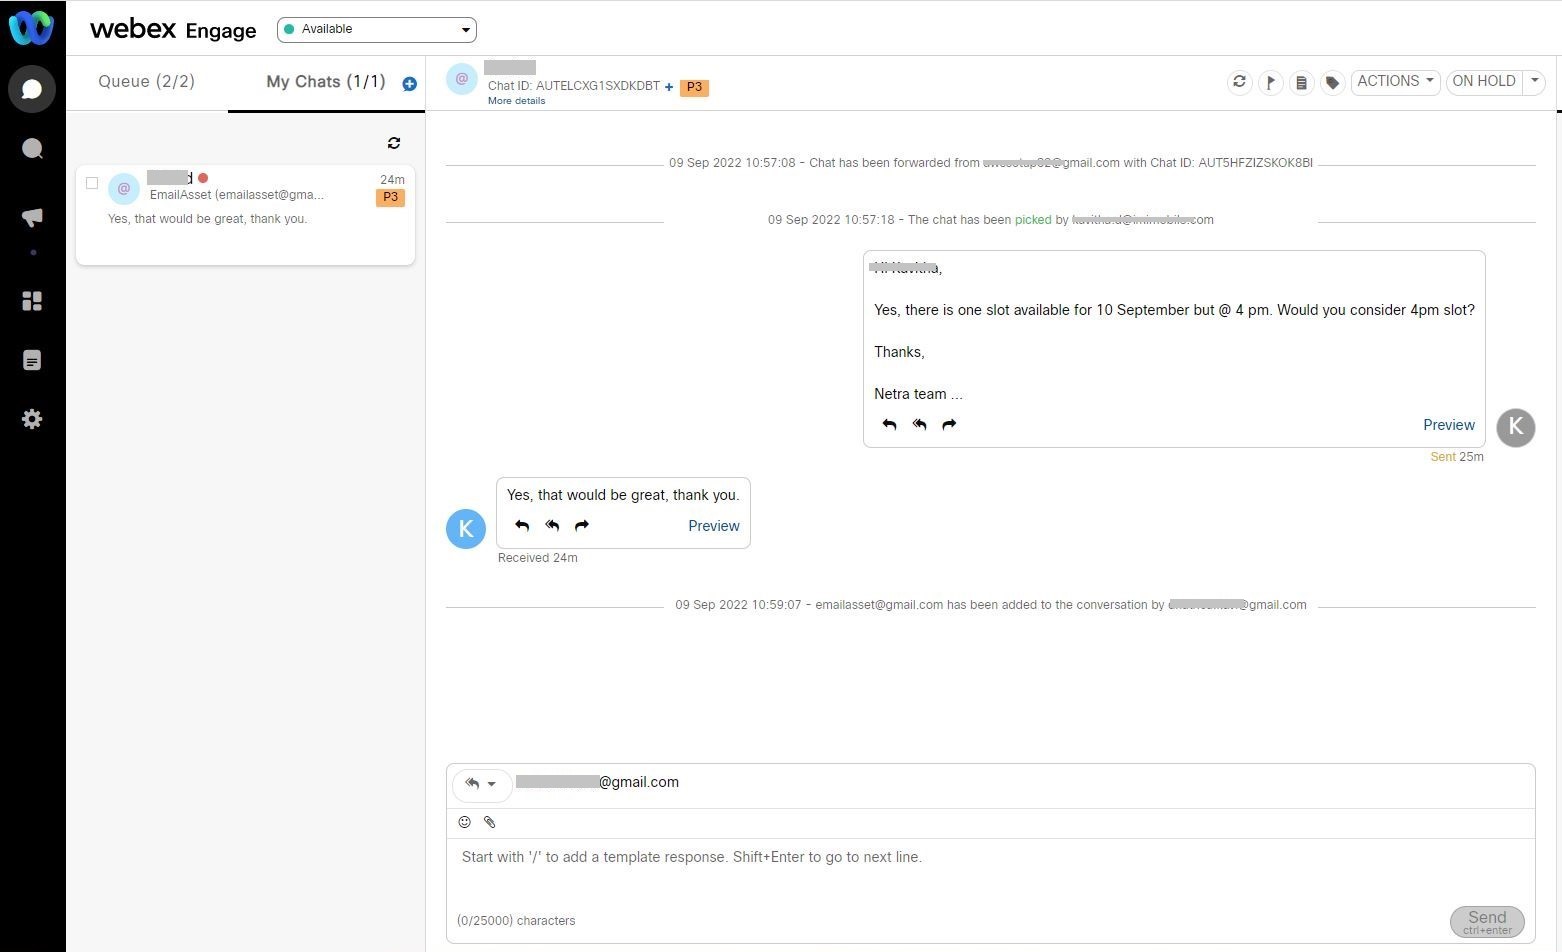
Webex Engage's email channel enables customers to send emails to the support mailbox. These emails are created as chats within Webex Engage, and agents can respond to these emails from Customer Care Console.

Setting up an Email Account
Client admins and team managers can set up email accounts of the support help-desk on Webex Engage.
Client Admin
To add an email asset, client admin must follow below steps:
- Click floating button on the bottom-right-corner of the screen and click Add Asset.
The following pop-up window appears.
- Select Email channel and click Add.
You will navigate to the following screen.
- Enter the Asset Name and Email ID.
- Select SMTP or Hook URL radio button to send agent replies via email.
- Enter SMTP details .
- Test the connection by clicking Test Connection button.
- If you choose Web Hook URL, provide Hook URL and Data information in the respective fields.
- Select Default Team and Shared Across Team from the respective drop-down list.
- Click Save.
The success message appears on the screen.
Team Manager
To add an email account, team manager should follow below steps:
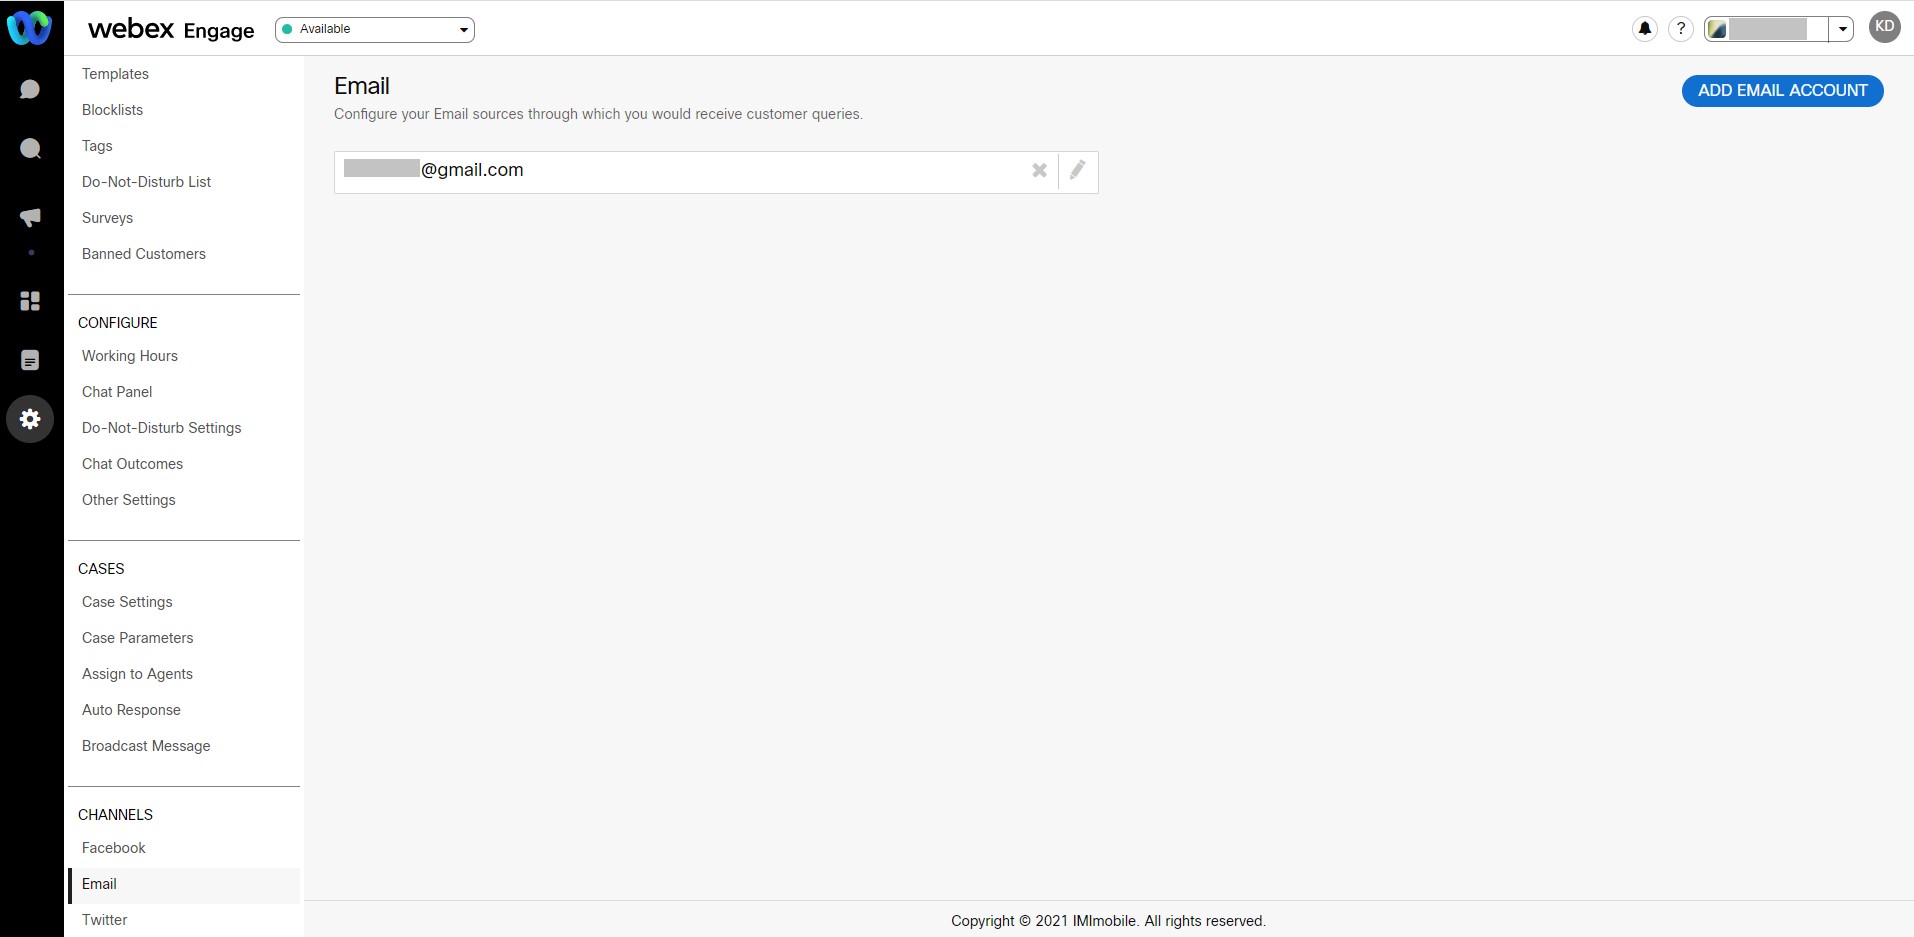
- Go to Customer Care Console > Settings > Channels > Email.
The following screen appears.

- Click Add Email button on the top-right corner of the screen.
The following screen appears.
- Enter the Asset Name and Email ID.
- Select SMTP or Hook URL radio button to send agent replies via email.
- Enter SMTP details .
- Test the connection by clicking Test Connection button.
- If you choose Web Hook URL, provide Hook URL and Data information in the respective fields.
- Click Save.
The success message appears on the screen.
Updated almost 3 years ago
