Priority Configuration - LiveChat
Given the nature of the LiveChat channel asset, where multiple websites can be mapped under a single channel asset, client admins can configure independent priorities for each website.
Configuring priorities for a single website
To configure priorities for a website, the client admin should follow the below steps:
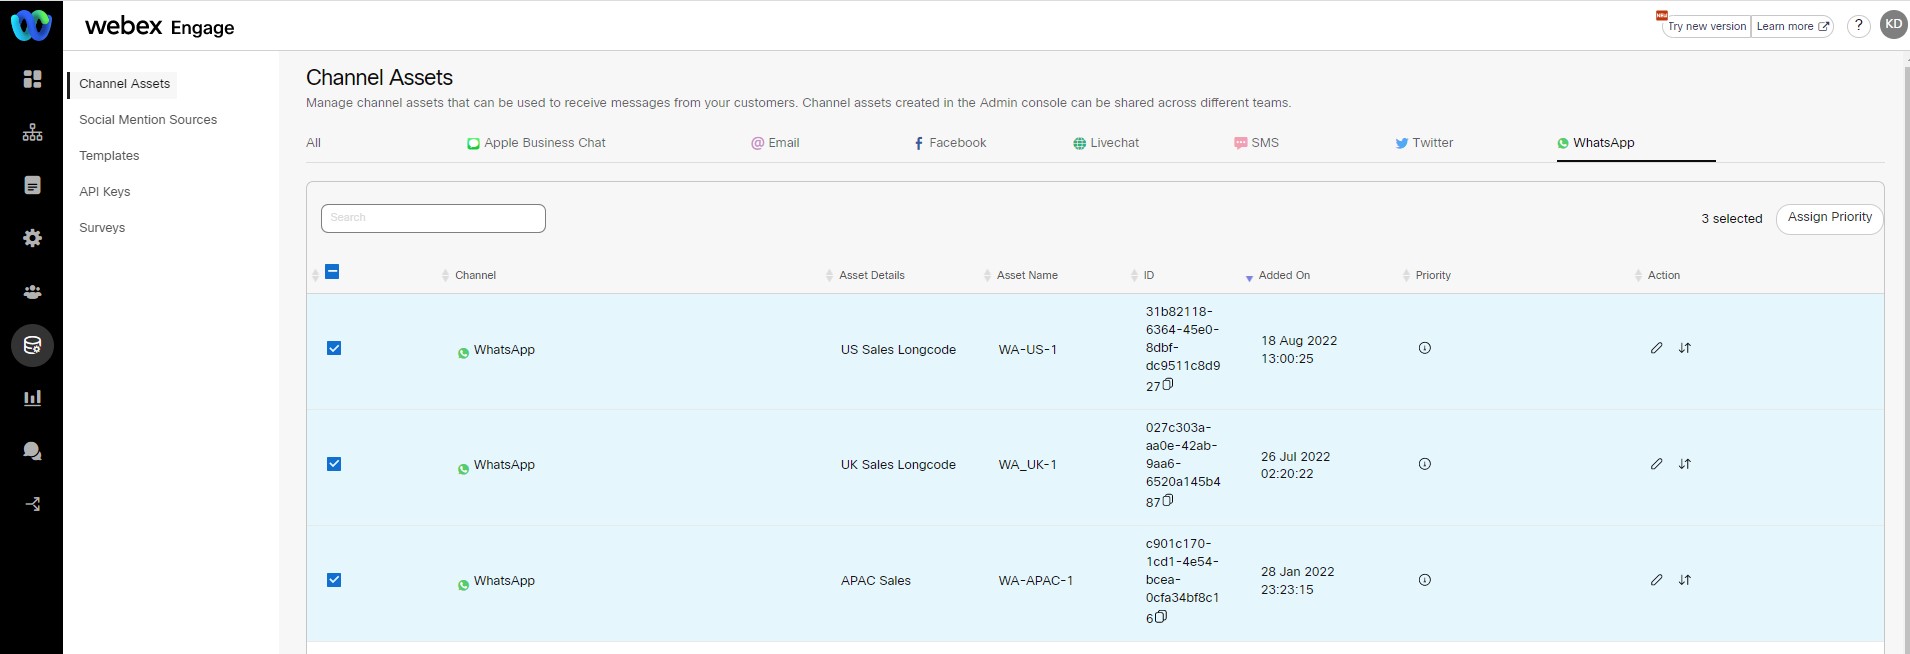
- Go to Client Admin Console > Assets > Channel Assets.
- Select LiveChat channel.
- Click set priority icon from the desired asset row, under Action column of a specific asset.
The following popup will be displayed with the list of websites mapped under the respective asset.
- Choose desired asset priority from the Select Priority Level drop-down list.
- Select the Configure Auto Escalation checkbox to view existing auto escalation rules if any or to add new auto escalation rules.

- Click + Add Another Auto Escalation Rule button to populate a next-level auto-escalation rule.
- Repeat this process for each website you want to set different priority configurations.
- Click Apply button to apply these settings to the respective websites.
The success message appears on the screen.
Configuring priorities for multiple websites
Client admin can also configure priority and auto-escalation settings for multiple websites at once, through bulk assign priority feature.
To configure priorities for multiple websites, client admins should follow below steps:
- Go to Client Admin Console > Assets > Channel Assets.
- Select the LiveChat channel.
- Click set priority icon from the desired asset row, under Action column of a specific asset.
The following popup will be displayed with the list of websites mapped under the respective asset.
- Choose desired asset priority from the Priority drop-down list for the respective websites.
- Select Configure Auto Escalation checkbox of each website.
The following options will appear on the screen.
- Enter the Auto Escalate Priority After time in minutes or hours (Max allowed value is 9999).
- Click + Add Another Auto Escalation Rule button to populate a next-level auto-escalation rule.
- Click OK.
The success message appears on the screen and you will be navigated to the initial Priority Configuration pop-up window. - Click Apply button to apply these settings to all the websites that have been selected.
The success message appears on the screen.
Updated almost 3 years ago
