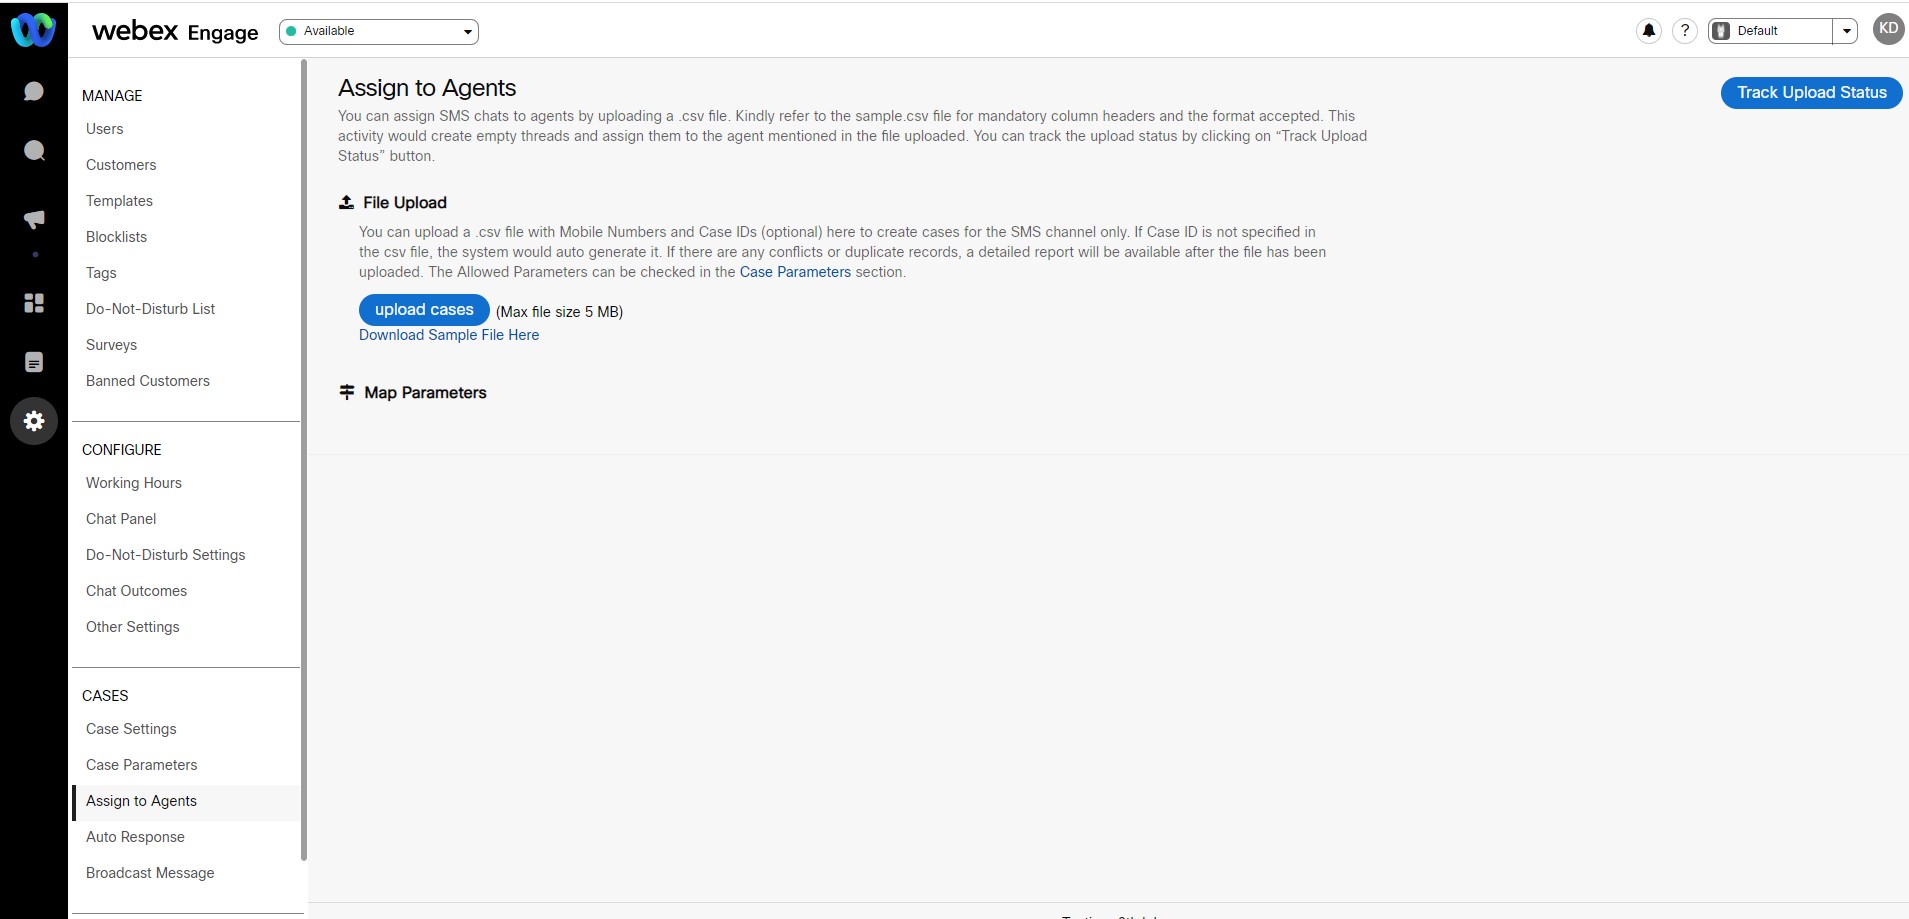
Assign to Agents
This feature is deprecated and is no longer available.
The assign to agents feature allows you to perform bulk operations and continue with other actions while it gets executed in the background. You can use this feature to create multiple cases and assign them to agents in bulk.
To upload multiple cases, you can upload a .csv file that contains MSISDNs and corresponding Case IDs and Agent IDs. The file is validated in the back end, and an email is sent to the team manager in case of any conflicts or a successful upload. This will allow the agents to take immediate action on the chats. The status of the uploaded files can be checked in the Track Upload Status screen.
Note
This feature is available only for the SMS channel. The mobile number is mandatory, but the Case ID is not. If you don't provide a Case ID, then the application automatically creates a Case ID (format: CSXXXXXXXXX).
To assign SMS chats to agents, follow these steps:
- Go to Customer Care Console > Settings > Cases > Assign to Agents.

- Click Download Sample File Here, enter all the required fields and save the file.
- Click Upload cases to browse and select the .csv file from the local system. On successful upload, a confirmation message is displayed.
Note
- You can upload only .csv files and the maximum allowable file size is ≤ 5 MB.
- The first row of the file must be the header row.
- The column headers must match the alias name configured in the parameters list.
- You can upload a file with up to 25 columns.
- The agent ID column is mandatory in the .csv file.
After uploading, the Map Parameters fields will appear on the screen.
- To map parameters, select the Mobile Number, Chat ID, and the Long Code (which will be displayed as sender ID) details from the respective drop-down lists.
4. Click Next.
The following checks are performed:
Mobile Number:
- All values in the mobile number column must contain numbers.
- The length of the mobile number must be 12. (including the ISD code)
- There cannot be any duplicate mobile numbers in the file.
- There cannot be any live cases for a mobile number in the file.
Case ID:
- There cannot be any duplicate case IDs in the file.
- There cannot be any cases in the application with identical case IDs in the file.
- Parameters in the columns must match the pre-configured parameter list.
- The length of the chat ID can be maximum of 16 characters.
Parameters:
- Column in the uploaded file must match with the configured parameter list.
- Parameter names must match the filed/column names defined in the uploaded file (.CSV) and should match exactly (case sensitive) the replaceable parameter name.
- The configured alias names must match the columns in the uploaded file.
- Click Next, the distribute section appears on the screen
- In the distribute section, click the Split the case equally between presently logged in agents option to assign the cases equally to all the currently active agents.
Note
If a team contains fewer cases than the agents, then a single case is assigned to each agent until all the cases are assigned.
- Click the Assign to agents based on Agent ID specified in the Agent ID column option and select a column (from the file uploaded) from the drop-down list. This selection will assign the case to a specific agent.
Note
If the Agent ID is not found, all such cases are assigned to agents equally.
- Click "Submit" to initiate the action to display a confirmation message.
After uploading the .csv file, a case gets created if there is no active case on the provided mobile number. As per the setting selection, the chat gets assigned to agents.
Track Upload Status
You can check the status of the uploaded files on the track upload status screen. You can also download and view the details of the failed reports on this screen.
The track upload status search results table displays the following information:
- File Name: Name of the .csv file
- Uploaded On: File upload date and time.
- Uploaded By: Name of the use who uploaded the file.
- Status: File upload status such as Completed/Completed with Errors/Failed/Uploading.
- Action: Link to download Report.
Track Upload Status
To track upload status, follow these steps:
- Click the Track Upload Status icon on the top-right corner of the screen.
- Select the date range from the Show activity between field and click Apply.
Note
Selection of dates is limited to 16 number of days only. The system will not allow to select next day preceding the 16th count.
- Click Search. You will view the relevant results on the screen.
- Additionally, to further filter the results, you can enter the name/updated by/status-related search keys in the search field. The respective search results will appear on the screen.
- Click the Download report under the Action column of a specific upload agents file to download it and view the failure reasons.
- You can fix the errors and reupload the file.
Updated almost 2 years ago
