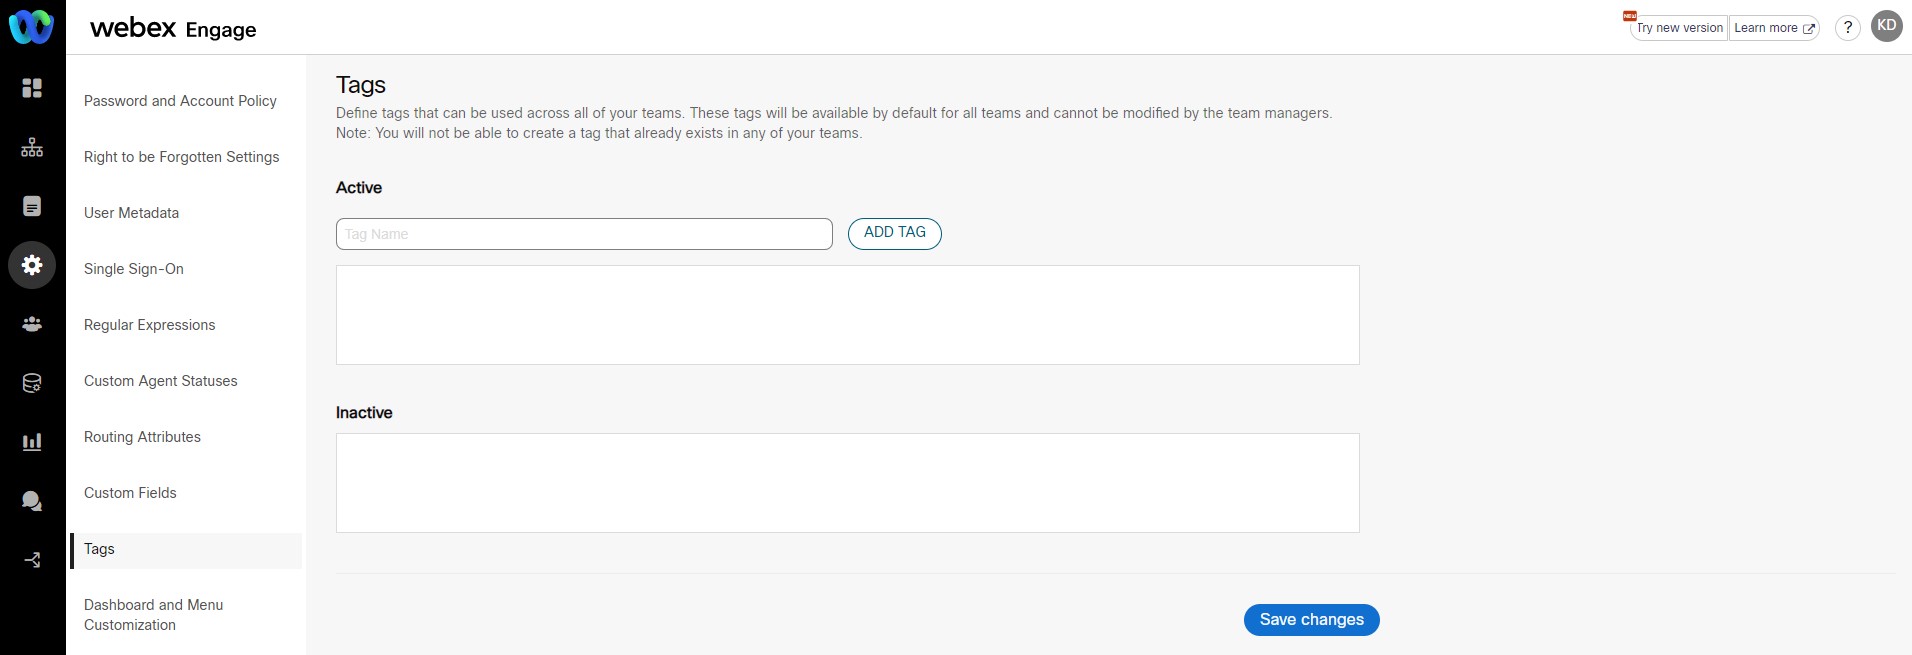
Tags
To make a set of tags available across all teams, client admins can configure tenant-level tags. These tags will be available by default in all the teams and cannot be disabled by the team managers in individual teams. Tenant-level tags also facilitate tagging of chats. When a chat is created using Webex Engage's APIs, only tenant-level tags can be used in the API parameters.
Add a Tag
Follow these steps to add a tag:
- Navigate to Admin Console > Settings > Tags.

- Enter Tag Name and click Add Tag.
- Click Save Changes.
Once added, the tag will be available in all the teams in active mode.
Disable a Tag
To disable an Active Tag, click Delete icon beside a tag in the Active Tag section and click Save Changes. This tag is deleted from the Active Tag section and moved to Inactive Tag section.
Re-activate a Tag
To activate an inactive tag, click + icon beside a tag in inactive tags section and click Save Changes. The tag will be moved to Active Tag section.
Updated almost 3 years ago
