Business hours
You can configure business hours for your team and send auto-response messages to customers when they reach out during agents' Out-of-Office hours.
How to configure business hours for a team
- Login to Webex Engage and click the Try new version button on the top-right corner of the application.
The Webex Engage React application will launch. - Navigate to Settings > Contact policy > Business hours.
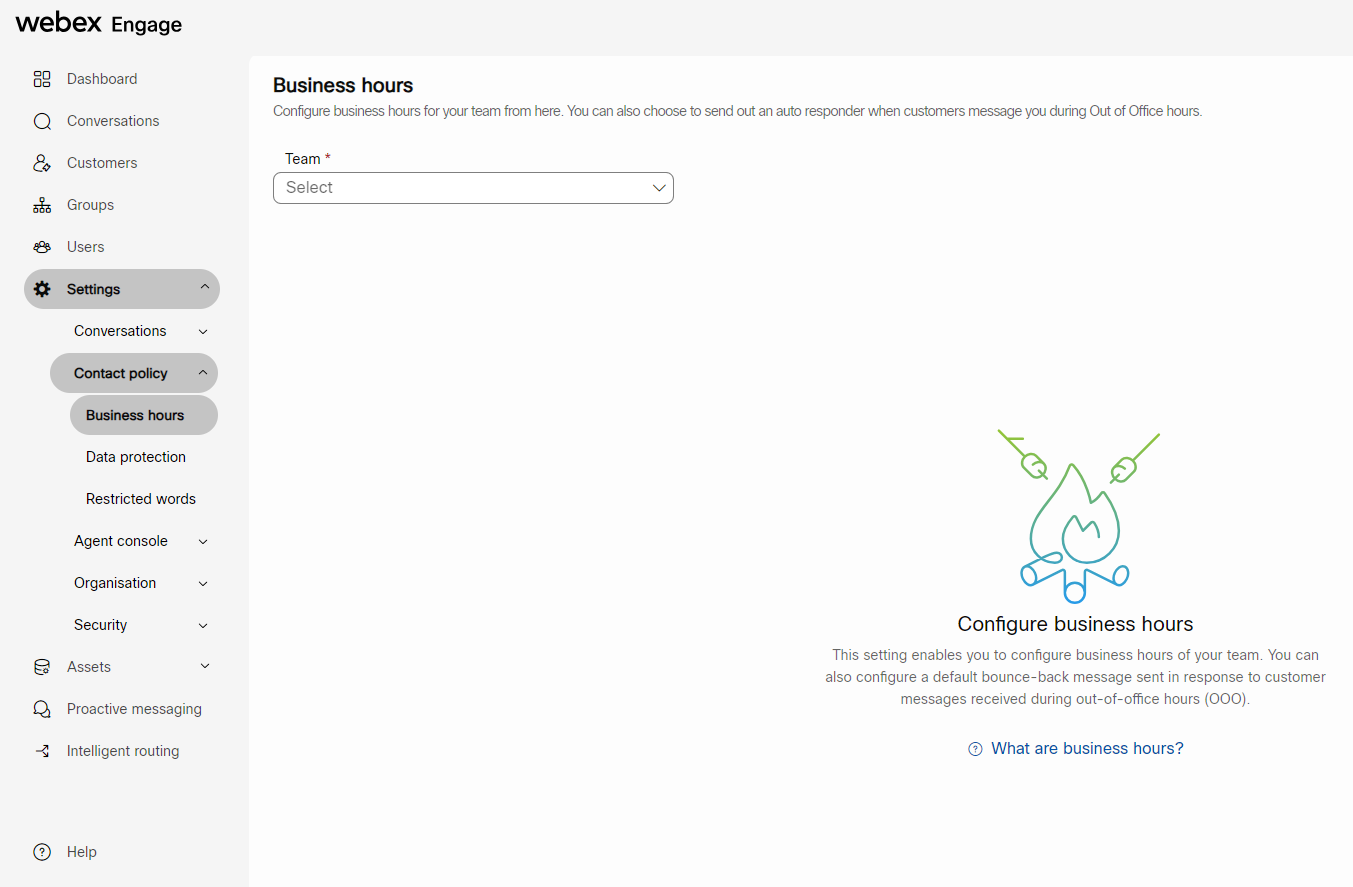
The following screen appears.

- Select a team from the Team drop-down list.
The following settings will appear.

You can override the configured office hours and time settings through the Force turn-off console feature.
- You can forcefully shut down the chat service indefinitely (Example: Holidays or Other Major Events) by turning ON/OFF the Force turn-off console toggle.
During this period, the configured OOO message is sent to all the customers in response to their messages.
You can restart the chat service by disabling the Force Turn-Off option. - Select a time zone for a team from the Time zone drop-down list.
- Select Same timings for all selected days or Different timings for selected days radio button based on the business need.

- If you select the Same timings for all selected days radio button, the timings entered will apply to the selected days. Otherwise, you can use the existing default timings, 00:00 to 23:59, from Monday to Sunday.
- Select the Working Days, and set the Business hours by clicking the Clock icon. The Choose Time pop-up window is displayed.
- Turn ON the All Day toggle to keep the agents available 24 hours a day.
- Select Different timings for selected days radio button to configure separate timing for each day of the week based on the business need.
- Select the Working Days for which the timing needs to be configured.
- Set the start and end office timings by clicking in the respective fields.
- Turn ON the All Day toggle to make the agents available 24*7 on the selected day.
The time fields will disappear when you turn on the All Day toggle.
- Select the Send an auto response during non-working hours checkbox to send an automated message to the customers when the agents are during out-of-office hours (OOO).

- Enter the customized message that needs to be sent to the customer during out-of-office hours in the given text box.
- Click Save.
A confirmation message appears on the screen.
Note
When a conversation is active, the application restricts the OOO messages, and customers will not receive OOO messages even when the Send an auto response during non-working hours checkbox is selected.
Updated almost 2 years ago
