
Conversation pane
You can manage the conversation pane global and team-level settings in the Conversation menu.
Global settings
You can configure emojis, attachments, and other common settings under the Global settings tab.
To configure global settings, follow these steps:
- Login to Webex Engage and click the Try new version button on the top-right corner of the application.
The Webex Engage React application will launch. - Navigate to Settings > Agent console > Conversation pane.
The following screen appears.
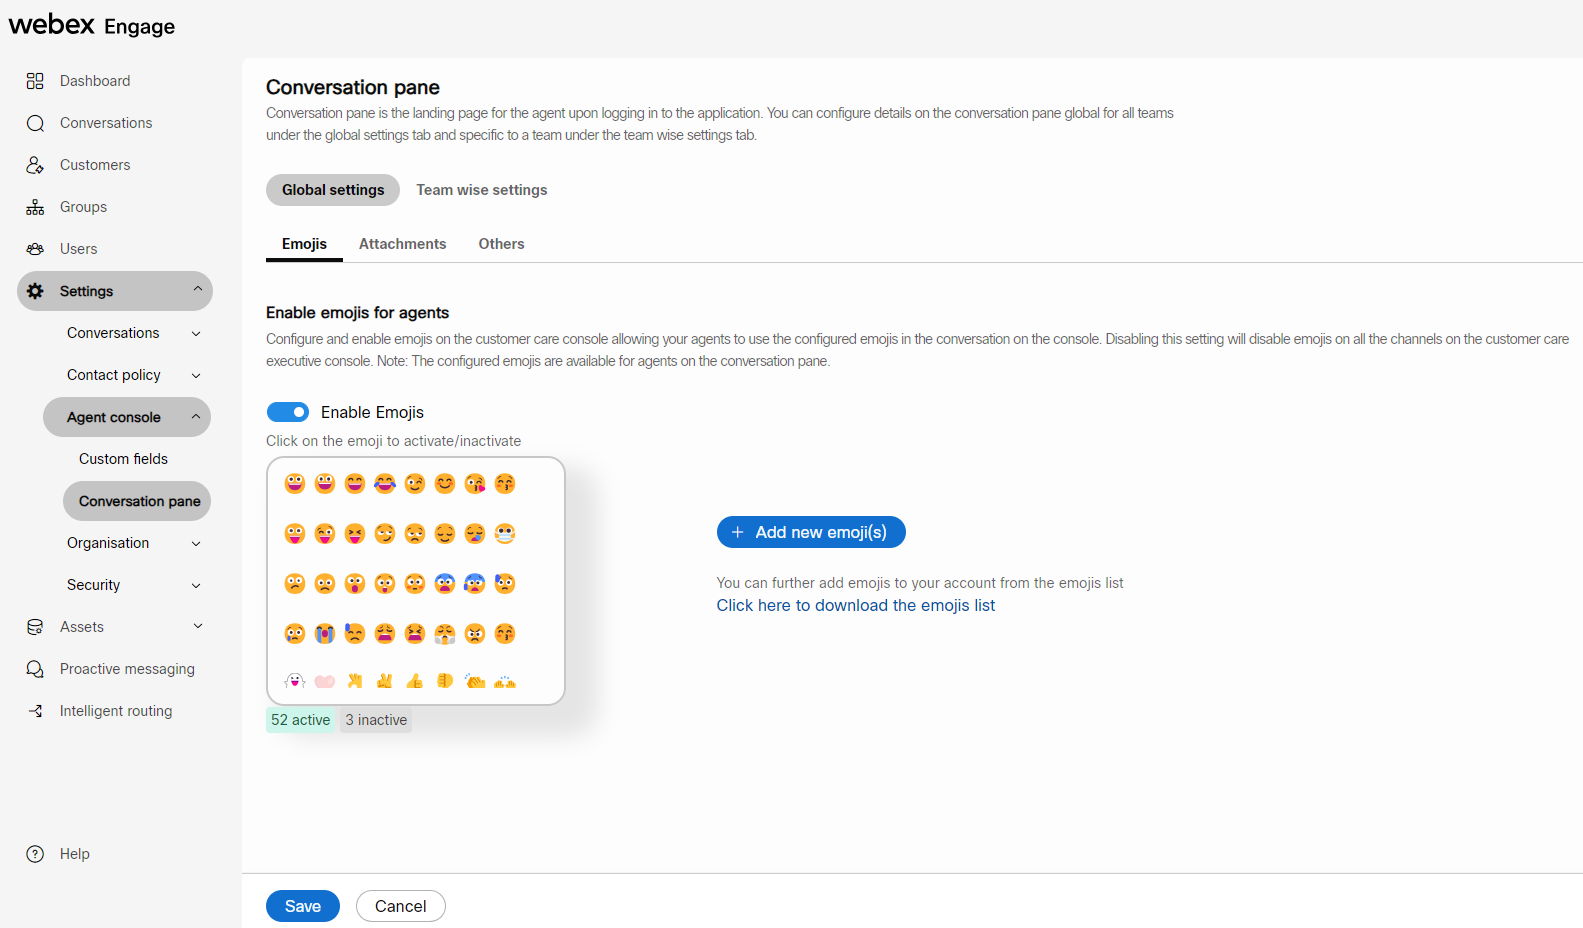
- Select the Global settings tab. You will view Emojis, Attachments, and Others tabs.
Emojis
- Turn ON the Enable Emojis tab.
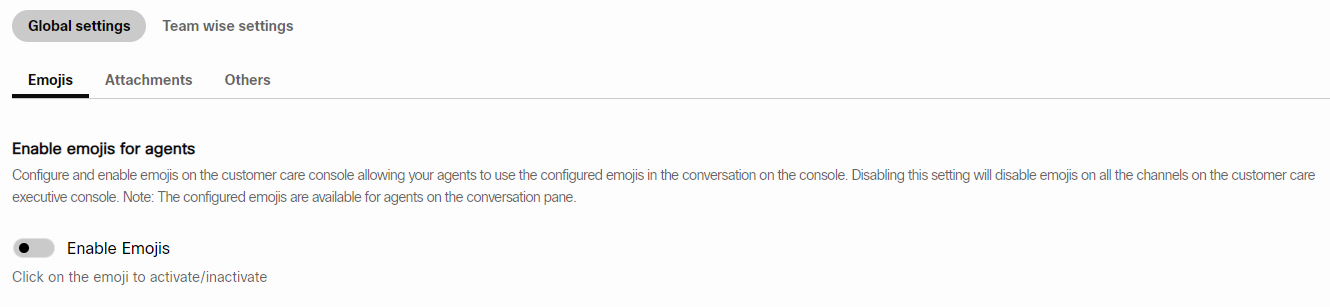
The following emoji settings will appear.
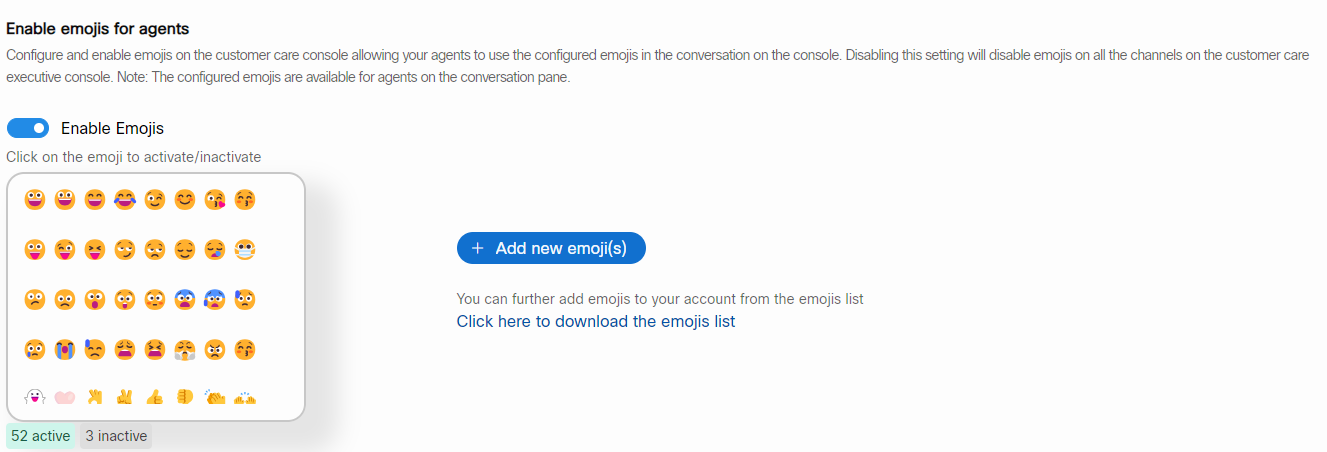
- Click Add new emoji(s) to add new emojis to the list.
The following pop-up window appears on the screen.
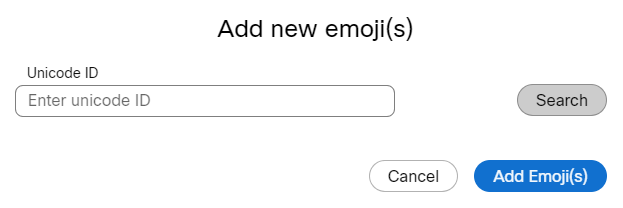
- Enter the Unicode ID and click Add Emoji(s).
- Click Save.
Attachments
- Click the Attachments tab.

- Turn ON the Enable attachment toggle.
The channel-specific attachment size and file format details will appear on the screen.
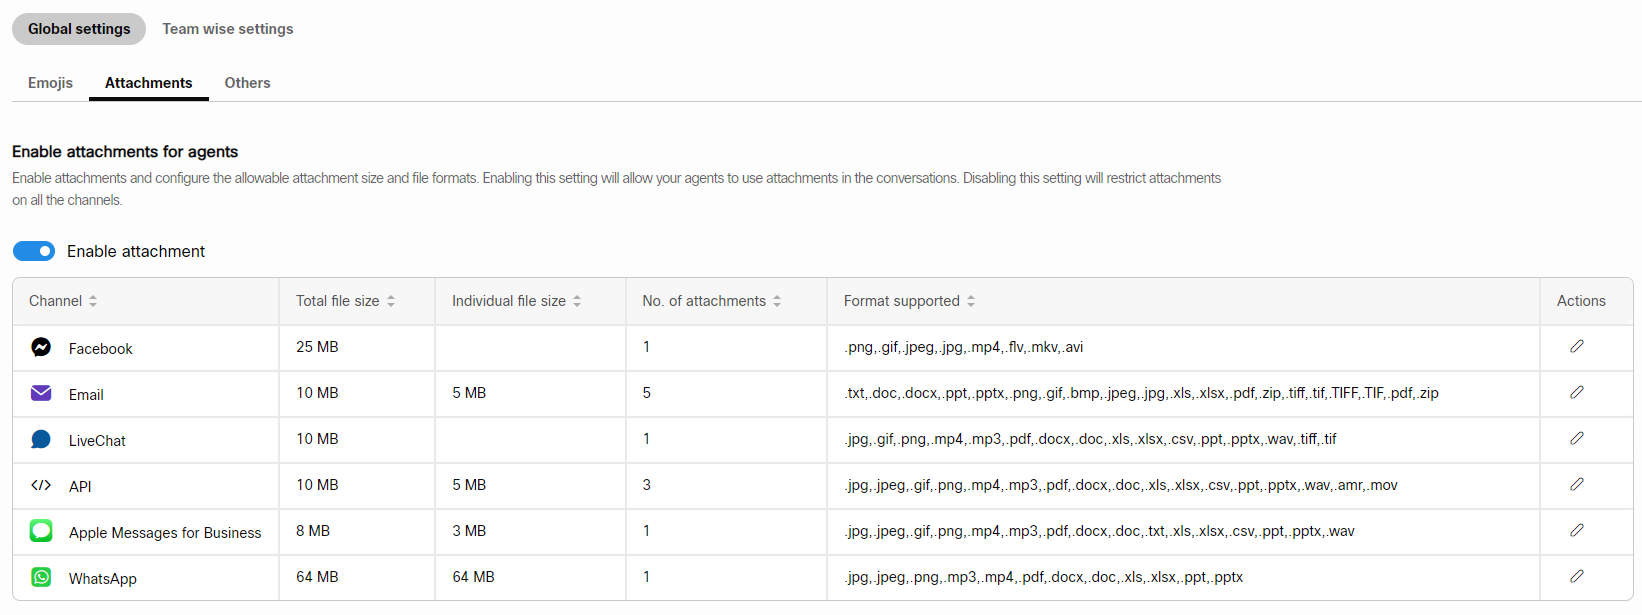
- You can click the Edit icon in each channel's Actions column and change it based on the requirement.
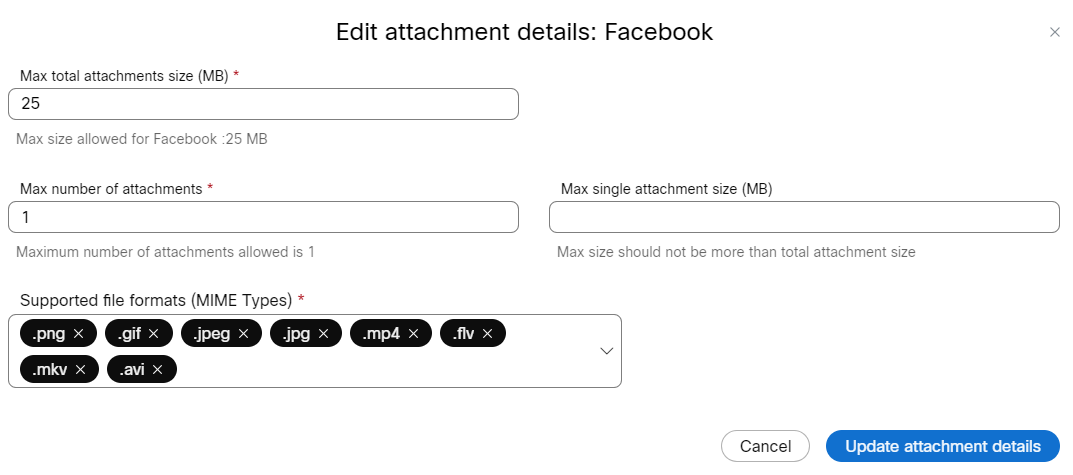
- Click Update attachment details.
- Click Save.
Others
- Click the Others tab to view the common conversation settings.

Email conversation transcript
You can turn ON the Allow agents to send email conversation transcript toggle to permit agents to share transcripts within the organization.
Enable conversation history in agent replies
You can turn ON the Enable conversation history in agent replies on email channel toggle to allow agents to send conversation history in all agent replies.
Suppress announcements
You can turn ON the Suppress custom conversation field update toggle to restrict the custom conversation announcements.
You can turn ON the Suppress custom profile field update toggle to restrict the custom profile announcements.
Agent availability
You can turn ON the Mark agents as 'Unavailable' in all the teams upon logout to display agent status as unavailable to customers.
- Click Save.
Team wise settings
To configure team specific settings, follow these steps:
- Login to Webex Engage and click the Try new version button on the top-right corner of the application.
The Webex Engage React application will launch. - Navigate to Settings > Agent console > Conversation pane.
The following screen appears.
- Click the Team wise settings tab.
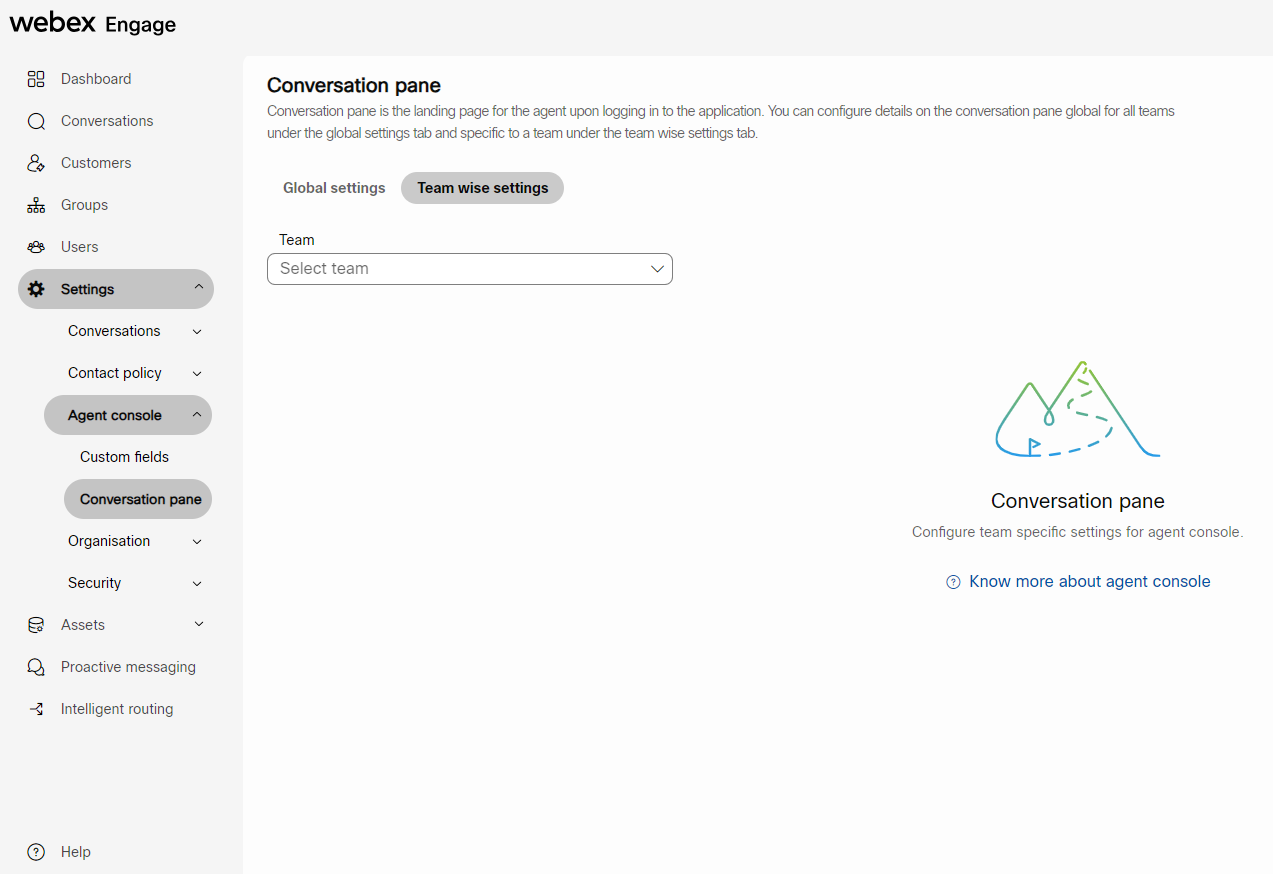
- Select a Team from the drop-down list.
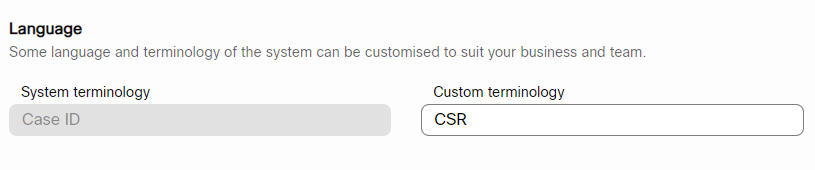
Language
You can configure the terminology to refer to a Conversation ID by entering the information in the Custom Terminology (maximum 25 characters textbox. This terminology will reflect everywhere on UI and in all the offline downloadable reports.
Conversation notification emails
You can Turn ON the Inbound message updates and/or Summary updates for the agents handling the conversations.
If you turn ON the Inbound message updates toggle, agents will receive inbound message updates when a conversation handled by an agent receives an inbound message from a customer while the agent has logged out and the conversation is still assigned to the same agent.
If you turn ON the Summary updates, all agents who have handled that conversation earlier will receive a conversation summary update, when a conversation is closed by the current agent.

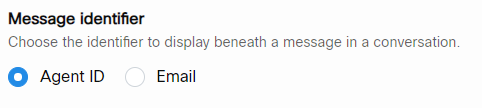
Message identifier
You can choose what must appear as an identifier beneath each message in a conversation. The identifier could be either Agent ID or Email by selecting the appropriate radio button.
Add recipients to email conversation
You can allow CCs and Forward email IDs for the agents on the chat console by turning ON the Allow carbon copy (CC) and Forward toggle.

Further, you can allow external email ids for the agents to include in the conversations by selecting Allow external email IDs checkbox. If both options are enabled, agents can send emails to both inline/internal and external IDs.
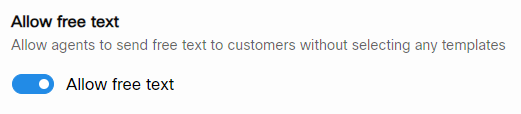
Allow free text
You can allow agents to enter free text in a conversation by turning ON the Allow Free Text toggle. If this toggle is disabled, then the agents can only use templates to respond to the customers; they cannot type anything in the message box.
Message preview
You can enable the Turn preview on toggle to allow agents to view the first few characters (max. of 2 lines) of the message in the Queue or My Chats section. To enable message preview, turn ON Turn Preview On toggle in the Message Preview section.

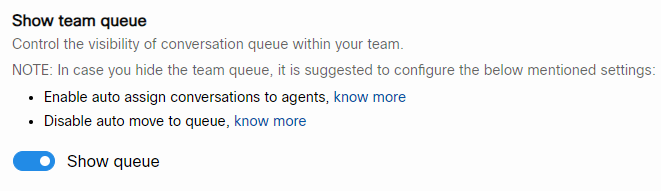
Show team queue
You can control the visibility of the conversation queue within a team with the Show queue toggle.
Transfer conversation
You can provide access permissions to agents to transfer conversations to other agents within their team or to agents in other teams with a Transfer conversation toggle.

Hide conversation resolution buttons
You can hide the conversation resolution buttons like on-hold and close buttons individually in the scenarios where your agents are required to control this from an external parent application where an application is embedded in an iframe.

Hide agent availability drop-down
You can hide the agent status dropdown available on the top-left corner of the chat console. This setting comes in handy when you want to control the agent's status from an external parent application where this application is embedded in an iframe.

Updated over 2 years ago