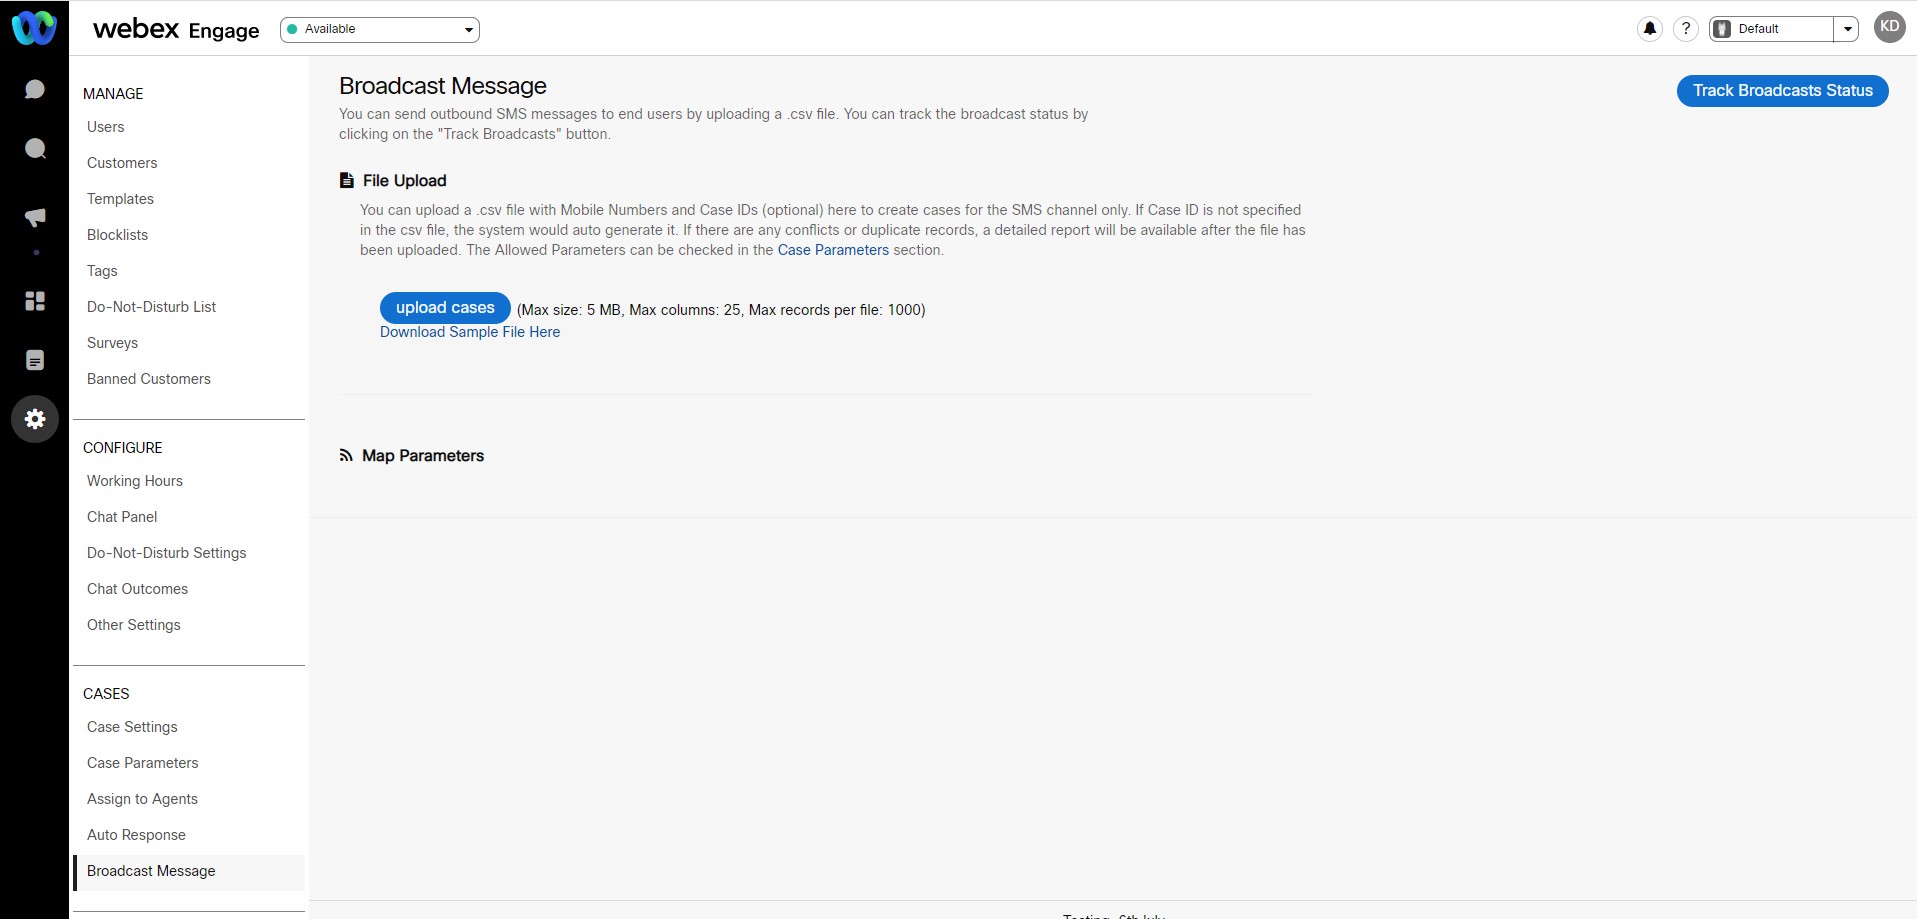
Broadcast Message
The broadcast message section allows you to broadcast generic/custom messages (using custom parameters as {{custom_param}) to customers.
This feature enables you to upload multiple cases in Bulk. This is done by uploading a .csv file (file size ≤ 5 MB, max column ≤ 25, max records per file ≤ 1000) through a standard procedure.
The file is validated in the back end, and an email is sent to you in the event of any conflicts or a successful broadcast. You can also monitor the status of the broadcast process from the Track Broadcast Status page. (Refer to Track Broadcast Status)
The uploaded .csv file must have the following headers:
- Mobile Number (Mandatory)
- Chat ID (Optional)
- Custom Params (Ex: Booking ID, Customer Account No. etc.) (Optional)
Note
This feature is available only for SMS channel. The mobile number is mandatory but the Case ID is not. If Case ID is not provided, then the application automatically creates the Case ID (format: CSXXXXXXXXX).
To broadcast a message,
- Go to Customer Care Console > Settings > Cases > Broadcast Message.

- Click Upload Cases to browse and select the .csv file from the local system. On successful upload, a confirmation message is displayed.
Note
- This section supports only .csv files with file size ≤ 5 MB.
- The first row of the file must be the Header Row.
- The column headers should match the Alias Name configured in parameters list.
- There should be no trailing empty lines at the end of the file.
- You can upload file with maximum of 25 columns.
- The Agent ID column is mandatory in the .csv file.
- Once the file is uploaded, you will be directed to select the Mobile Number and Case ID columns in the file. Select the column headers for the uploaded file and click Next to process the uploaded file.
The following checks are performed on the uploaded file:
Mobile Number:
- All values in the mobile number column must be numbers.
- The mobile number length must be 12 (including the ISD code).
- There cannot be any duplicate numbers in the file.
- There cannot be any live cases for the mobile number.
Case ID:
- There cannot be any duplicate case IDs in the file.
- There cannot be any open cases in the application with the same Case ID (in the file).
- Parameters in the columns must match the pre-configured parameter list.
- The case ID length must be a maximum of 16 characters.
Parameters:
- Columns in the uploaded file must match the configured parameter list.
- Parameter names must match the filed/column names defined in the uploaded file (.csv). The parameter names should also match (Case Sensitive) the replaceable parameter names.
- The configured alias names must match the columns in the uploaded file.
Once the file is uploaded without any errors or conflicts, the following screen is displayed:
- In the Broadcast Message Setting screen, select the Long Code (which will be displayed as sender ID).
- Compose the message and click Submit to proceed.
The following confirmation message appears on the screen.
Post-broadcast, when the customer replies to the message, a chat is created with the broadcast message and the customer’s replies.
The chat lands in the queue/assigned to an agent if Auto assign to the last agent or Auto assign cases to agents setting is enabled.
Track Broadcast Status
This feature enables you to check the status of the bulk uploaded messages file and provides an option to download a detailed report of failed uploads.
The status table displays the following:
- File Name: Name of the .csv file.
- Uploaded On: File uploaded date and time.
- Uploaded By: Name of the user who uploaded the file.
- Status: File upload status i.e. Completed/Completed with Errors/Failed/Uploading.
- Action: Link to download Report.
To track broadcast status,
- Click Track Broadcast Status on the top-right-corner of the screen.
- Select the date range from the calendar for the period during which the bulk messages have been uploaded and click Apply.
Note
Selection of dates is limited to 16 days only. The system will not allow to select next day preceding the 16th count.
- Click Search. The respective results will display on the screen.
- Additionally, to further filter the results, you can enter the name/updated by/status related search keys in the search field. The respective search results will appear on the screen.
- Click on the Download report under the Action column of a specific broadcast file to download the .csv file and view the failure reasons.
- You can fix the errors and reupload the file to send a broadcast message.
Updated almost 3 years ago
