
Auto-actions
Under the Auto-actions menu, you can configure auto-reply messages or auto-act on conversations based on inactivity or time-elapsed. These settings can help reduce agent handling time and notify customers about any delays in connecting to agents on all the channels supported on the Webex Engage React application.
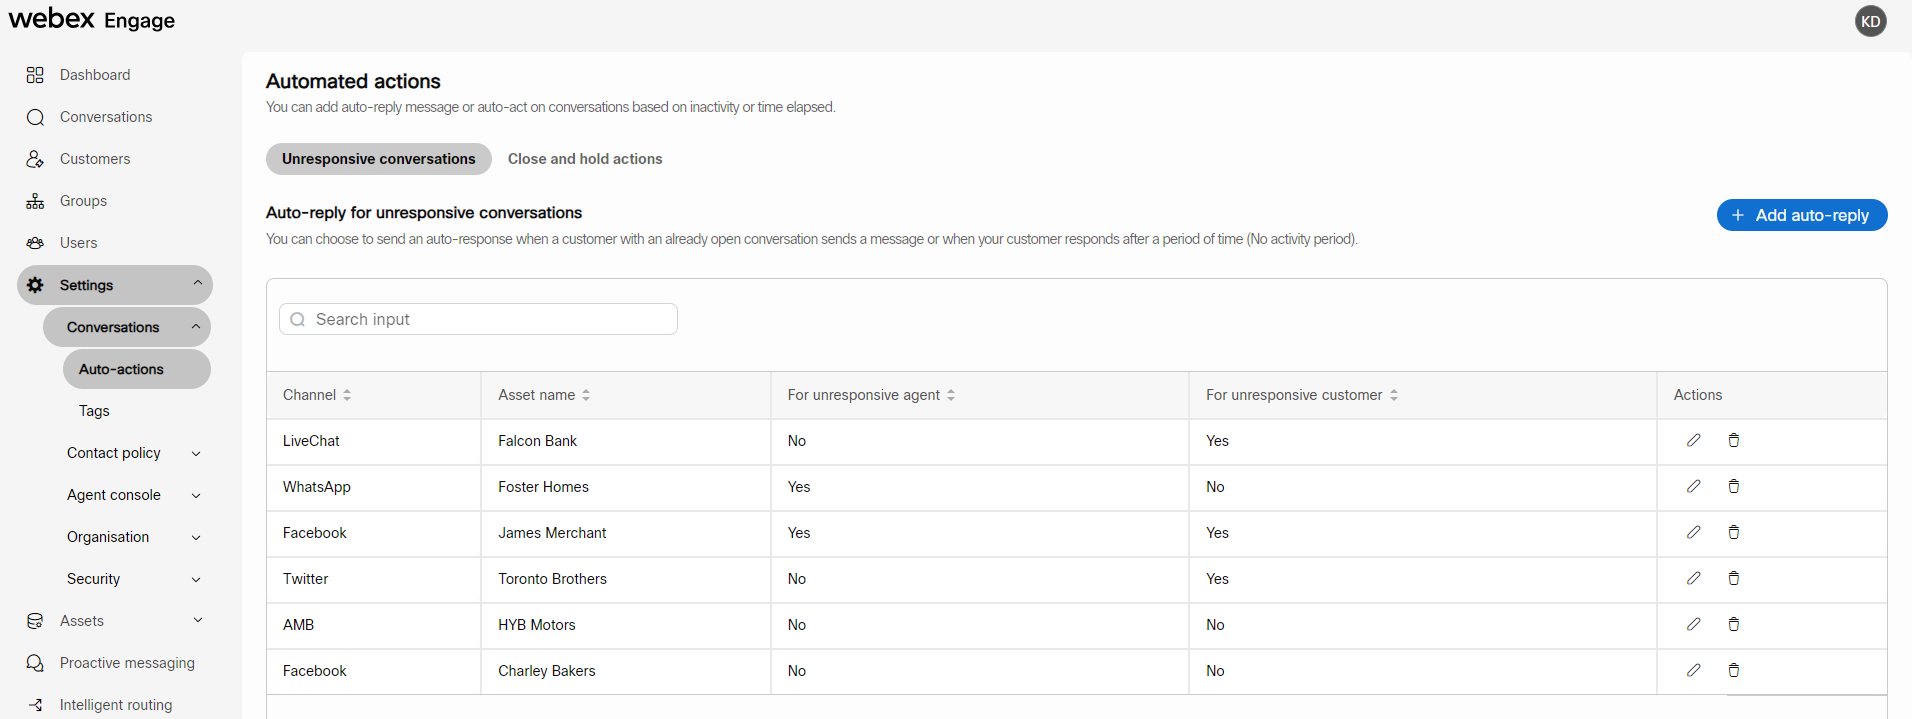
Unresponsive conversations
Add auto-reply messages for unresponsive agents
To add an auto-reply for unresponsive agents, follow these steps:
- Login to Webex Engage and click the Try new version button on the top-right corner of the application.
The Webex Engage React application will launch. - Navigate to Settings > Conversations > Auto-actions.
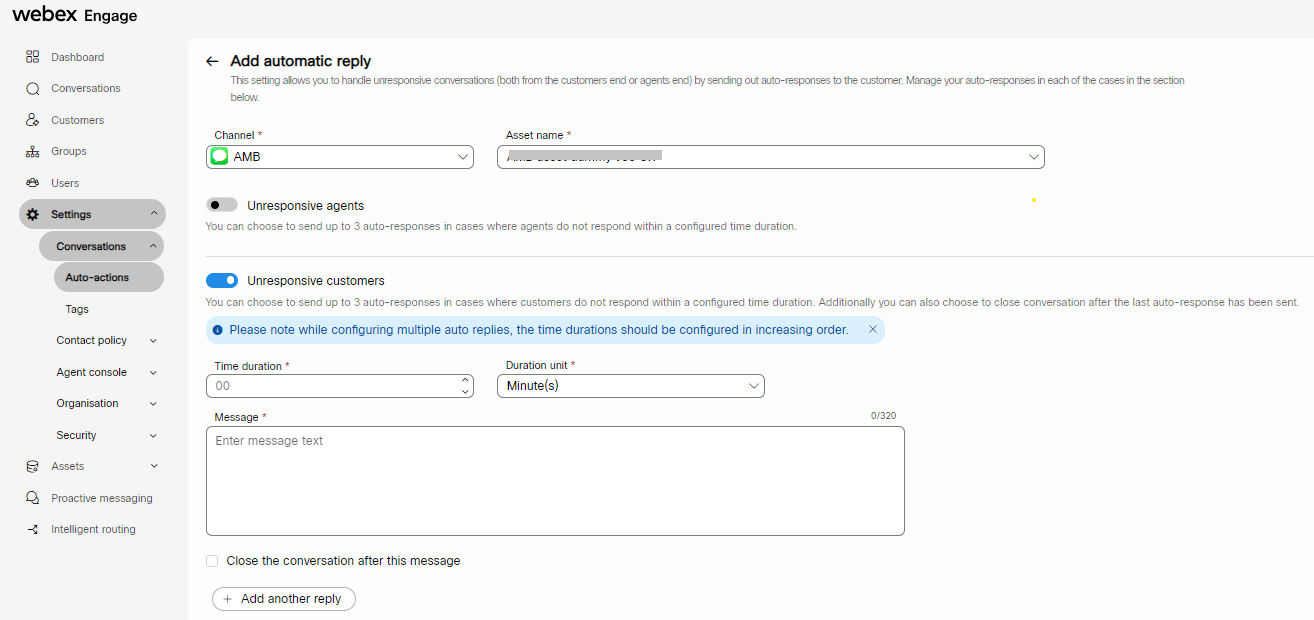
- Click the Add auto-reply on the top-right corner of the screen.
The following screen appears.
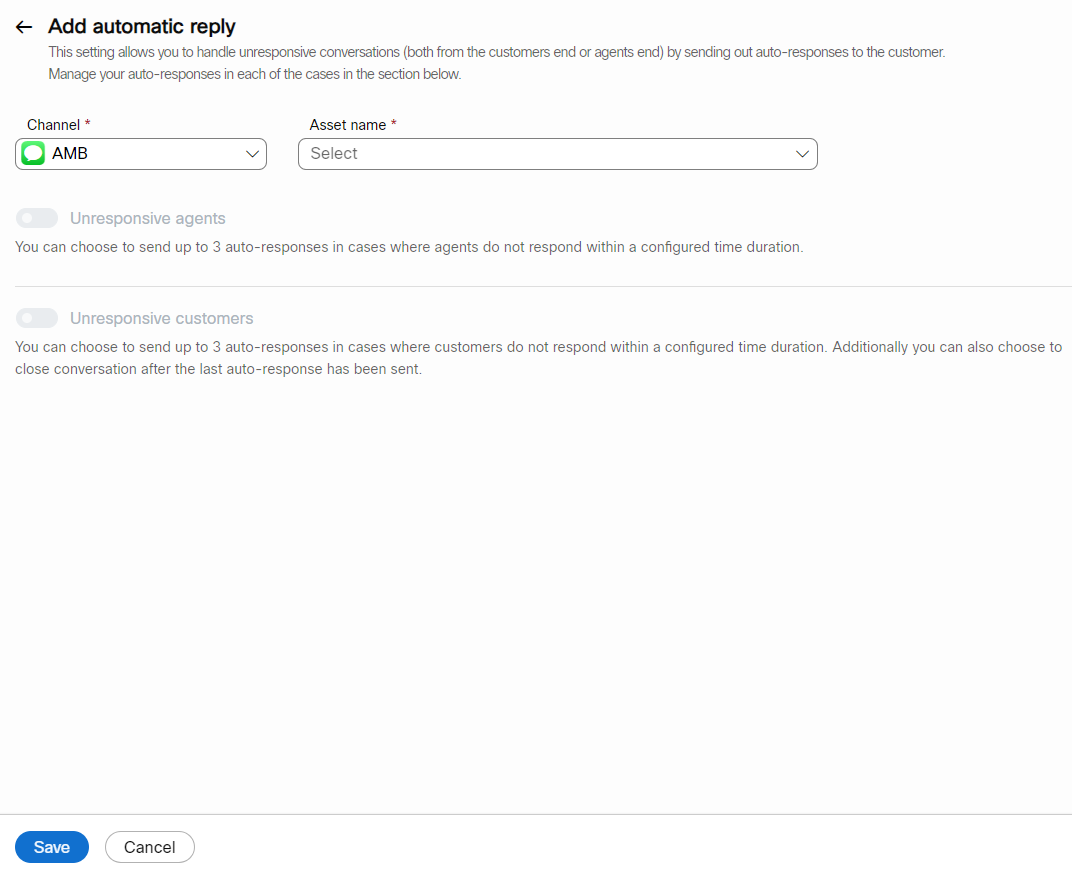
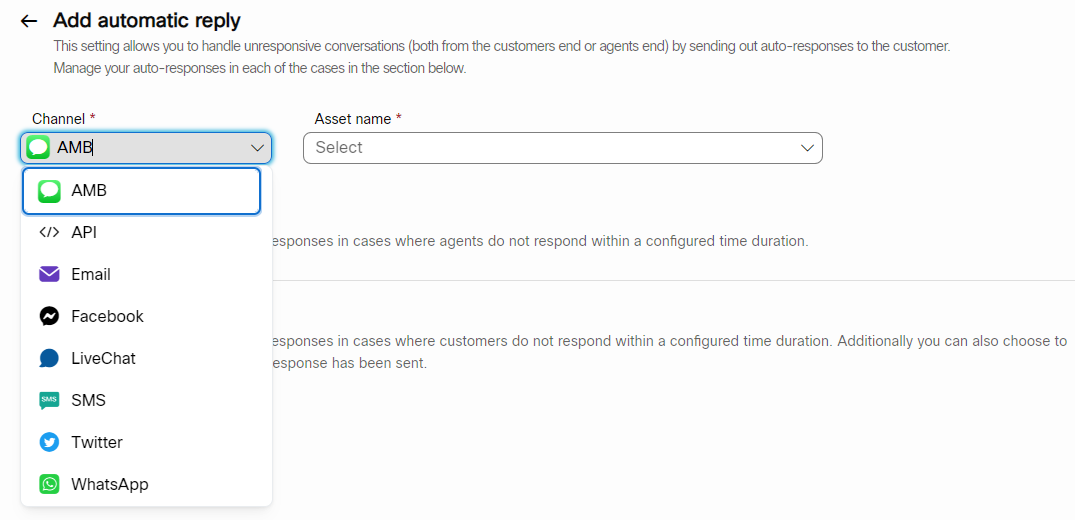
- Select a channel from the Channel drop-down list.
- Select an asset from the Asset name drop-down list.
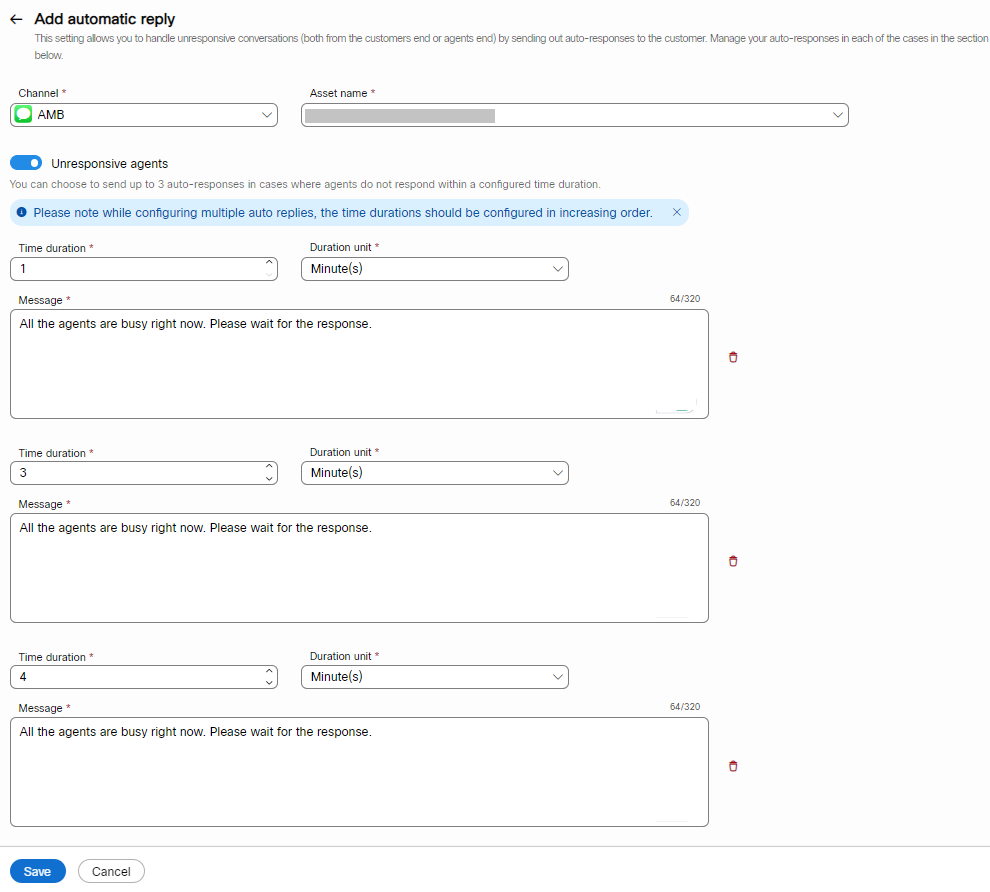
- Turn ON the Unresponsive agents toggle to send an auto-response to the customer. You can configure up to Three auto-response messages, each with a designated duration.

- Select the duration from the respective drop-down list. Here, you can set up time in Minutes/Hours/Days.
- Enter the Auto-response message in the Message field. The maximum character limit of the Message field is 320 characters.
- Click Add another reply to add the next message. You can add up to Three auto-reply messages with increasing order of the duration between each message.
- Click the Delete icon beside each message to delete the configured auto-reply.
- Click Save.
The success message appears on the screen.
Add auto-reply messages for unresponsive customers
To add an auto-reply for unresponsive customers, follow these steps:
- Login to Webex Engage and click the Try new version button on the top-right corner of the application.
The Webex Engage React application will launch. - Navigate to Settings > Conversations > Auto-actions.
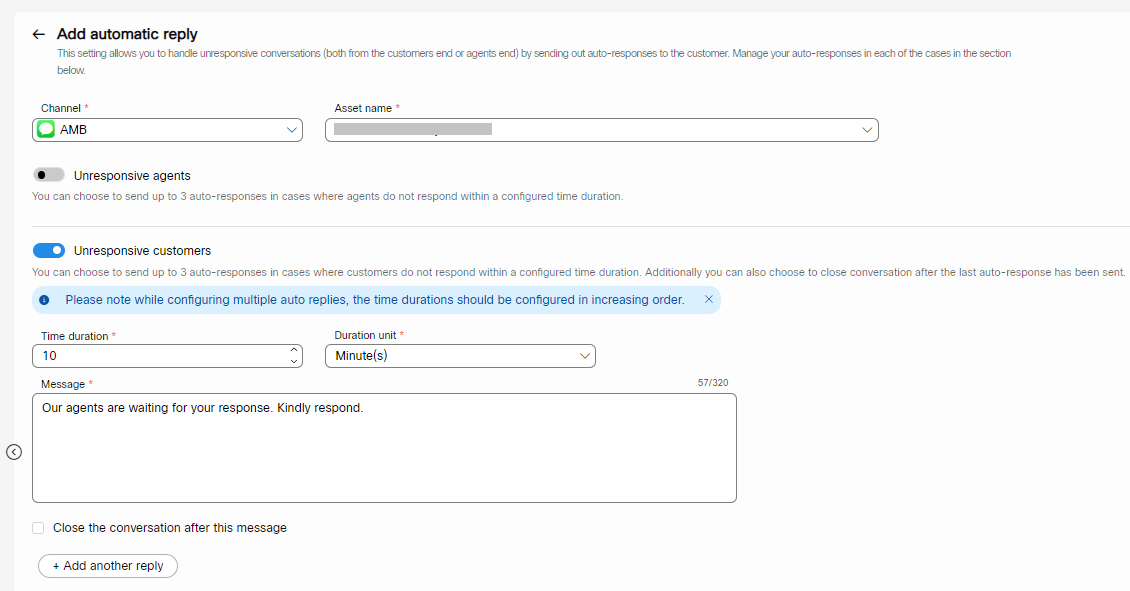
- Click the Add auto-reply on the top-right corner of the screen.
The following screen appears.
- Select a channel from the Channel drop-down list.
- Select an asset from the Asset name drop-down list.
- Turn ON the Unresponsive customers toggle to send an auto-response to the customer. You can configure up to Three auto-response messages, each with a designated duration.
- Select the duration from the respective drop-down list. Here, you can set up time in Minutes/Hours/Days.
- Enter the Auto-response message in the Message field. The maximum character limit of the Message field is 320 characters.
- After configuring each message, you can close the conversation by selecting the Close the conversation after this message checkbox.
- Click Add another reply to add the next message. You can add up to Three auto-reply messages with increasing order of the duration between each message.
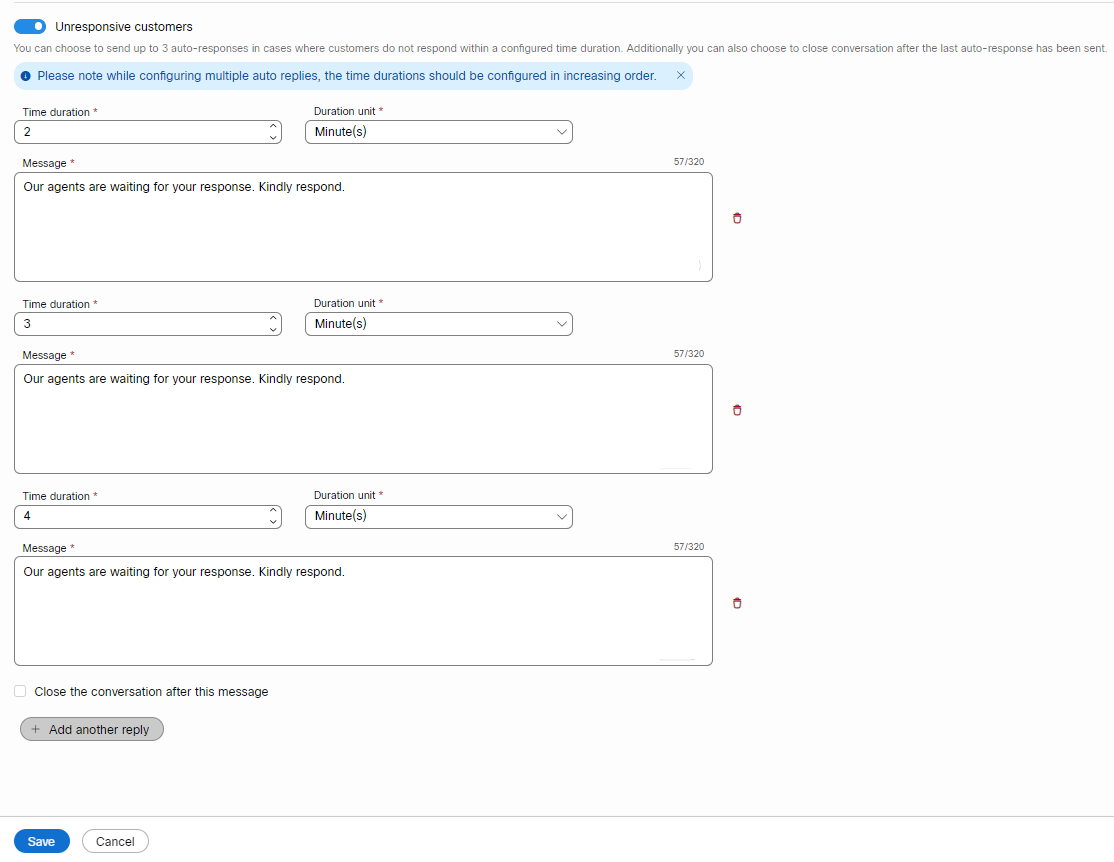
- Click the Delete icon beside each message to delete the configured auto-reply.
- Click Save.
The success message appears on the screen.
Edit auto-response messages
To edit an auto-response, follow these steps:
- Click the Edit icon in a specific asset's Actions column.
The following screen appears.
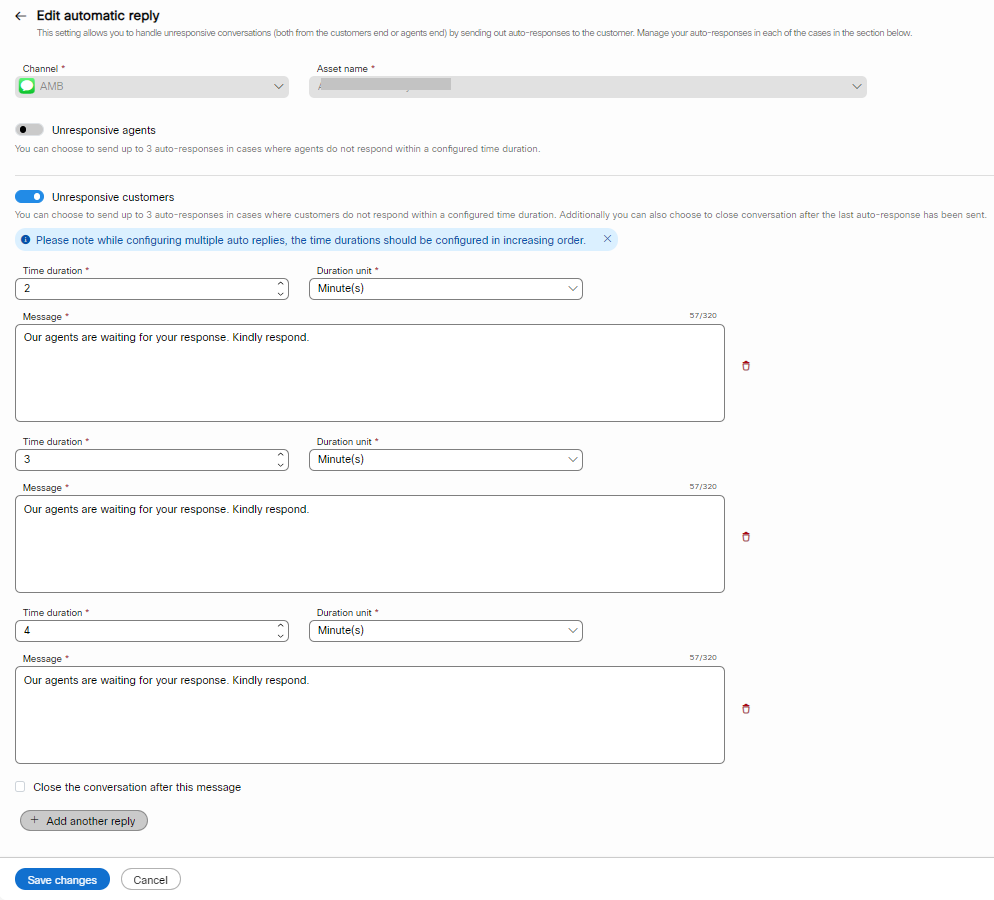
- Edit the required fields and click Save changes.
The success message appears on the screen.
Delete auto-response messages
To edit an auto-response, follow these steps:
- Click the Edit icon in a specific asset's Actions column.
The following pop-up window appears on the screen.
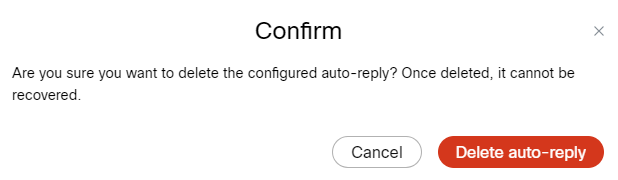
- Click Delete auto-reply.
A success message appears on the screen.
Search auto-response
You can quickly search for an auto-response from the configure list by entering the required search criterion in the Search field. The respective results will appear on the screen.

Close and hold actions
You can manage and configure the auto-close and auto-hold conversations settings in the Close and hold actions tabs.

Auto-close conversation after
You can choose to close a conversation after a certain period of inactivity.
To do so,
- Navigate to Settings > Conversations > Auto-actions > Close and hold actions.
- Select the duration (Never, 1, 2, 3, 4, 5, 6, or 7 days) from the Auto-close conversation after the drop-down list.
- Select Never to keep the conversation active 24*7. When you select Never, the conversation is closed based on the configured tenant's data retention policy.
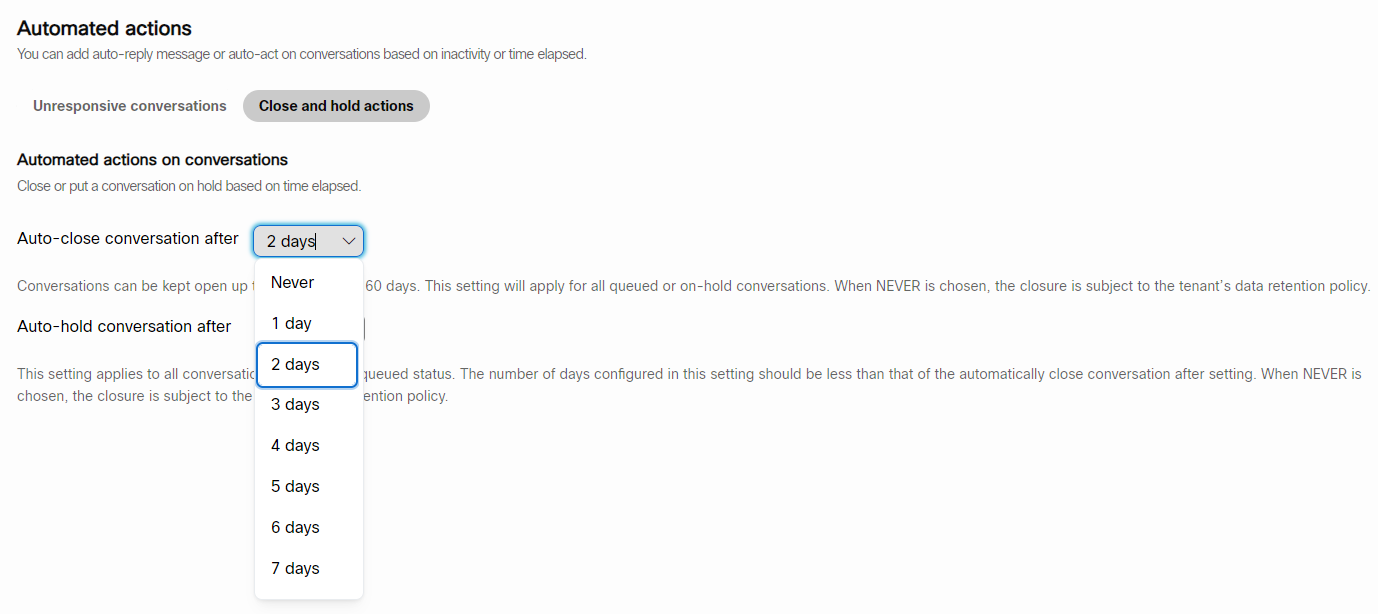
Auto-hold conversation after
You can choose to auto-hold a conversation after a certain period of inactivity.
To do so,
- Navigate to Settings > Conversations > Auto-actions > Close and hold actions.
- Select the duration (Never, 1, 2, 3, 4, 5, 6, or 7 days) from the Auto-hold conversation after the drop-down list.
- Select Never to keep the conversation active 24*7. When you select Never, the conversation is moved to on-hold status based on the configured tenant's data retention policy.

Updated over 2 years ago