Advanced Reporting
Advanced reporting is a simple and powerful analytics tool that lets users create their reports based on the available data and filters. Suppose the administrative user enables the advanced reporting for existing user personas like the Team manager or Analyst. In that case, the admin must update the individual user's profile to access it on the Webex Engage UI. On the contrary, the new users will gain access by default if advanced reporting is enabled for any of the mentioned role types.
Note:
- The Advanced Reporting on Webex Engage is a Premium Feature and will not be available by default to all clients. IMImobile enables this feature on request. Please contact your respective Account Manager / Customer Success Manager / Support team to get this feature enabled on your Webex Engage instance.
- If admin provides access to Analyst user persona, the designated user will gain access to comprehensive tenant data and reports on the Advanced reporting screens.
As an administrator (Team manager/ Analyst), you can perform the following actions on the Advanced reporting screen:
- Create dashboards, questions, and pulses.
- View the list of activities at the center of the dashboard.
- Setup Email ID(s) (to invite team members to get updates via pulses).
- View recently viewed reports on the left pane of the dashboard.
Follow these steps to navigate to Advanced reporting:
- Navigate to Customer care console > Advanced reporting.
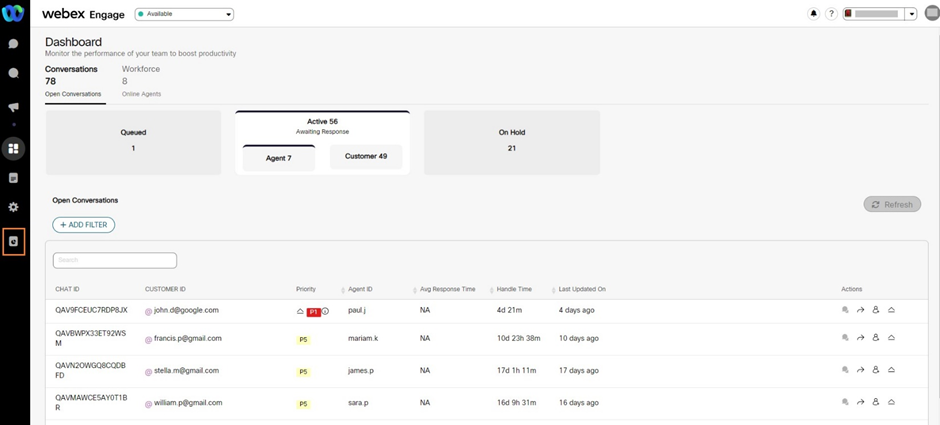
The following screen appears.
Question
A Question is a query on the database, the results of which can be used in reports or dashboards or scheduled to receive via Email (see Pulse). A question can be created using standard data models or SQL queries.
Follow these steps to create a question using the standard data model:
- Click the New Questions (? icon) icon on the left menu of the Advanced reporting dashboard.
The following screen appears.
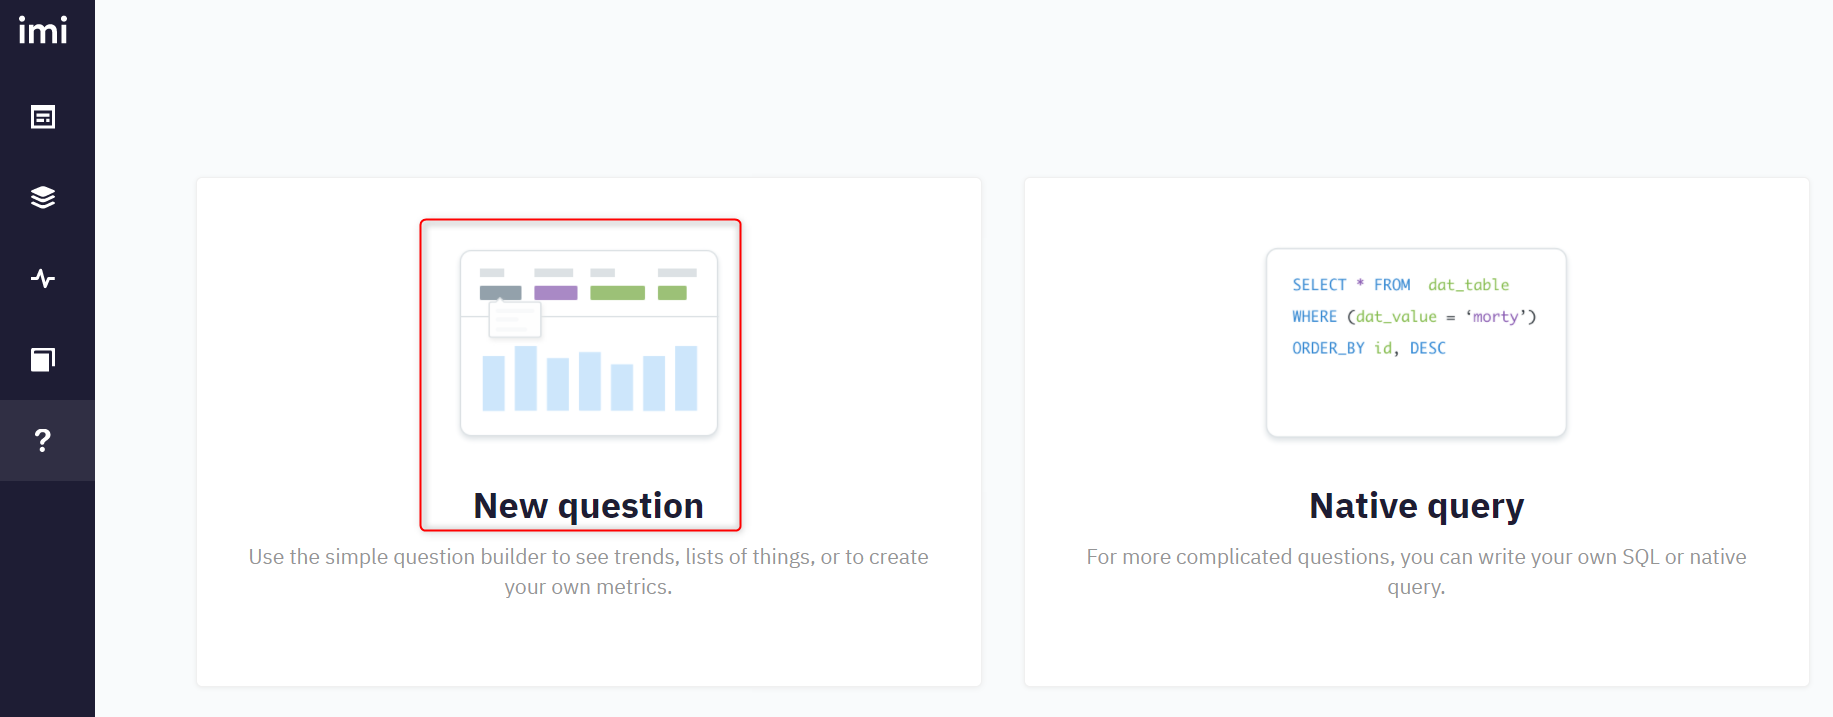
- Click New Question. The following screen appears.
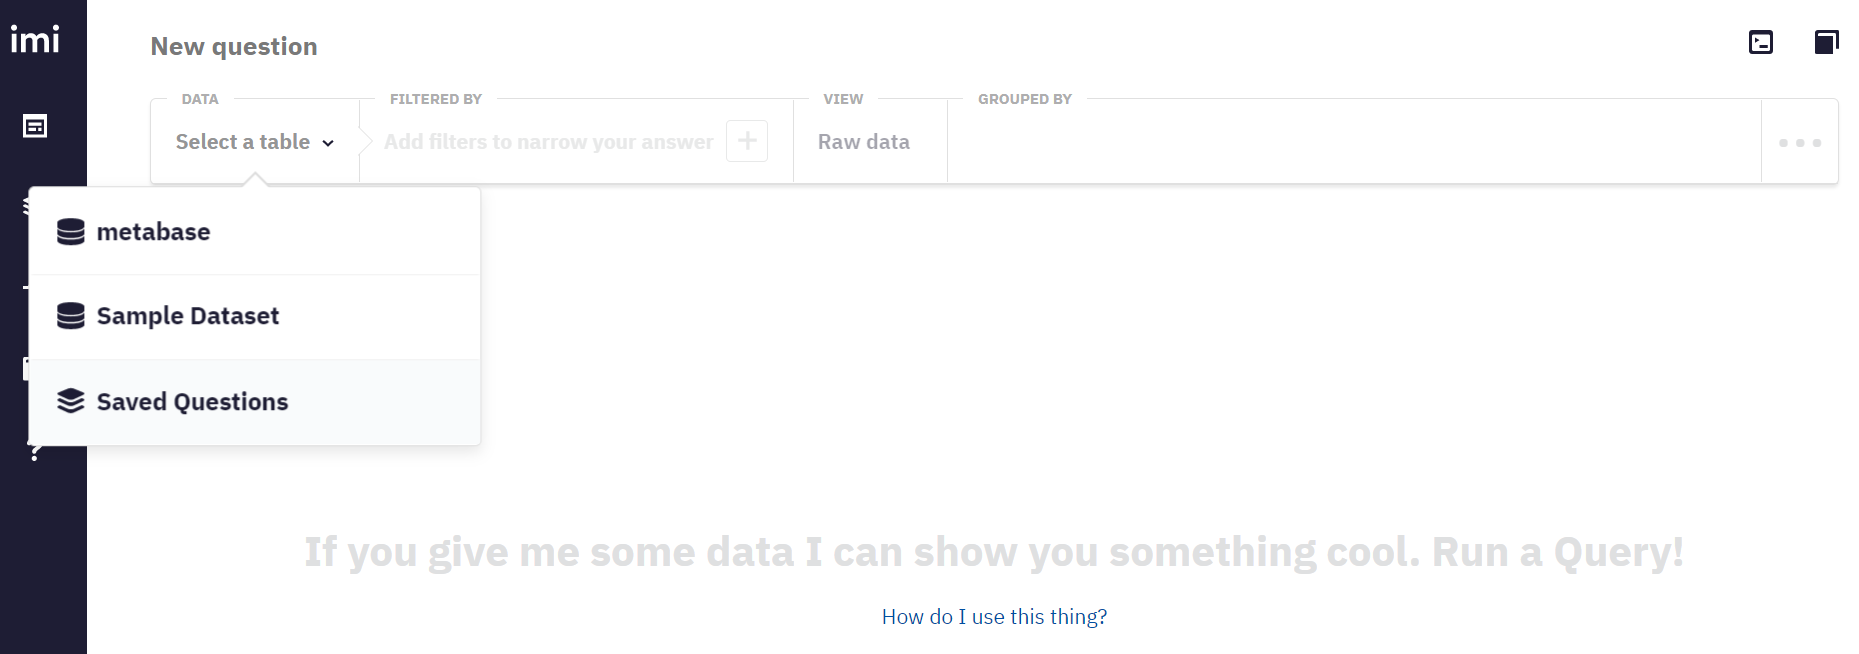
- Select metabase, and the following list appears.
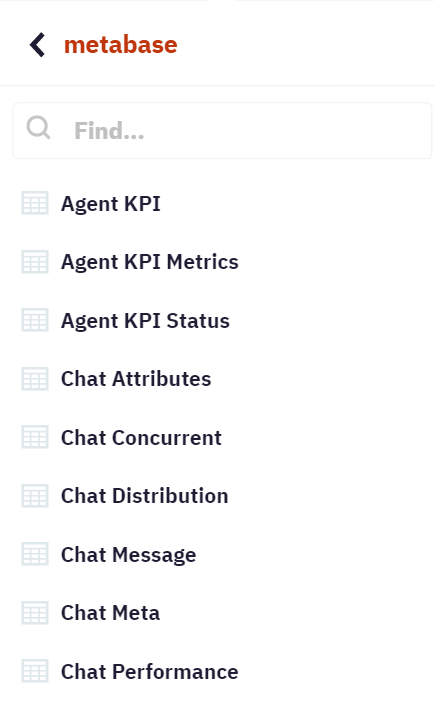
- Select the Database and the Table.
- Apply filters and click Get Answer.
- Click SAVE.
- Click Add to Dashboard to add the question to an existing or new dashboard.
Follow these steps to create a question using an SQL query:
- Click the New Questions (? icon) icon on the left menu of the Advanced reporting screen.
The following screen appears.
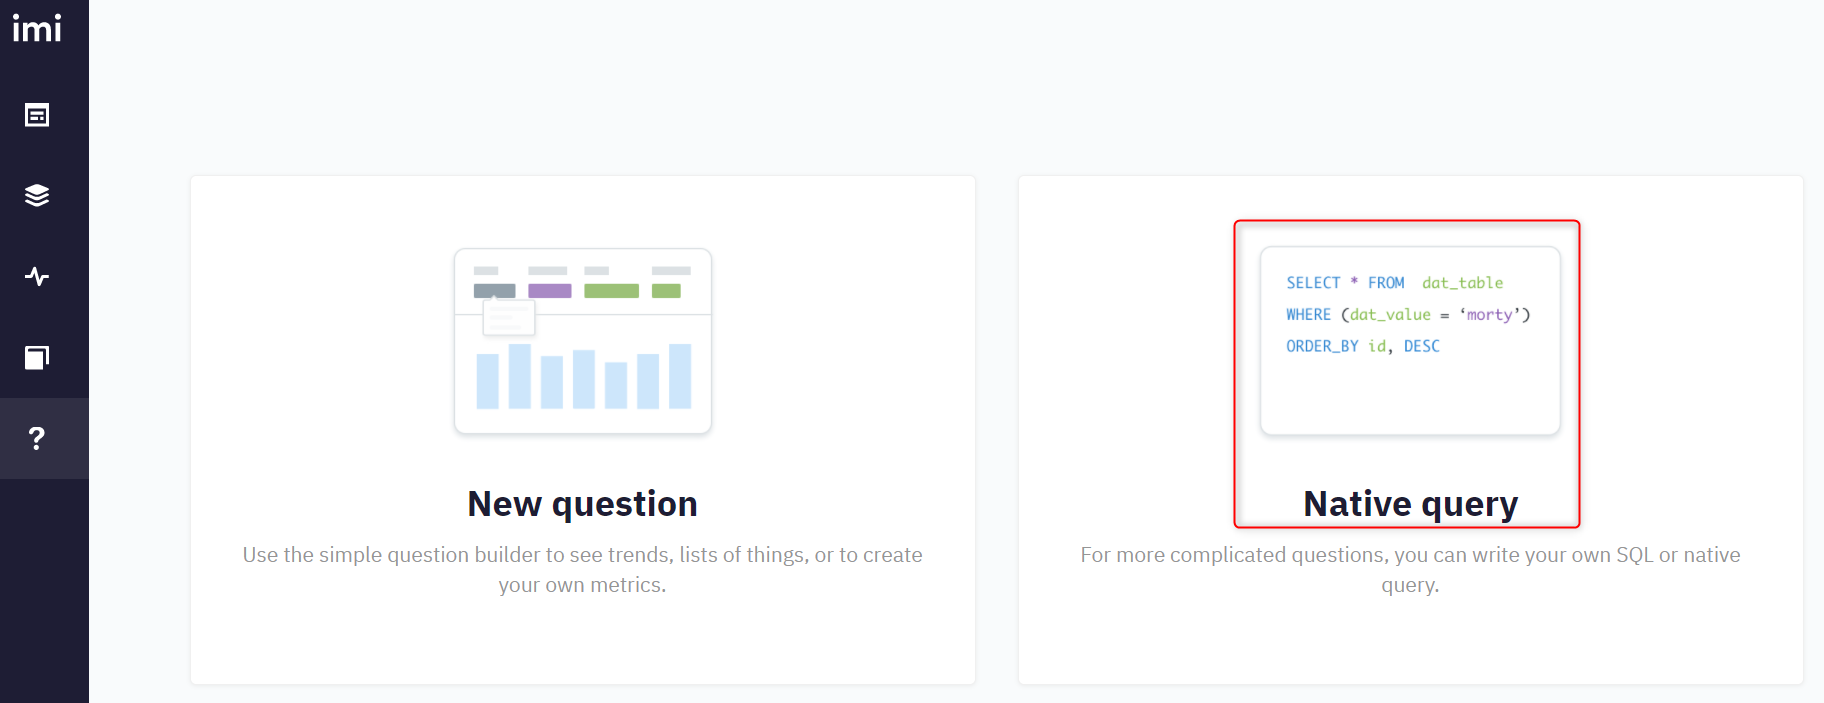
- Click Native Query. The following screen appears.
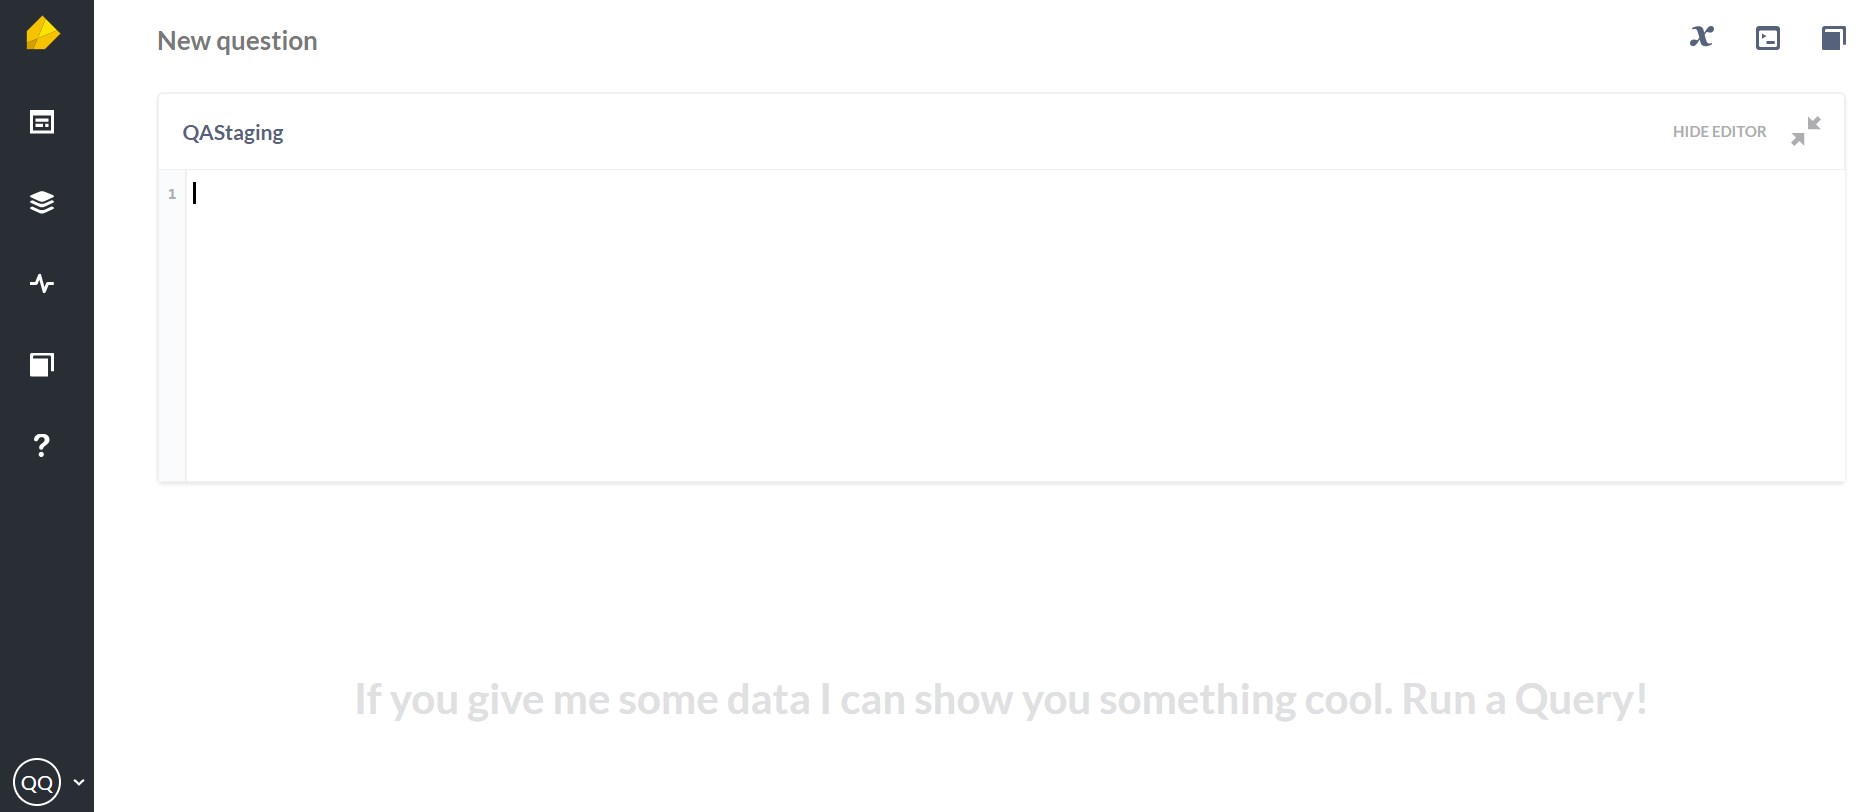
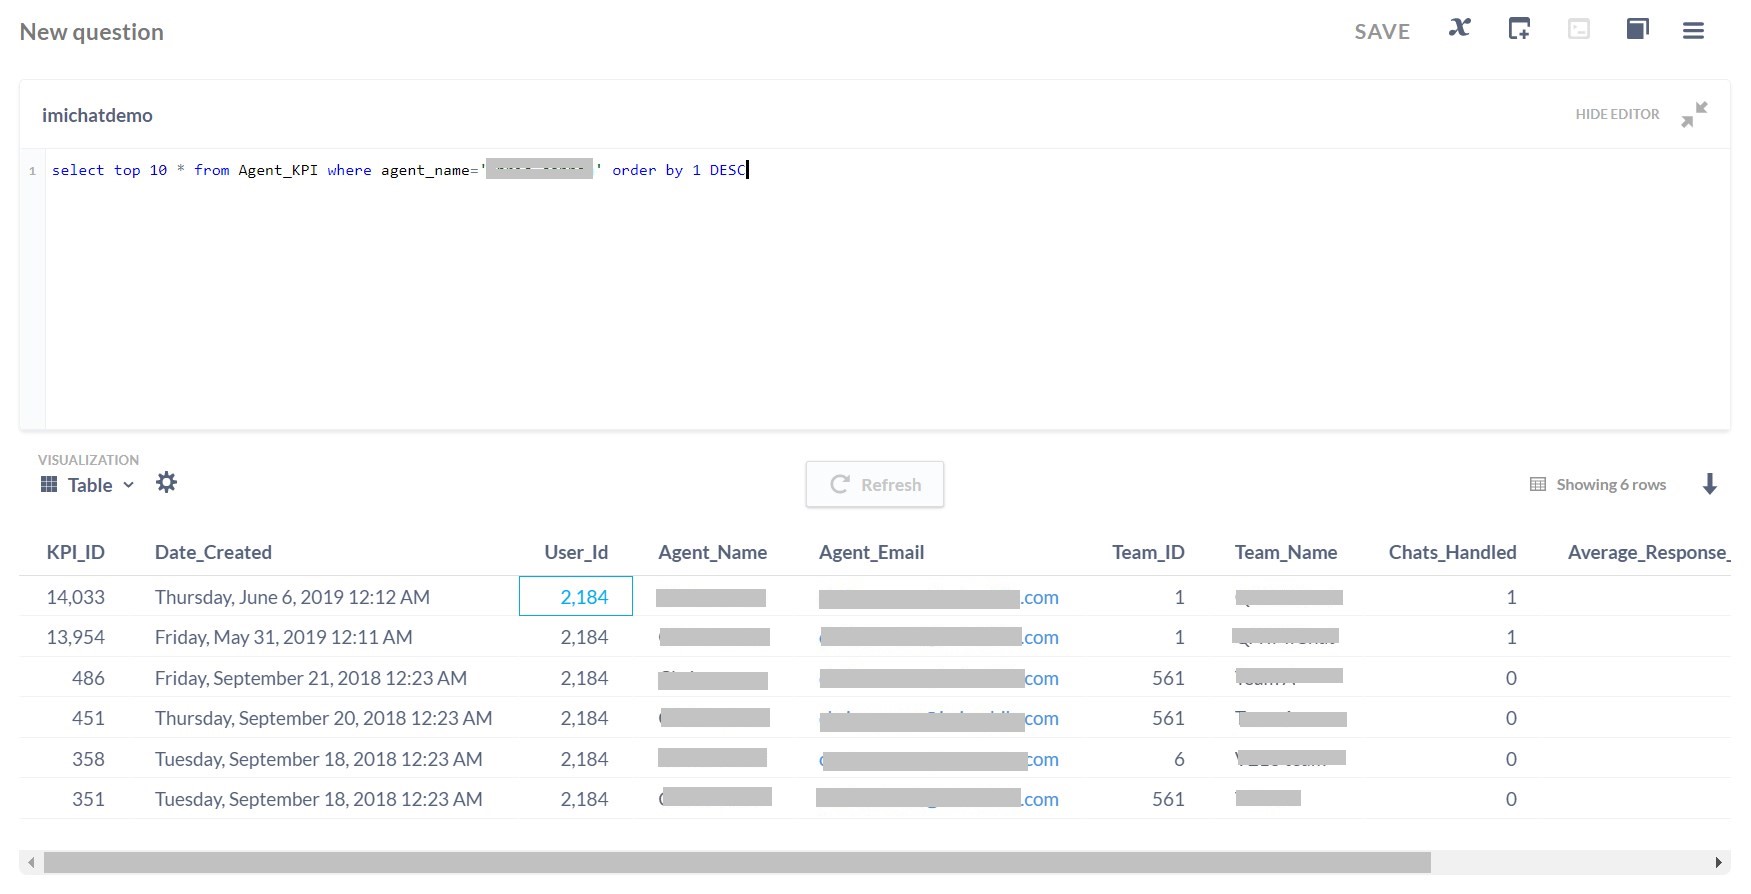
- Enter the SQL Query and click Get Answer.

The following results appear.
Pulse
You can create a pulse to send the results to a specific email address. A pulse holds questions (query results) and scheduling information. An email is sent to the configured Email ID. If there are zero (0) results on a particular day, the user can configure the scheduler to skip the Email.
Follow these steps to create a pulse:
- Click the Pulse icon on the left menu of the Advanced reporting screen.
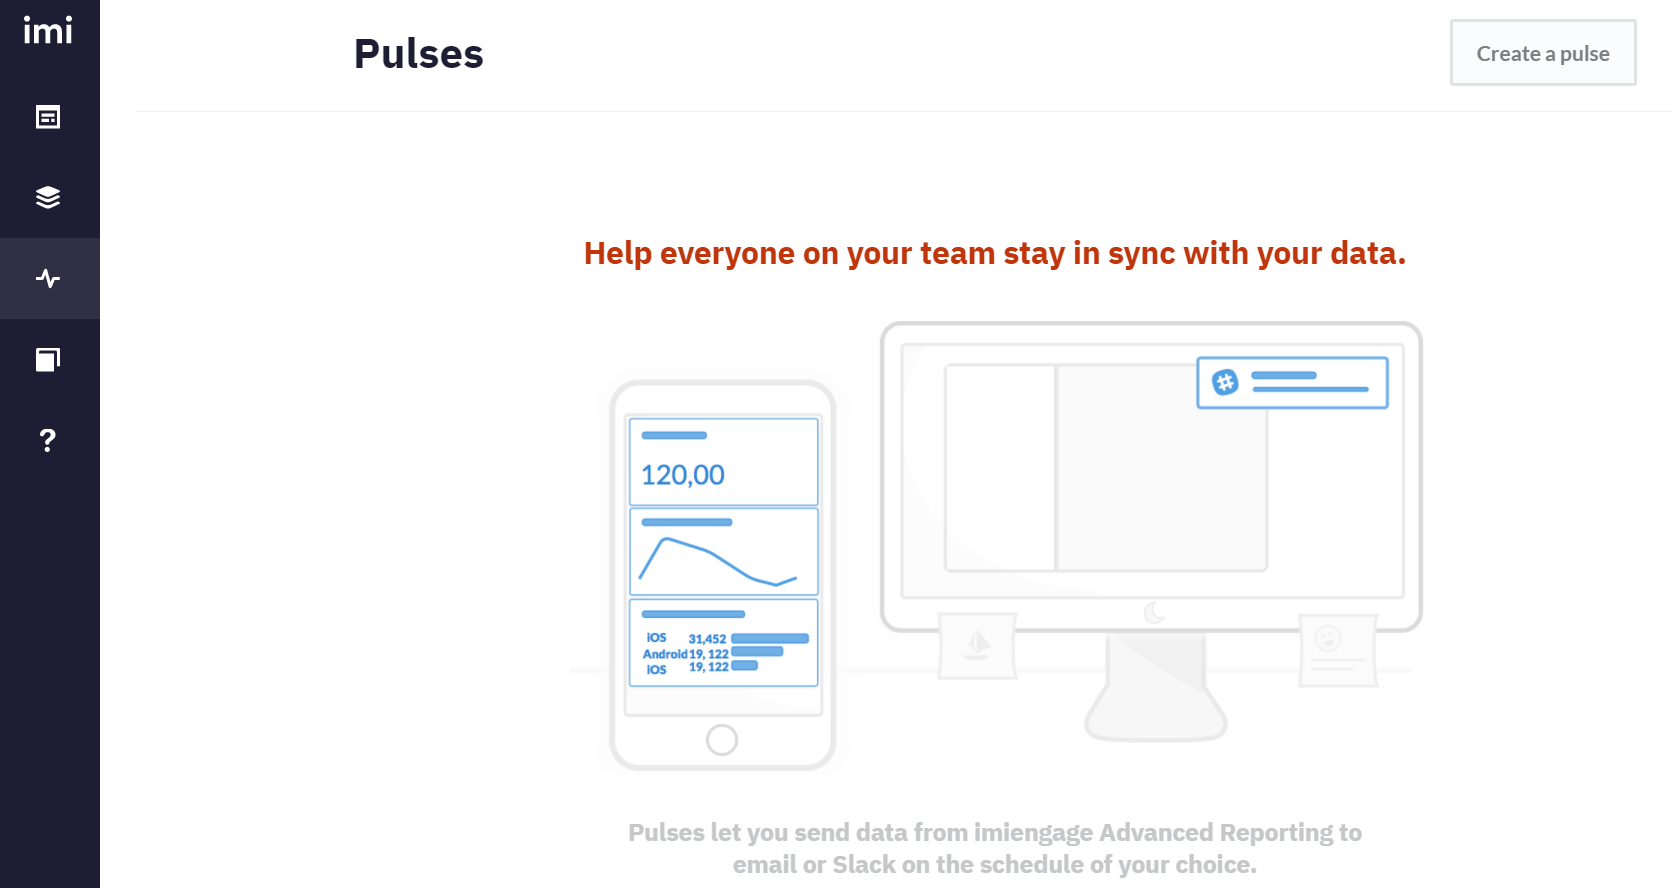
- Click Create a Pulse and enter Name for the Pulse.
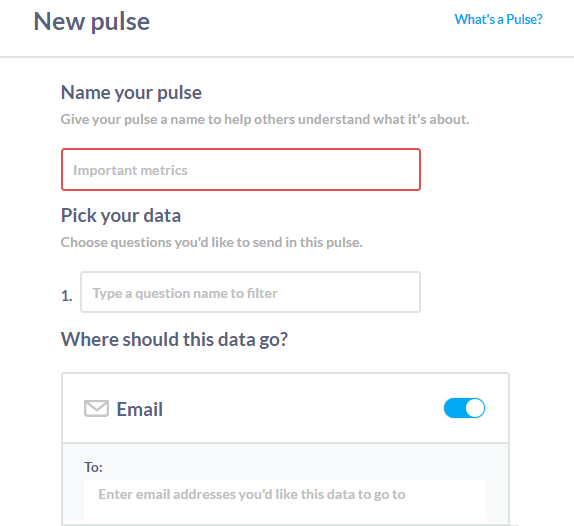
- Select a question from the pick a question field.
- Enter the Email ID to which the report has to be sent.
- Configure the schedule and time.
- Click Create Pulse.
Dashboard
Follow these steps to create a dashboard:
- Click the Dashboards icon on the left menu of the Advanced reporting screen.
- Click the + icon on the top-right corner of the screen.
- Enter the Name and Description for the dashboard.
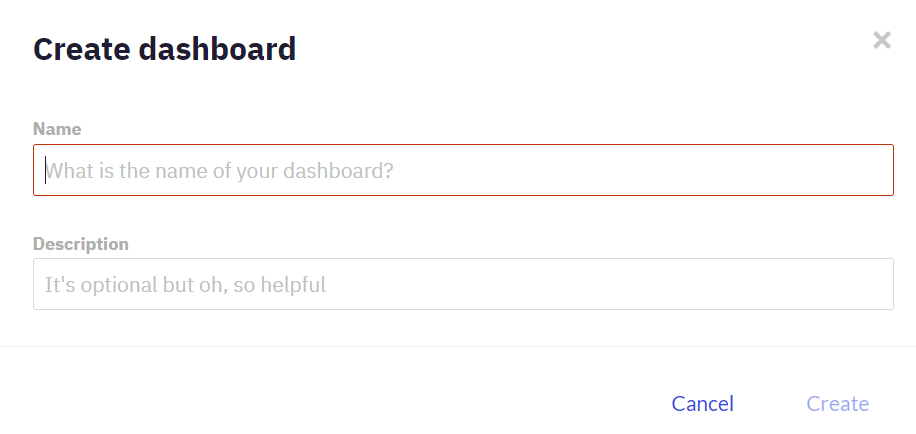
- Click Create.
You will navigate to the new dashboard. - Click the + icon from the top-right corner to add a question.
- Select a question to add it to the dashboard. A user can add multiple questions and arrange them on the dashboard.
- Click Save.
The success message appears on the screen.
Updated 9 months ago
