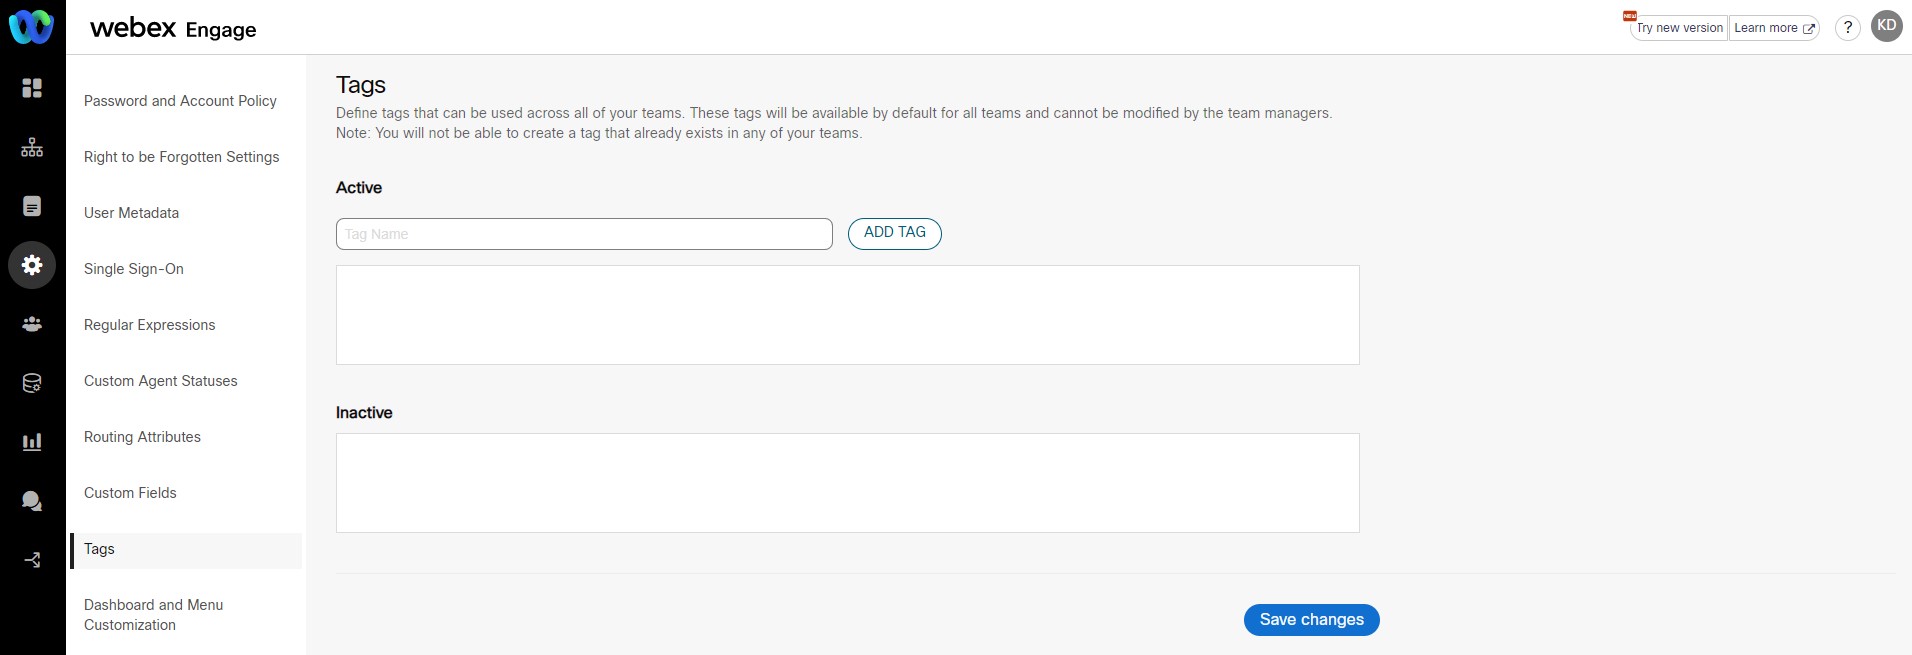
Tags
To make a set of tags available across all teams, client admins can configure tenant level tags. These tags will be available by default in all the teams and cannot be disabled by the team managers in individual teams. Tenant level tags also facilitate tagging of chats. When a chat is created using Webex Engage's APIs, only tenant level tags can be used in the API parameters.
Add a Tag
Follow these steps to add a tag:
- Navigate to Admin Console > Settings > Tags.

- Enter Tag Name and click Add Tag.
- Click Save Changes.
Once added, the tag will be available in all the teams in active mode.
Disable a Tag
To disable an Active Tag, click Delete icon beside a tag in the Active Tag section and click Save Changes. This tag is deleted from the Active Tag section and moved to Inactive Tag section.
Re-activate a Tag
To activate an inactive tag, click + icon beside a tag in inactive tags section and click Save Changes. The tag will be moved to Active Tag section.
Updated over 3 years ago
